Tag Archives: garlic

Italian Chicken Sausage, Spinach and Orzo Skillet

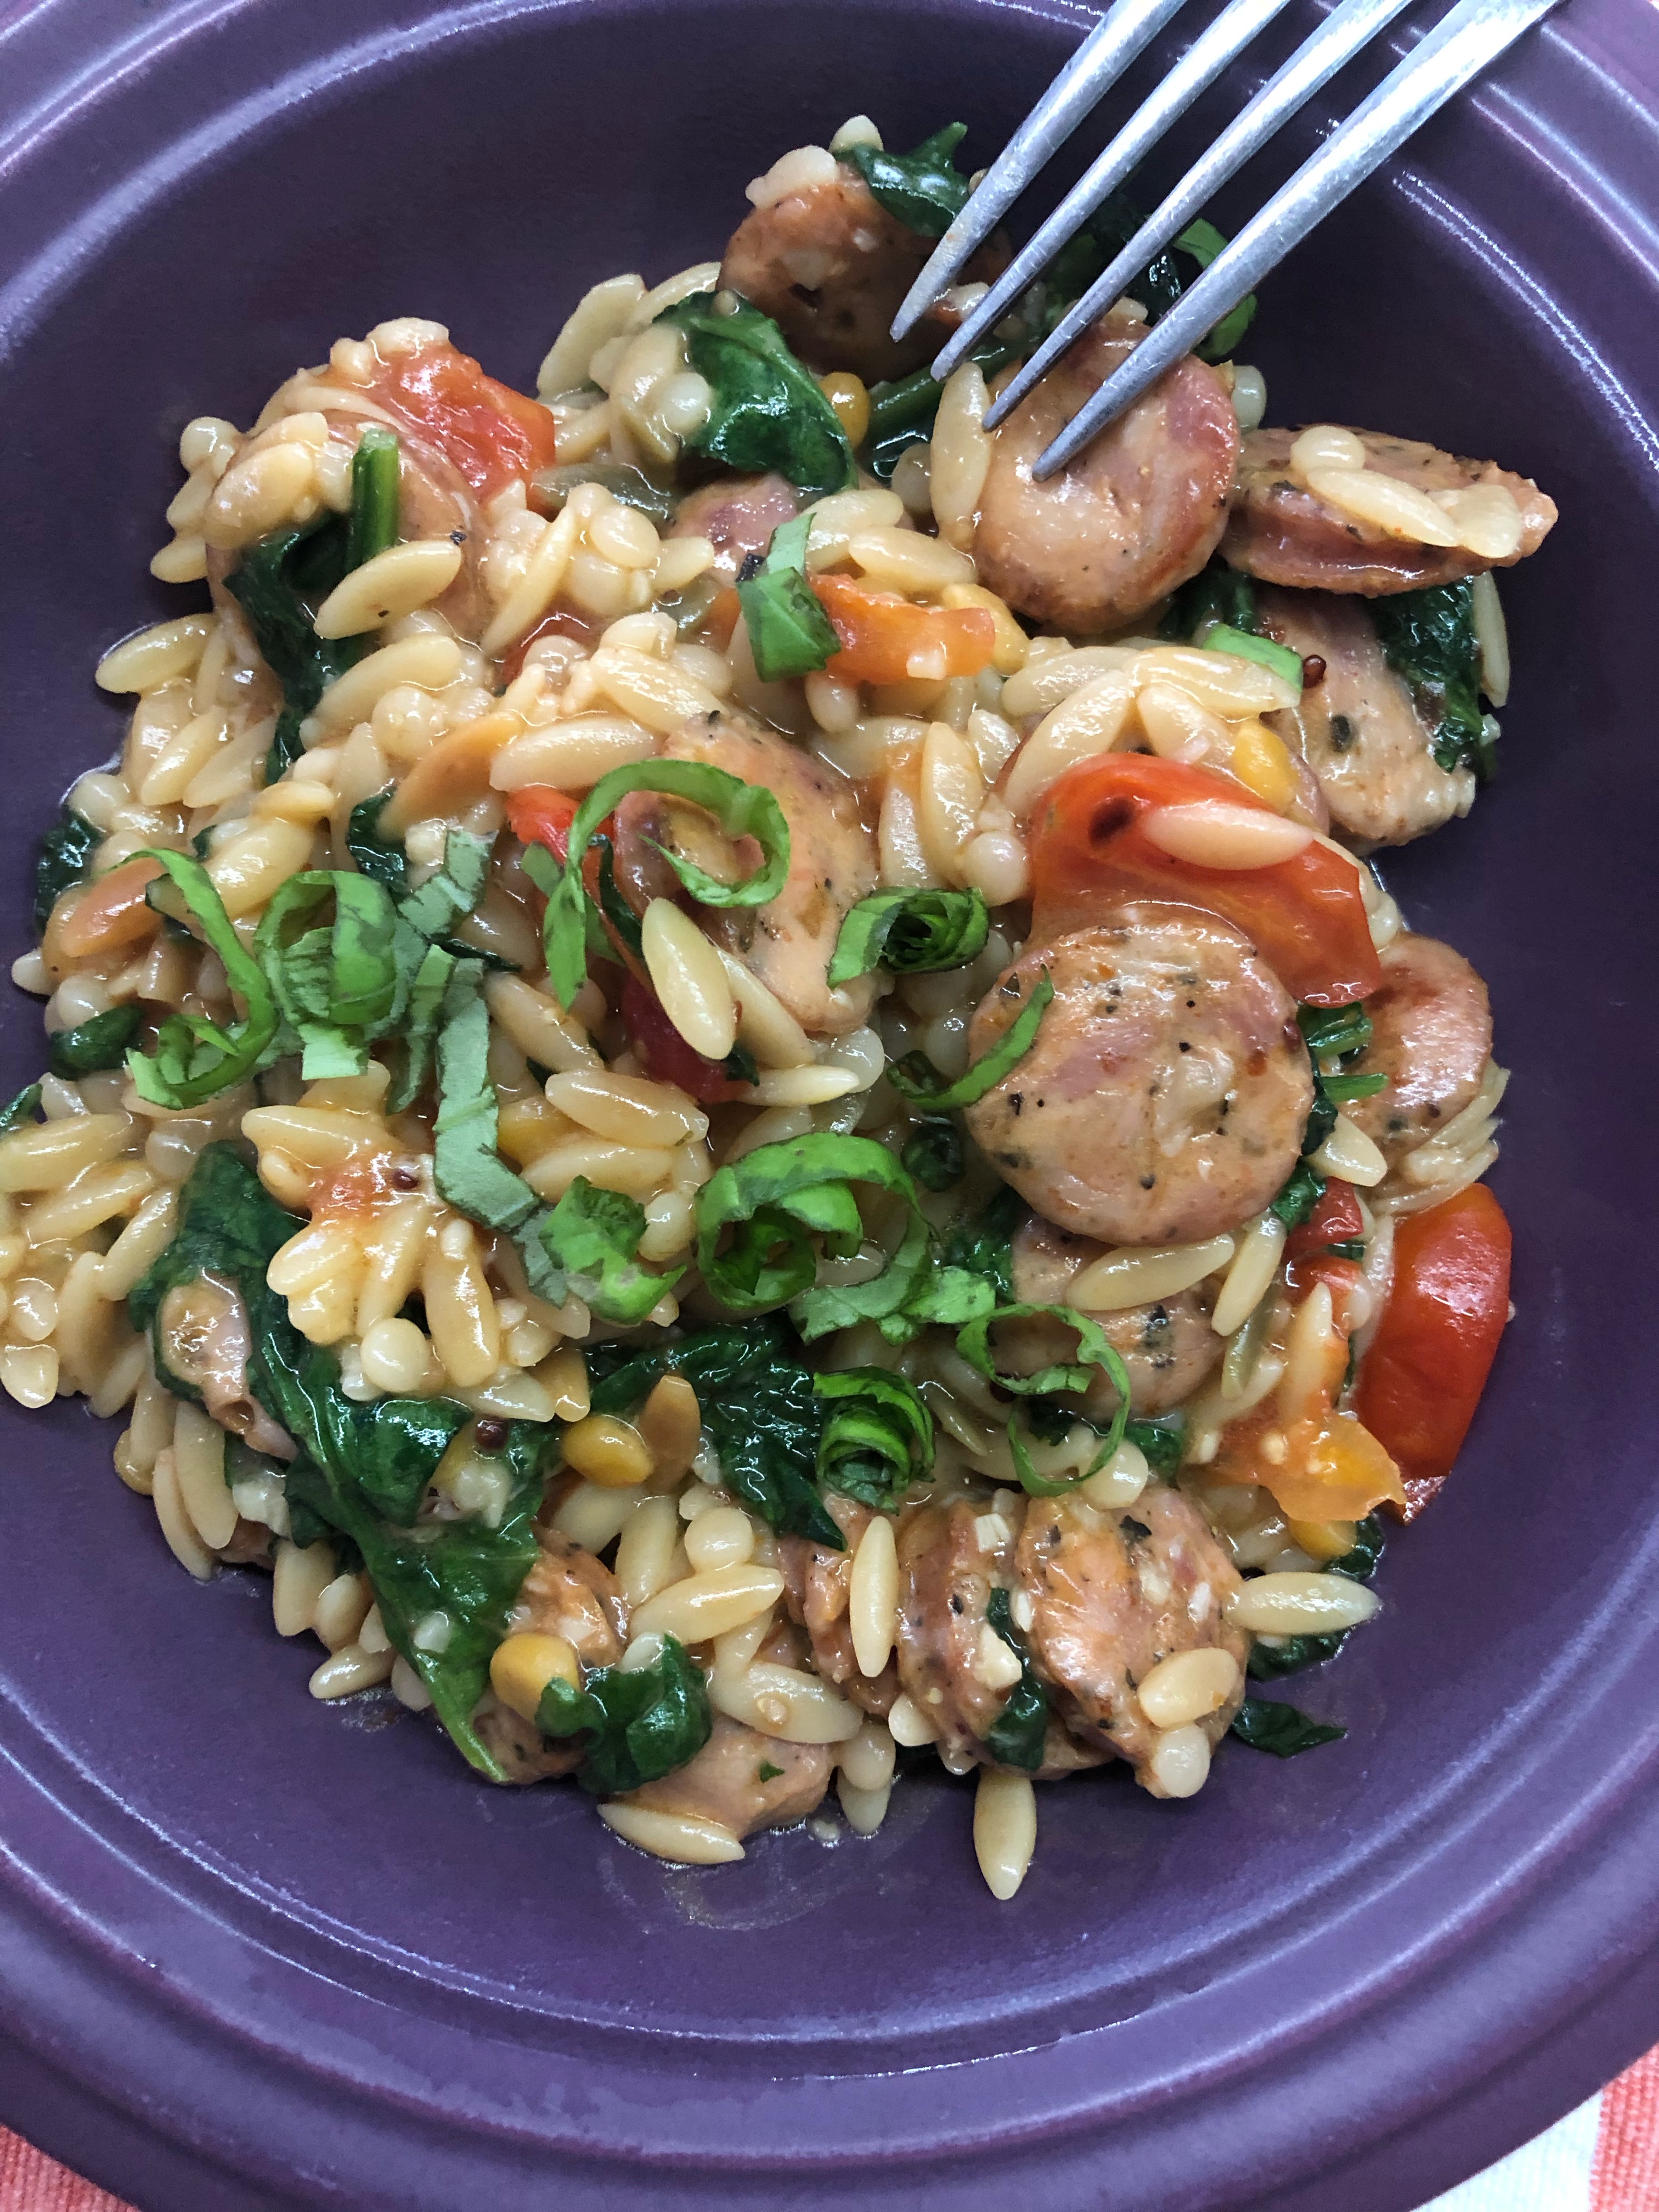
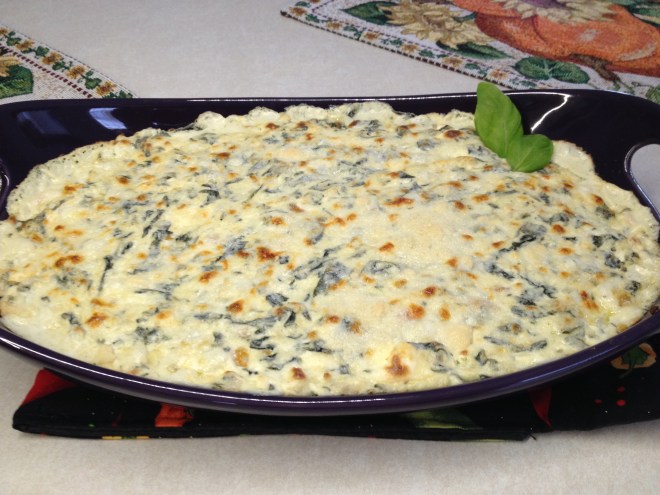
So the slacker blogger is back. I thought I would have posted long before now but being a slacker I didn’t. But the dish I made for dinner last night prompted me to get my butt in gear and post something! I had found this recipe about a month or so ago and kept saying I’d make it. Finally made it! I had to change a couple things from the original recipe 5 Ingredient Chicken Sausage and Orzo Skillet.

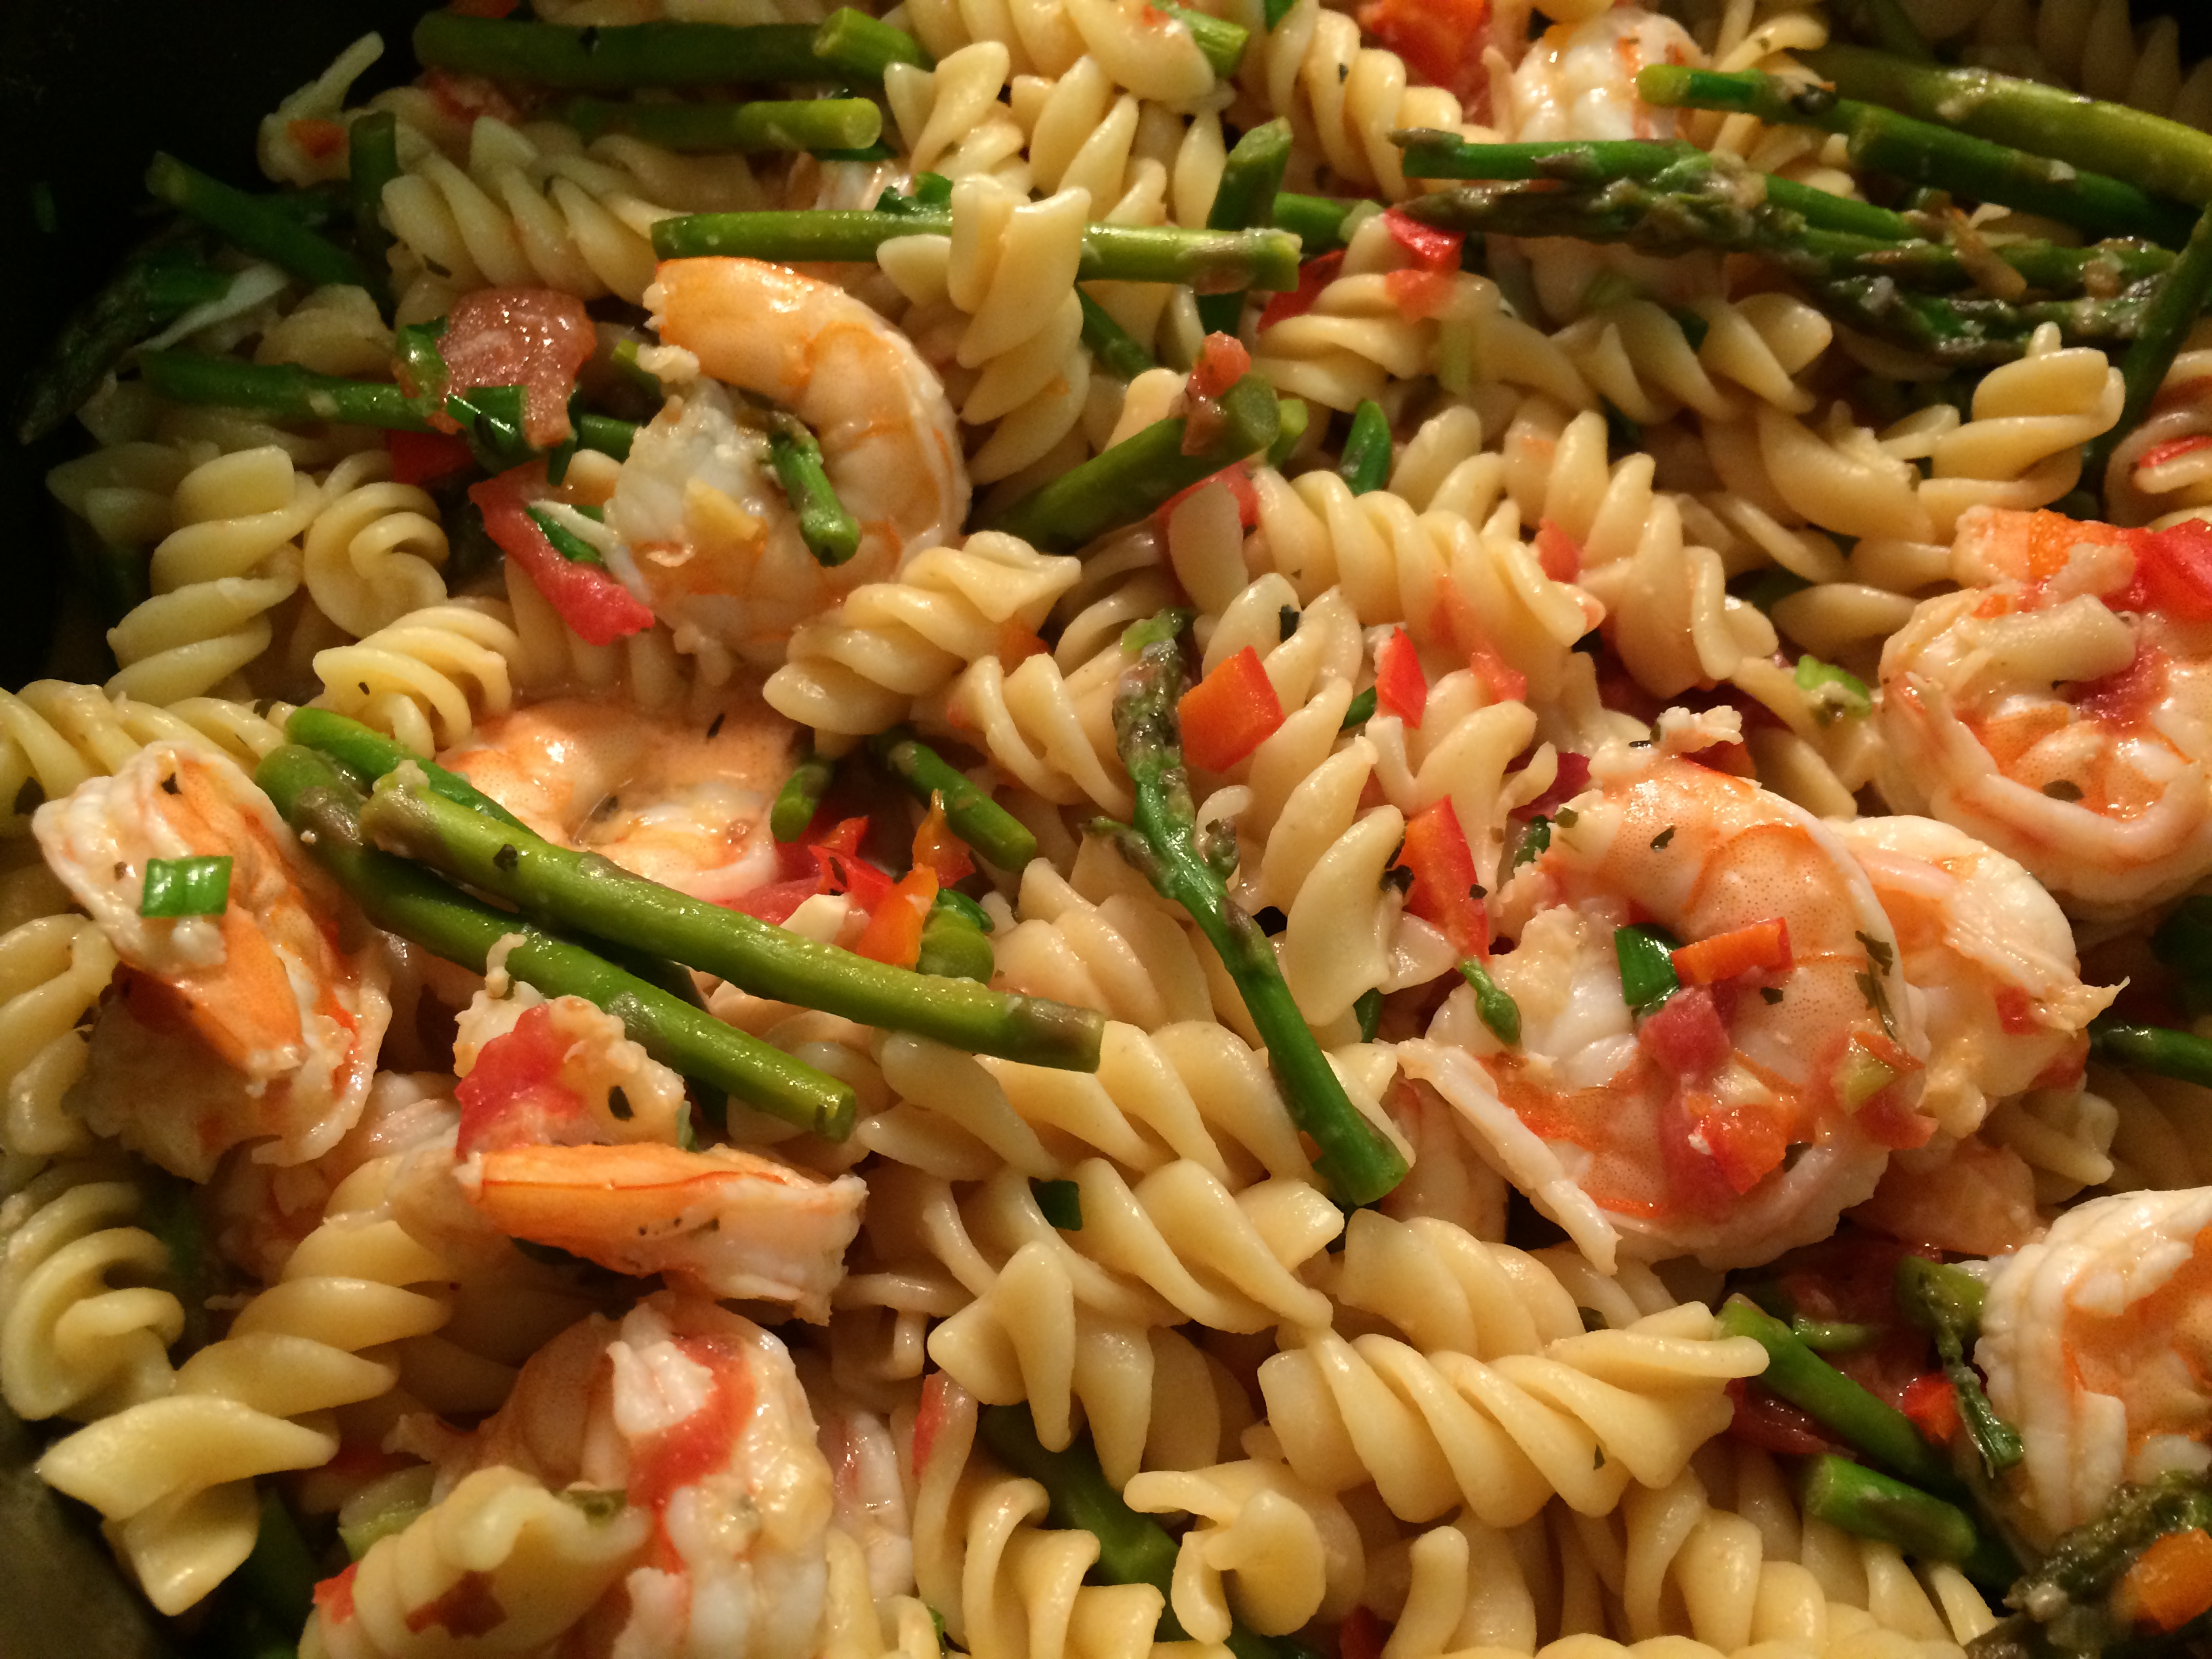
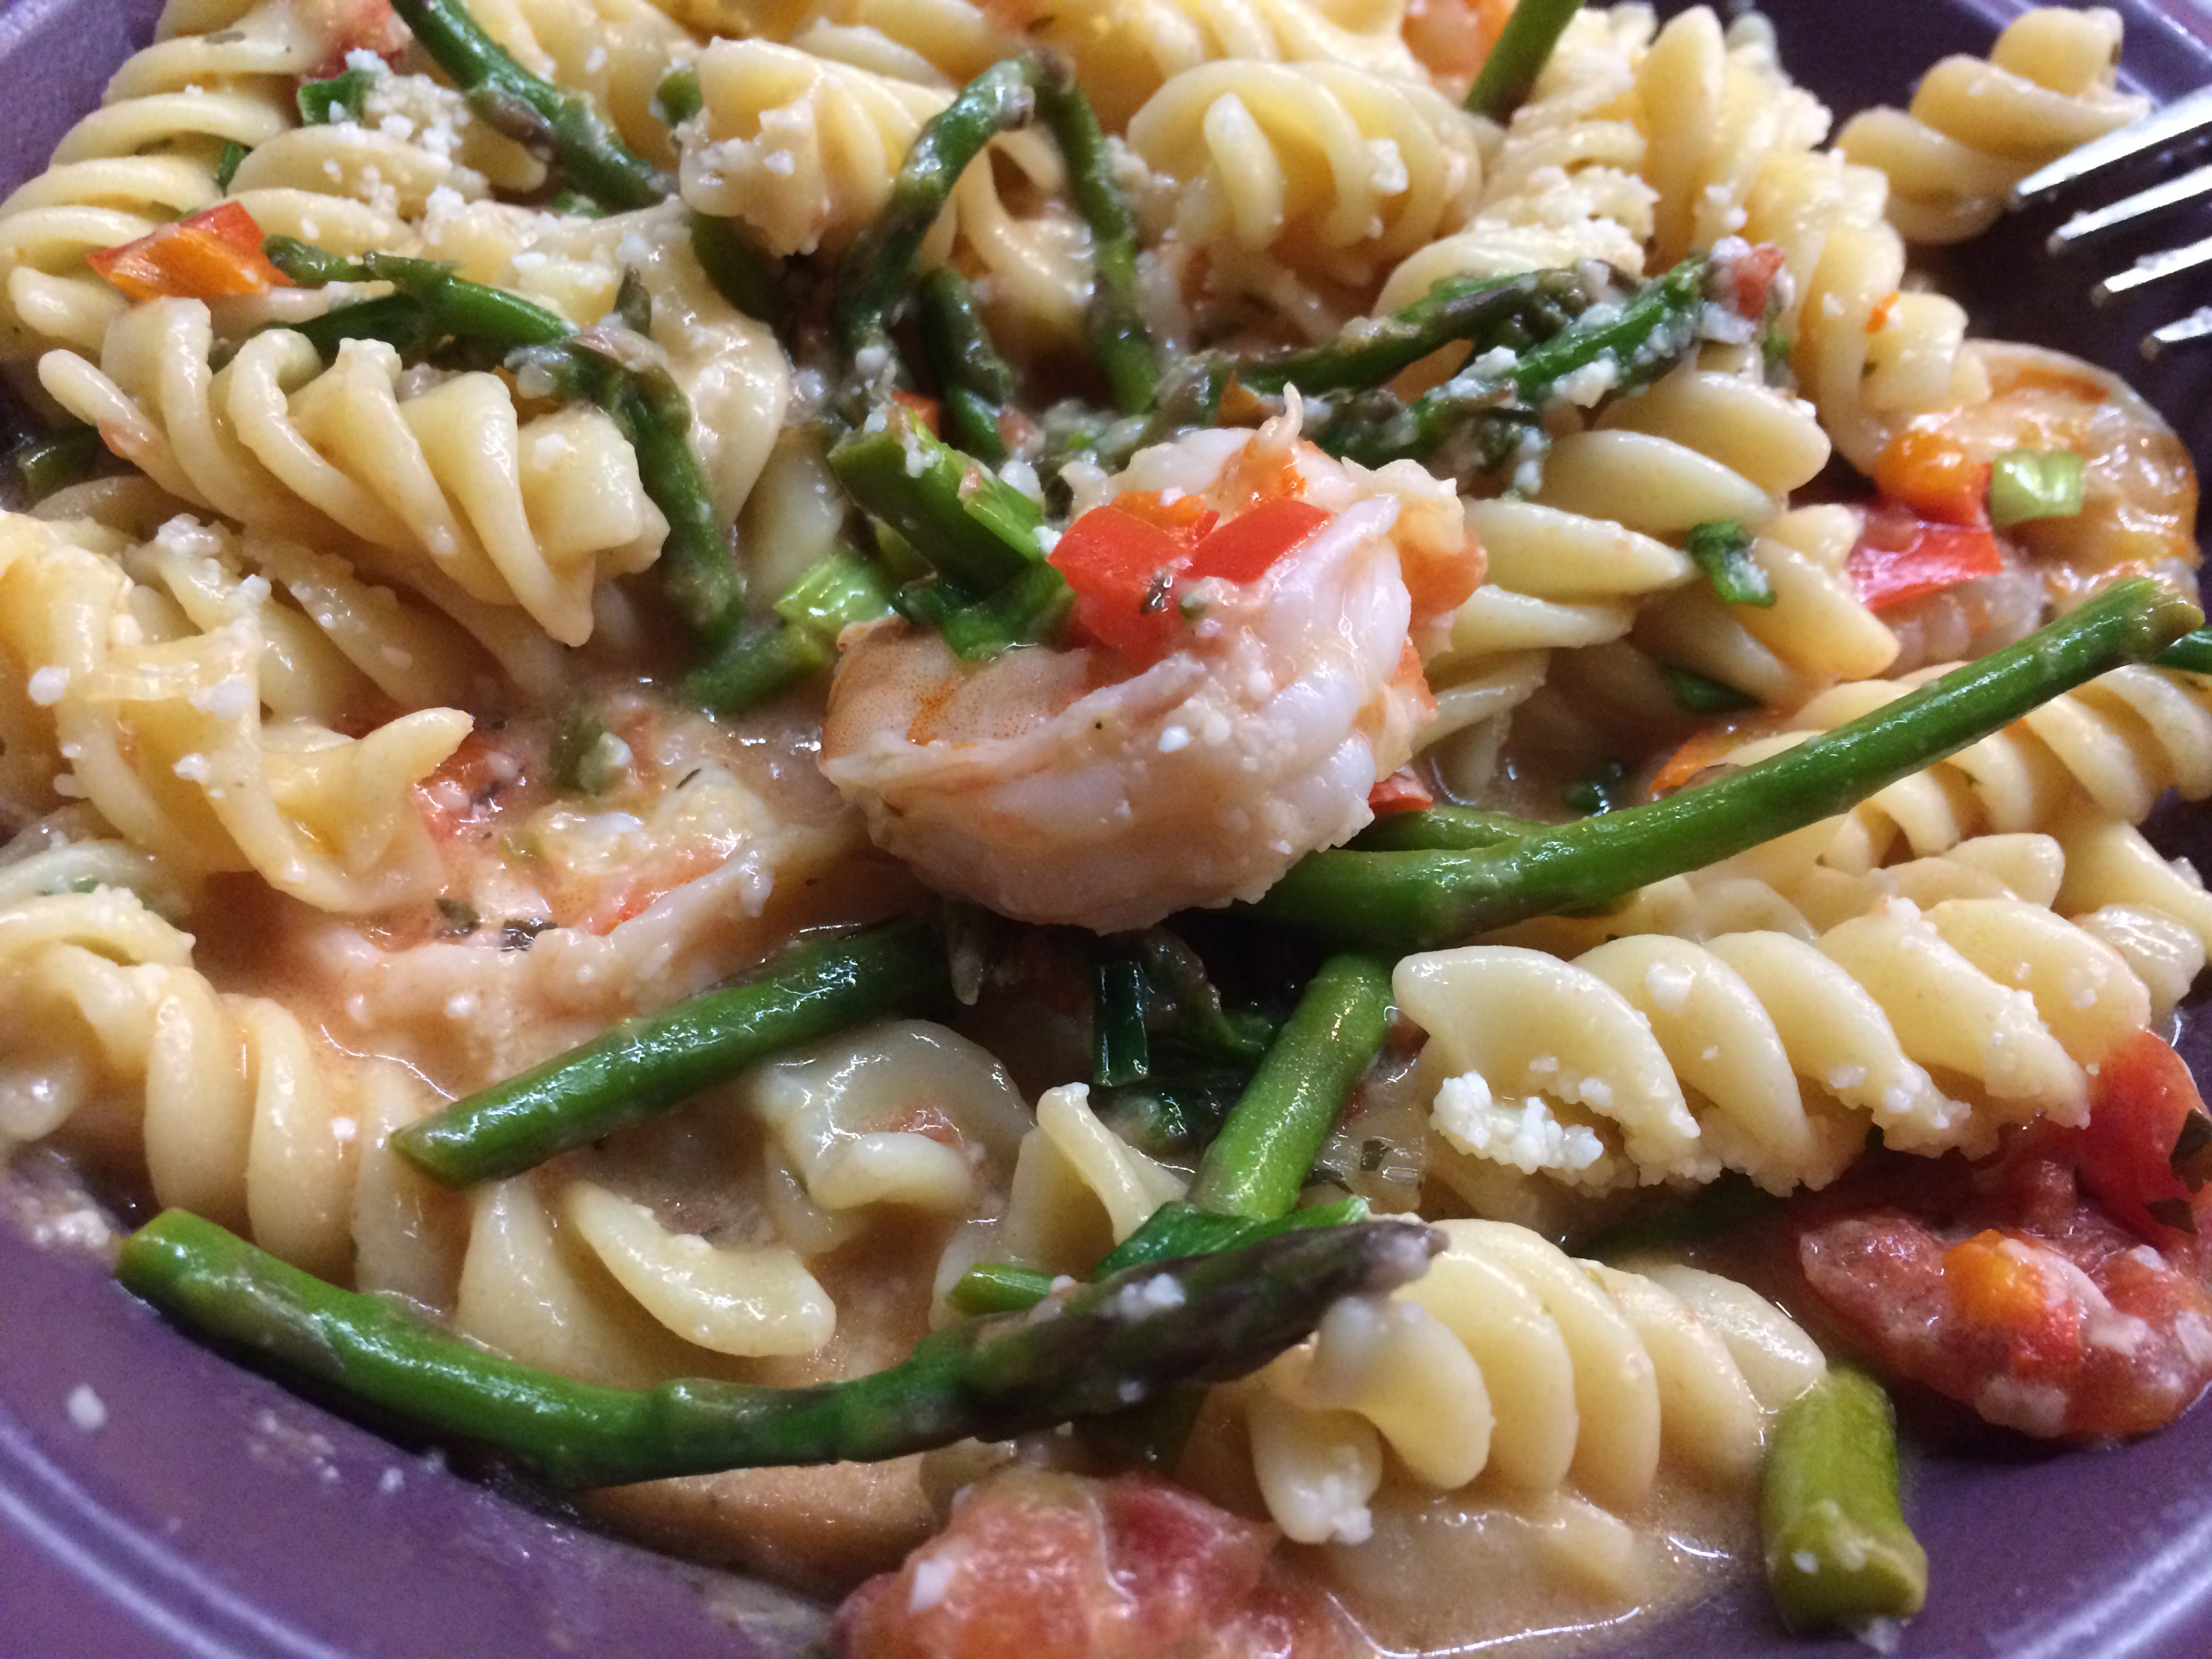
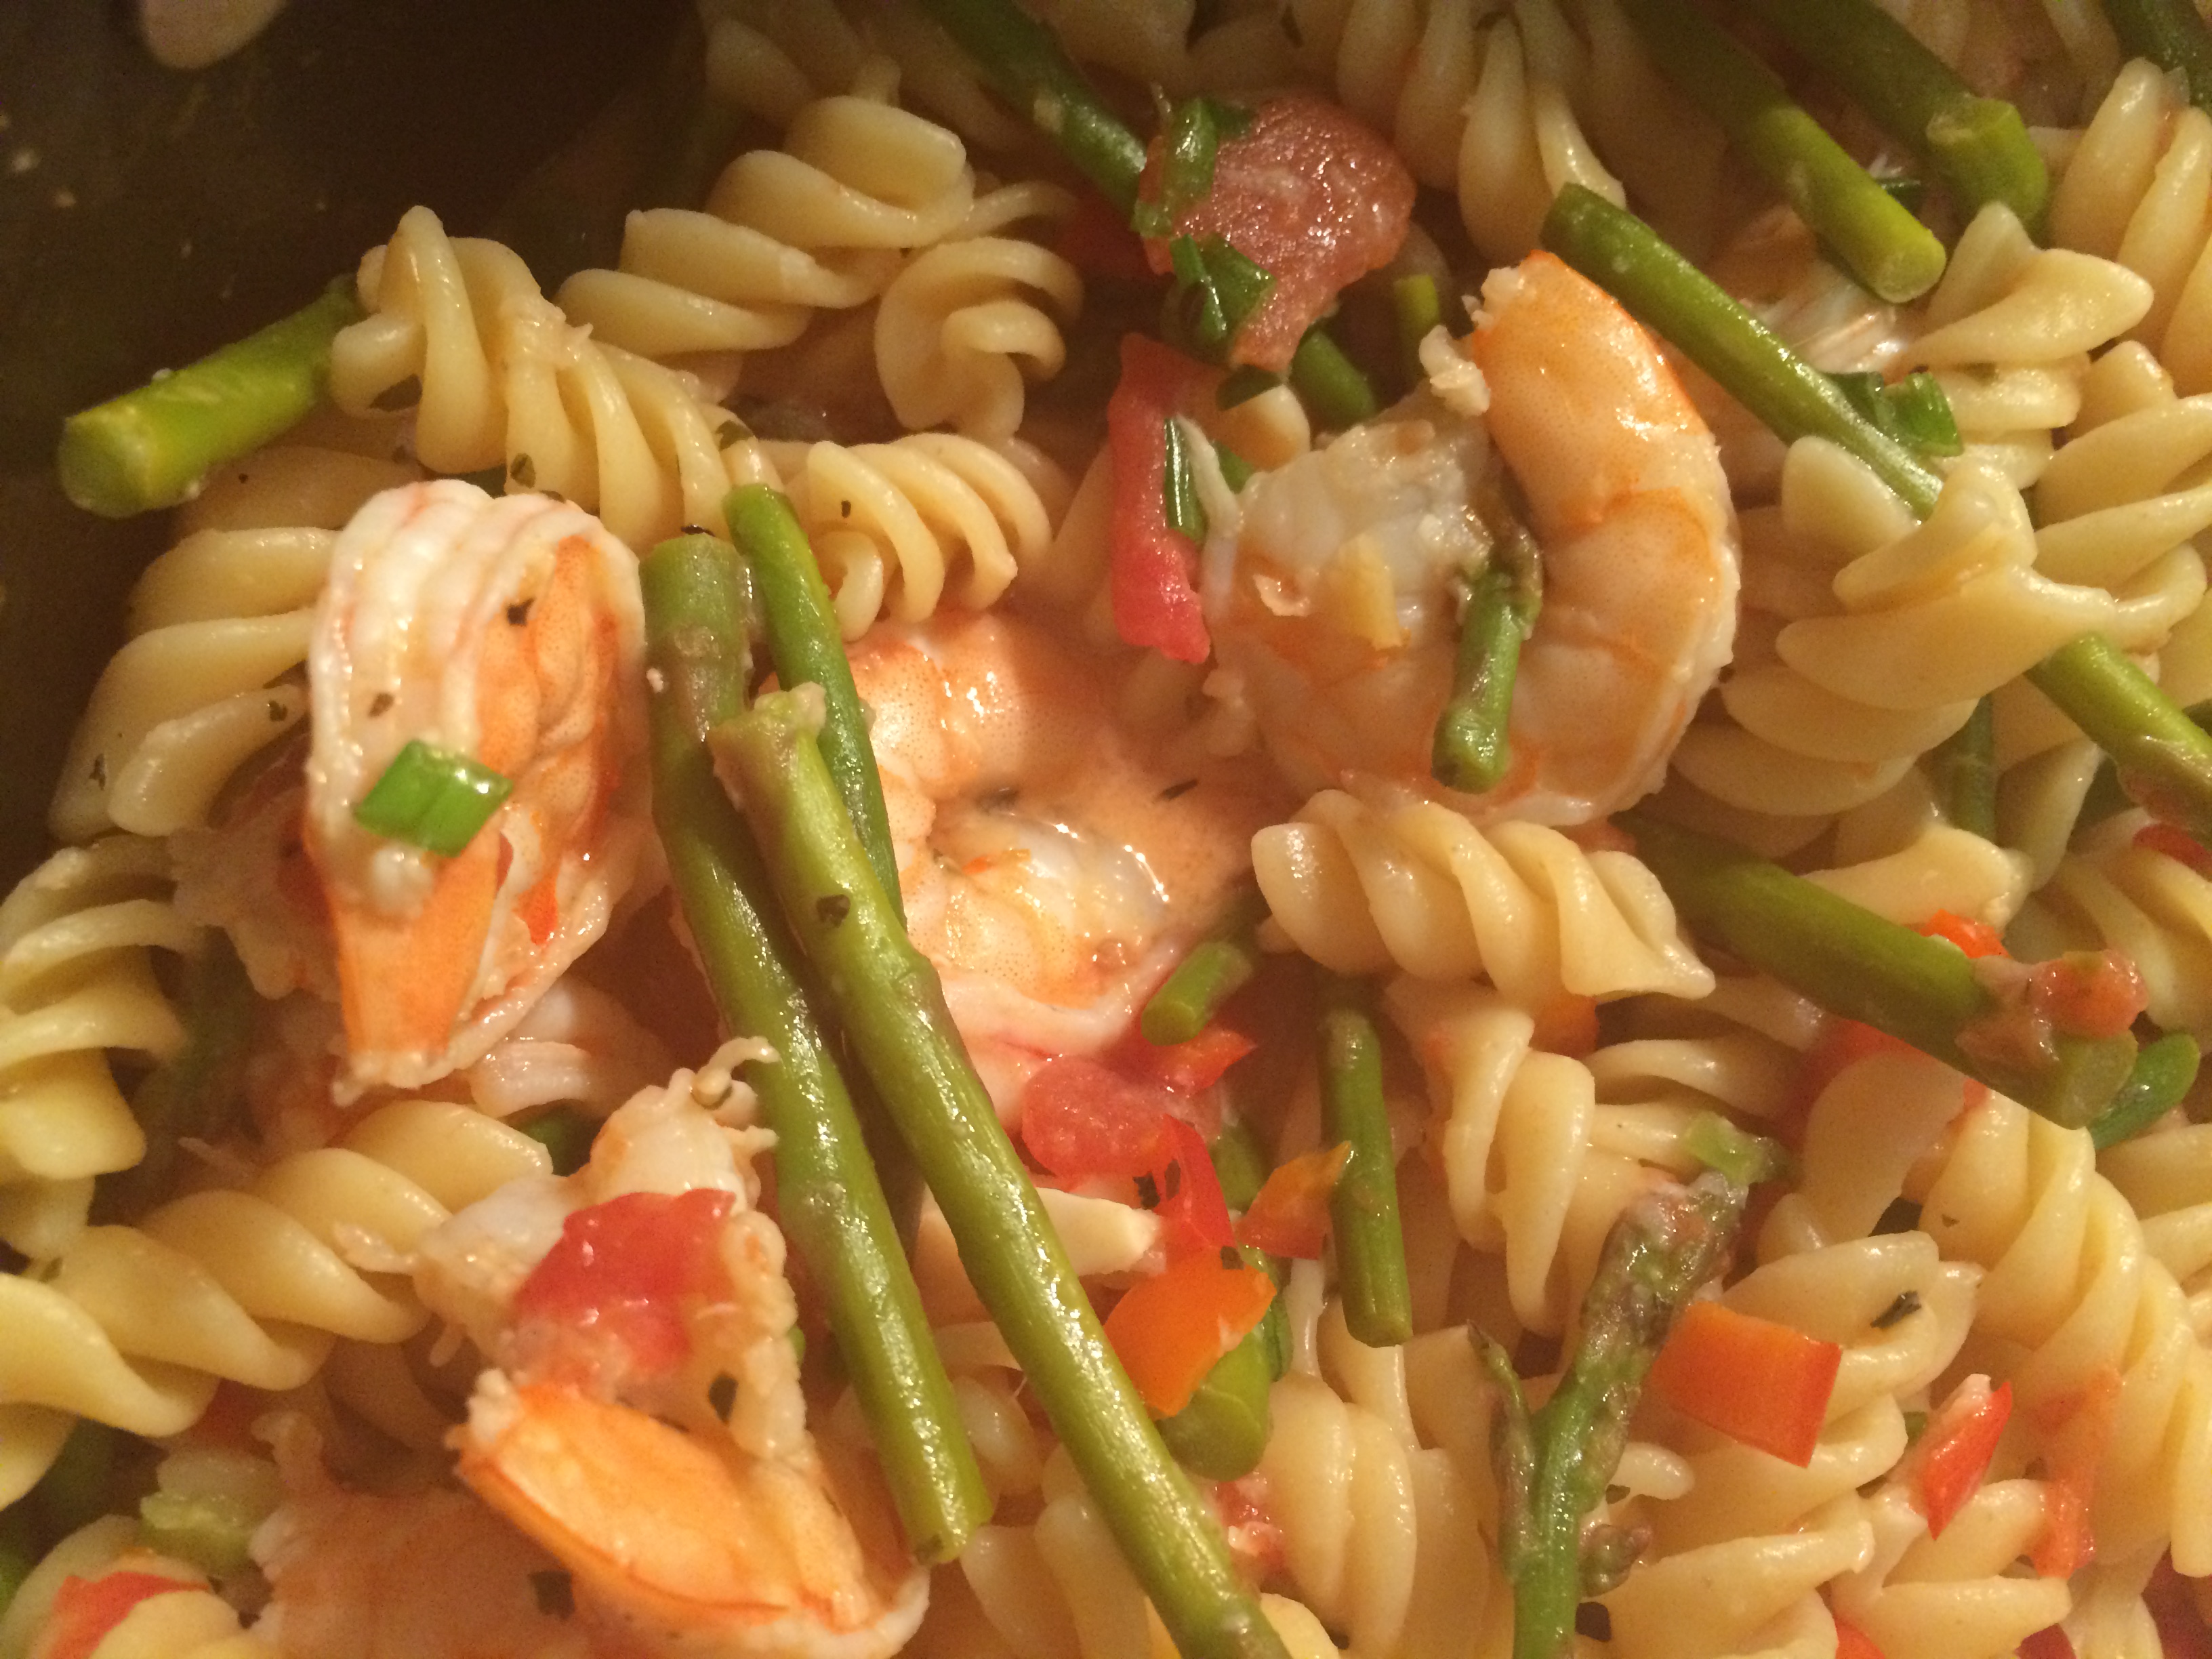
Original recipe called for arugula which I did not have, and I added halved grape/cherry tomatoes. I also subsituted grated parmesan cheese for the shaved and I cut down the amount they called for. You can always add more later!

I also cut the recipe in half as it’s just me and the hubby and even though we definitely LOVE leftovers we decided it was best to cut back a bit. I used Wellsley Farms Italian chicken sausage with tomato, mozzarella and basil. Delish! But feel free to use any kind you like.

The recipe is so easy and I just love using 1 pan to cook. Less to clean later!

Ingredients:

6 Italian style chicken sausages, sliced into rounds

2 cups dried orzo

8 cloves garlic, minced

4 cups chicken broth

3/4 cup grated parmesan cheese

6-8 oz. fresh spinach (remember it shrinks down to almost nothing.)

1 cup or more slice grape tomatoes

2 TBS olive oil

salt and pepper to taste

red pepper flakes to taste

Instructions:

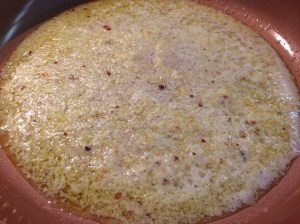
  1. Heat oil in a large non-stick skillet over medium heat. Add chicken sausage and cook for 2 minutes each side, or just keep mixing till all sides are nice and golden.
  2. Add garlic, orzo and red pepper flakes. Toss for 1-2 minutes until orzo is slightly toasted and garlic is really fragrant.
  3. Pour in chicken broth and season with salt and pepper. Bring to a boil, reduce heat and simmer, covered, for about 15 minutes, until all of the liquid is absorbed and the orzo is cooked. Keep stirring every so often so it doesn’t stick to the bottom of the pan.
  4. Add the spinach and tomatoes just before the orzo is almost cooked and mix well. Cover for a minute or so and let the spinach reduced.
  5. Add the parmesan cheese and serve!
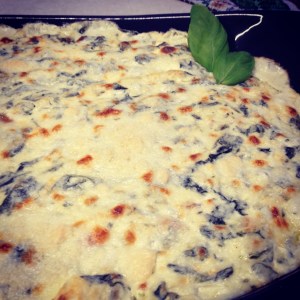
  6. Garnish with fresh basil if desired.

This makes 4-6 servings.

Homemade Bagels Made Simple!

IMG_5577

This recipe is from Gina at Skinnytaste. I had made them once before and they were good but I used whole wheat flour. This time I made them with unbleached all-purpose flour and they came out so much better! Each recipe makes 4 bagels and for those following Weight Watchers and counting points, each bagel is only 3 Freestyle points! I put 2 tablespoons of greek style cream cheese for a total of 2 points, making the whole bagel 5 points! Amazing, since a normal bagel is 9-11 points, plain! So thank you to Skinnytaste for this delicious recipe! I used an “everything” seasoning (recipe to follow) on them but you can use whatever you like. 

These are really easy to make and have only 5 ingredients! I made mine in my Air Fryer and they came out great! I love my Air Fryer. I have a GoWise USA fryer in purple. But they can easily be made in the oven as well, they just take longer. Give it a try! You won’t be disappointed!

And please don’t forget to visit my other blog at Cruise Ship Recipes at Home!

INGREDIENTS:

1 cup unbleached all-purpose flour (you can use whole wheat or gluten-free if you want)

2 teaspoons baking powder (make sure it’s not expired)

3/4 teaspoon kosher salt

1 cup non-fat Greek yogurt ( I used Fage, but use whatever you like, just don’t use regular yogurt, it can get too sticky)

1 egg beaten (or egg white if you choose)

AIR FRYER DIRECTIONS:

  1. Preheat the air fryer to 325ºF and set for 11-12 minutes. (My machine only had 320 or 330 so I set it for 330)
  2. In a medium bowl combine the flour, baking powder and salt, mixing well. 
  3. Add the yogurt and mix with a fork until well combined. It should look like small crumbles. 
  4. Place the down on a lightly dusted work area and need it a bit until it is tacky but not sticky. About 15-20 turns, the dough should come off your hands easily.
  5. Divide the dough into four equal balls, rolling each ball into 3/4 inch thick ropes and join the ends to make the bagel shape.
  6. Brush the tops with the beaten egg and coat the top and bottom with your seasonings.
  7. Once the air fryer is heated, spray a little cooking spray on bottom of pan and transfer the bagels in batches but don’t overcrowd. I put 3 in at a time. If I had put all 4 in they would have been too crowded.
  8. Bake/Fry for 11-12 minutes. I put mine in for 12 minutes, 11 was good but the dough inside was still a little tacky. So 12 minutes worked for me. They should be golden brown. There is no need to turn them over either.
  9. Let cool at least 10 minutes or more before cutting, they will firm up when cooled.

OVEN DIRECTIONS:

  1. Preheat oven to 375ºF. Put parchment paper on a baking sheet and spray with oil to avoid sticking. (you can also use a silpat if you have one)
  2. Follow steps 2-6 as above.
  3. Bake on the top rack of the oven for 25 minutes. Let cool at least 10 minutes before cutting. 

Makes 4 bagels

EVERYTHING BAGEL SEASONING

Ingredients:

1/4 cup sesame seeds

1/4 cup poppy seeds (If using fine poppy seeds use only 1/8 cup)

3 tablespoons dried onion flakes

3 tablespoons dried garlic flakes (hard to find so I ordered on Amazon)

2 tablespoons coarse sea salt

DIRECTIONS:

Mix everything together and store in an airtight container.

Makes 1 cup


Guacamole Genua Style (revisited)

This post is from many years ago but since it is Cinco de Mayo I thought I’d repost it! Guacamole isn’t just for Cinco de Mayo either! Enjoy it every day if you want! Avocados are good for you! An update on the avocado “tree” I had all those years ago…It didn’t last. We don’t have the proper surroundings for it. Living with an extremely strict HOA we can’t have ANY kind of fruit trees outside our screen enclosure. So my little tree is no more. Very sad.

I love guacamole! (I think I’ll marry it!- inside joke) I always thought it was so hard to make until my cousins Linda and Kim showed me how when they were visiting me. Ever since then I was hooked on making it myself. I am always looking for the sale on the Hass avocados. They are the best to use. There are other larger avocados out there but they just don’t do it for me. The color is wrong too and the taste is bland. So stick to the Hass. They are usually from California but lately the ones I’ve bought have been from Mexico. Still really good. I make guacamole at least once a week! It goes great on so many things other than chips. Sandwiches, burgers, hot dogs, chicken, steak, you name it. I also bought one of those avocado slicers to make the slicing easier, but it’s just as easy to score and then scoop out the avocado with a large spoon. Though it is actually good for getting the pit out without cutting open your hand and getting blood all over the guac.  But you can just cut open an avocado by slicing all the way around the long way and twist the two halves apart. Then take a sharp knife and whack the seed with it till it sticks in and twist. Just don’t whack your hand in the process! The seed should come right out. And I planted one recently, I had to see if I could actually grow it. It works! Just waiting for fruit! (See picture below) Though that might not happen but we will see! As soon as I finish writing this I am going to make another batch as well! And when you buy avocados pick ones that are a nice color and firm. If they are already soft you will have to use them right away. They take a day or so to soften on the counter, once they do put them in the fridge and use in few days. They should not be mushy! Mushy is bad. I also make mine half mashed and half chunky. But if you don’t like chunks mash away!


INGREDIENTS:

2 large Hass avocados

1 large plum tomato (halved, seeded and chopped)

¼ cup chopped red onion

1 tablespoon cilantro (or ½ cup fresh chopped)

juice of 1 lime or lemon

¼ cup jalapeños, chopped (I use the pickled ones in the jar but fresh is good too!) If this is too hot for you lessen or leave out.

2 cloves garlic, minced or chopped

1 teaspoon kosher salt (regular will be fine if you don’t have the Kosher)


DIRECTIONS:

1. Cut open the avocado and slice and chop one of them and place in a large bowl. Do the same with the second one but set aside.

2. Mash the avocado in the large bowl with a fork till all mashed up. Add the rest of the ingredients as well as the unmashed avocado and mix gently so you don’t mash all the chunks. (Unless you want it all mashed!)

3. Chill and serve in a few hours. If you will be waiting longer to serve place a piece of wax paper over the top of the guacamole in a container and cover tightly. It will start to turn brown from oxidation if you don’t do this. Also adding a little more lime juice will help. If it does start to turn just mix it up, there’s nothing wrong with it, just won’t look as pretty.

Regular Avocado

Non-Hass Avocado

Buttery Garlic Parmesan Chicken Wings (revisited)

(This recipe is my most viewed post and I thought it was worth reposting for any newcomers! Enjoy!)

I think just about everyone loves chicken wings. But after a while they can get a little boring. Same thing all the time…We have a favorite wings place here in Florida called Hurricane Wings. (They’re on Long Island in NY now too!) They have lots of different flavors along with the usual hot stuff. So the other night I remembered I had a bag of frozen wings and wanted to make up a batch. Well as most of you know, I love garlic. Can never have too much if you ask me. I also love butter and parmesan cheese. So why not combine them all with the chicken wings! Wonderful idea. What I liked most about this is that I didn’t have to defrost the wings first. I just followed the directions on the bag. Baked them for 45 minutes at 400ºF. My oven also has a convection option so I used the convection roast setting. I also turned them over a couple of times during the cooking. We love crispy wings and if you do them this way you won’t have all the extra fat from deep-frying. I am happy to say they came out awesome! We also served them with the usual blue cheese dressing. I also didn’t have any celery so I cut a cucumber into long slices and that worked just fine.

I’m thinking of making up another batch for tonight! 

INGREDIENTS:

2-4 lbs. uncooked chicken wings (frozen or unfrozen)

6-8 cloves garlic minced (cut back if you don’t like a lot of garlic)

6-8 tablespoons butter, melted

½ cup of grated parmesan cheese of choice

½ teaspoon each dried basil and oregano

DIRECTIONS:

  1. Follow cooking directions on bag of chicken. Different cooking times for frozen or thawed. Place the chicken wings on a cookie sheet or roasting pan and cook as directed. This will take 30-45 minutes.

  2. Meanwhile in a medium bowl combine the melted butter, garlic, basil and oregano. Add ¼ cup of the parmesan cheese. Mix well.

  3. When the wings are done to your liking, we like them crispy, remove from cookie sheet and put them in a large bowl. Add the butter, garlic mixture to the wings and mix well.

  4. Put the wings back onto the cookie sheet, making sure you get all the mixture on them. Sprinkle with the remaining ¼ cup of parmesan cheese.

  5. Broil for about 5 minutes about 3-4 inches from the broiler element. Keep an eye on them so the cheese doesn’t burn.

  6. Remove from oven and transfer to a platter and dig in!

Teriyaki Chicken Wings

img_4033.jpg

We love chicken wings in our house. I mean, really, who doesn’t? And after spending so much money on them in restaurants I now continue to make them fresh at home. This way I will know exactly what ingredients are used and I prefer to bake them, rather than frying,  in my oven on convection roast. (I have a convection option on my oven) The flavors are endless. From the old standby “buffalo” flavor to the unique flavors of garlic/parmesan to teriyaki. I keep experimenting.

I used to buy the giant frozen bag of cooked buffalo chicken wings and go from there. Realizing they were almost as expensive as eating them in a restaurant I then moved onto the giant bags of frozen uncooked wings. Still too pricey and the wings they used in these bags are what we started calling mutant wings. Most of them were either too small or the machines that cut them severed the bones leaving too many sharp edges and mutant looking wing pieces. Searching the supermarkets for fresh wings became my next challenge. Have you ever priced fresh chicken wings? They can be very expensive as well. $3.99/lb and up in most places. We found a few stores would have sales at $2.99/lb which wasn’t bad but still not good enough for my budget. And then grocery gods smiled upon us and opened an Aldi store in my neighborhood. There was much rejoicing when I saw the prices of their fresh chicken wings. $1.99/lb! At that price, I now buy two packages. Each package usually has about 10 wings, uncut, which comes out to 20 when I cut them myself. So for about $5-$7 we get 20 wings! (and yes, I leave the wing tips on as well, gives you a little handle!) And an even better deal when they have a sale on them at $1.79/lb. I stock up big time! I live in south Florida so the prices may vary depending on where you live.

This recipe is a no sugar added teriyaki. We try to avoid sugars in foods if we can and I use sucralose as a substitute. But if you prefer, just use regular sugar.

INGREDIENTS:

  • 10 fresh chicken wings, cut into 20 pieces
  • Teriyaki sauce (recipe below)
  • sesame seeds
  • 2 scallions chopped

DIRECTIONS:

  • Preheat oven to convection roast at 400ºF. (or bake)
  • Place plain wings on large rimmed cookie sheet. (I use a ceramic cookie sheet so I don’t need foil or anything, but if using a regular cookie sheet use foil or spray pan as they may stick)
  • Roast for about 20 minutes and turn wings over. Roast another 20 minutes.
  • By now the wings should be crisping up pretty good, remove them to a large bowl and pour the teriyaki sauce all over them to make sure they’re coated completely.
  • Return wings to the cookie sheet and roast another 5-10 minutes, watching they don’t burn with the sauce. 
  • Remove from oven and sprinkle with sesame seeds and scallions. 
  • Serve with blue cheese or ranch dressing and celery/carrot sticks.

img_4032-e1506189192118.jpg

Teriyaki Sauce

Ingredients

  • 1/2 cup low sodium soy sauce
  • 2 tablespoons sucralose (or sugar if you prefer)
  • 1 teaspoon vegetable/canola oil
  • 1 teaspoon minced fresh ginger
  • 1-2 cloves of garlic minced

Directions

Mix all ingredients together.

Garlic Cheese Bites

Let me just start off by saying that if you don’t like garlic (you know who you are) then stop reading right here. This recipe is not for the faint of heart when it comes to garlic overload. I’m not joking so beware!! AND if you are lactose intolerant, take a pill or something if you want to eat these. LOTS of cheese. You’ve been warned…

IMG_4055IMG_4056


I found this recipe one day while on the King’s Hawaiian recipe pages. I did stick to it pretty closely but I think next time I will make a change to see if it makes a difference. The recipe calls for using the little fresh mozzarella balls. But I think I will try just cutting up a block of mozzarella into cubes of the same size and trying that. I LOVE the fresh mozzarella but I think it’s too delicate and melts too much for this. The original recipe (Cheesy Garlic Bites) comes from a great site called Zestuous. I did follow the recipe very closely except for the amount of garlic, which is odd for me! NOT! One of the ingredients is for buttermilk biscuits (in the can) and it’s VERY important to use the regular kind, NOT FLAKY. Another very important tidbit is to make sure when the dough balls are placed into the muffin pan they are placed open side UP. As I found out with a few that got turned around, all the cheese will ooze out into the pan. Still tastes good but not very appealing.IMG_4057IMG_4058

INGREDIENTS:

2 cans (any brand) buttermilk biscuits (not the flaky kind)

20 cherry-size balls of fresh mozzarella or regular mozzarella cut into cubes

3 tablespoons olive oil

8 cloves garlic, minced (use less if it’s too much for you)

1/8 teaspoon crushed red pepper flakes

2 tablespoons butter

¼ cup white wine

¼ teaspoon salt

1 cup shredded mozzarella cheese

½ cup shredded parmesan cheese (any kind)

salt and basil to taste

mini muffin tins


DIRECTIONS:

  • Preheat oven to 450ºF.
  • Open the can of biscuits and flatten each biscuit. 
  • Drain the liquid from the fresh mozzarella if you’re using fresh and place a ball in the center of the dough forming a ball around it. IMG_4046
  • Heat the olive oil in a large skillet over medium-low heat. Add the garlic and red pepper flakes. Sauté for 1-2 minutes, adding the butter and stir until completely melted.
  • Slowly pour in the white wine and salt and continue cooking for 1-2 minutes. IMG_4049
  • Carefully roll the dough balls into the garlic-wine-butter mixture.IMG_4050
  • Carefully place the balls in a mini muffin pan, OPEN SIDE UP!! Trust me!IMG_4051
  • Combine the shredded mozzarella/parmesan cheese and pile on top of each ball.

IMG_4052

  • Bake for 8-10 minutes. Remove from oven and brush with the leftover garlic butter.

IMG_4053

  • Sprinkle with salt and basil to taste. Serve warm!

Makes about 20 balls

Coconut Garlic Shrimp, Asparagus & Tomato Pasta

IMG_4233

Well it’s been a long week since Hurricane Irma slammed into Florida & the Caribbean and things are slowly, finally settling back to some kind of normalcy. This includes making a new dish for dinner. After replacing 75% of the contents of my freezer and refrigerator because of no power I can say with a smile, I’m back! I’ve been wanting to make this recipe for quite some time. The original recipe that I adapted this from (Garlic Shrimp in Coconut Milk, Tomatoes and Cilantro) is from Gina Homolka at Skinnytaste. Please check her recipe out as well.

The original recipe from Gina was more of a stew and could be served over rice. I added more garlic and served it over pasta instead. I also added asparagus since I had some in the fridge that had to be used or I would lose it. I may try it with peas instead next time or possibly broccoli! And for those of you who know me, know I really do NOT like peppers (green, red, yellow….) jalapeno yes, but sweet peppers no. This recipe has red peppers in it and I can barely taste them. I did use the small rainbow peppers (the red ones) and they aren’t as strong-tasting so that’s probably why I liked them.

So how did the recipe turn out? Let’s just say, my husband and I could not stop eating it! It was incredible! I can’t wait to have it as leftovers again! It’s a very easy recipe to make and I will be making it again for sure. The only thing I might do next time is add another can of the coconut milk so it has more sauce for the pasta. Other than that it’s a home run! It’s not a heavy meal, the sauce is light, yet it is a very filling dish. Hope you enjoy it!

IMG_4235

INGREDIENTS:

1 1/4 lb uncooked peeled and deveined jumbo shrimp (I used (2) 12oz. bags of frozen shrimp from Aldi)

1 tsp olive oil

1 pound of asparagus sliced into small pieces

1 pound cooked pasta of your choice

1 small red pepper or 4 large red peppers from a bag of mini rainbow peppers, diced

4 scallions, thinly sliced, separating the whites and greens

1/2 cup chopped fresh cilantro (I used about 1 tablespoon of dried since I didn’t have fresh)

6-8 cloves minced garlic

1/2 teaspoon kosher salt

1 teaspoon crushed red pepper flakes

1 can (14.5oz) diced tomatoes of choice

1 can (13-14oz) light coconut milk. (I used Trader Joe’s organic reduced fat coconut milk)

1/2 of a lime juiced

DIRECTIONS:

  1. In a medium saucepan heat the olive oil and sauté the red pepper until soft, about 4 minutes.
  2. Add the white parts of the scallions, ¼ cup of the fresh cilantro (or the 1 tbsp of dried), the garlic and red pepper flakes. Cook for about a minute or so until well blended.
  3. Add the tomatoes, coconut milk and ¼ tsp of salt. Stir well and bring to a boil. Once it boils, cover the pot and simmer for about 10-15 minutes until the sauce thickens a bit.
  4. Meanwhile cook the pasta to just al-dente, drain and put back into the pot.
  5. Add the chopped asparagus to the tomato coconut milk mixture and cook for 1-2 minutes until it begins to soften a little.
  6. Add the shrimp to the same mixture and cook for about 5-6 minutes until the shrimp is opaque. Add the lime juice.
  7. Pour all of the shrimp mixture into the pot with the pasta and mix well. Let it simmer for just a minute or so to get everything mixed.
  8. Serve. Top with the green part of the scallions and rest of fresh cilantro if using fresh. We also like to add a little parmesan cheese on top as well.

Serves 4-6

IMG_4234

Quinoa Shrimp Scampi

This recipe started out because I looked in my pantry and saw that I have just way too much quinoa in there. I have plain, red, tri-color and then I just bought a couple more packages at Home Goods! So I decided I needed to start using it more. The quinoa I used in this recipe was an Italian flavored one. I bought this container of Pereg quinoa in Home Goods for $3.99 and I used about half of the container in this recipe, about 1 cup. This brand comes in all kinds of flavors which is pretty cool so you can make whatever you’re in the mood for! I also bought a spinach version and a mushroom version. Just follow the directions on the package and you’re good to go! I also substituted the water with chicken broth, which gives it so much more flavor. A vegetable broth would work great too! But if that’s not something you would want to do then just use water. 

This is a quick meal you can throw together in under 30 minutes for sure. Great for after work when you want something nutritious and delicious! This was a nice filling and satisfying meal for two of us but if you want it can serve 4 as a side dish.

INGREDIENTS:

  • Pereg “All’ Italiana” quinoa (Use 1 cup and cook according to package)
  • 12-16 ounces uncooked extra large-jumbo shrimp, peeled and deveined (no tails on unless you like that sort of thing- I do not)
  • 3-4 cloves garlic minced
  • 1/2 large tomato chopped
  • 1 tablespoon butter
  • 1 tablespoon EVOO
  • 1/4 cup fresh lemon juice
  • 1 tsp dried basil
  • 1 tsp dried parsley
  • 1 tsp dried oregano
  • Parmesan cheese for topping

DIRECTIONS:

  1. Cook quinoa according to directions on package. When it is done, keep it on low to stay warm.
  2. Add the oil and butter to a medium skillet and saute the garlic till soft, just a few minutes.
  3. Add the shrimp to the skillet and cook on medium heat. A couple of minutes on each side until shrimp turns pink is good. Do NOT overcook.
  4. Add the lemon juice and herbs and mix well.
  5. Add the chopped tomato to the quinoa mixture.
  6. Divide up the quinoa into flat bowls and top evenly with the shrimp mixture. Make sure the delicious juices are evenly distributed as well.
  7. Serve with some parmesan cheese on top if you like!


Slow Cooker Honey Garlic Ribs

This slideshow requires JavaScript.

Yet another recipe I found on Facebook courtesy of Tasty on Buzzfeed! I changed it up a little bit and they came out amazing! And yes, they browned IN THE SLOW COOKER!  Wow, talk about falling off the bones. I will definitely be making these again! The original recipe called for 1 rack of ribs, I had 2 so I doubled the recipe. Took a little clever maneuvering of the ribs but they came out just beautiful.  The recipe will be for 1 rack but definitely, double it up to two.

The smell in my kitchen all day was heavenly. I also used a mix of honey and agave. I didn’t have enough honey in the house so I improvised. I think if I had used all honey they may have been a little sweeter but these came out just fine. Use all honey if you want or all agave or both. Sticky, messy, tender, melt in your mouth pork. They are a little bit like Chinese spare ribs but better, way more meat for sure. I used St. Louis style ribs but I am sure you can use any type. I like the St. Louis because they are meatier. Make sure you have plenty of napkins on hand! Leftovers will be divine!

Tip: Use a slow cooker liner for easy cleanup! Trust me!

INGREDIENTS:

  • 1 (2 ½-3 lb) rack of pork ribs, halved
  • 1 tablespoon kosher salt
  • 1 tablespoon black pepper
  • 1 tablespoon paprika
  • 1 tablespoon chili powder
  • ½ cup honey
  • ½ cup agave
  • ½ cup soy sauce
  • 10 cloves garlic, minced

DIRECTIONS:

  1. Combine in a small bowl the salt, pepper, paprika, and chili powder. Season the ribs evenly by rubbing all over and on the sides.
  2. Add the honey/agave, soy sauce and garlic to a large slow cooker. (I used a 5 qt)
  3. Carefully place the ribs into the cooker and turn them over into the sauce until they are coated. Then place the ribs standing up (yes I said standing up, this confused me at first too), with the meatier side down so that the meat side is against the walls of the slow cooker. Bones should be facing in. (Since I used two racks I had 4 pieces and I just overlapped them a little making sure most of the meat part was against the wall) You can also now pour sauce all over them making sure all get covered.
  4. Cover and cook on low for 7-8 hours or high for 4 hours. (I checked them at 7 hours and turned them over, still keeping the meat to the wall)
  5. Check to make sure also that the meat is cooked through and tender when the time is up.
  6. Carefully remove the ribs to a cutting board and cut apart. They will most like fall off the bone. 
  7. Serve with additional sauce from the slow cooker if you desire.


Hot Shrimp Scampi Spinach Dip

I have now made this dip twice. It is beyond incredible! Creamy, garlicky, cheesy, rich and loaded with shrimp. If there is anything left over you can use it as a topping on baked fish as well, which I did! Still incredible. If you don’t like shrimp or garlic stay away. Once you start eating this you can’t stop either so be prepared. The first time I made it we had a friend over for cocktails and snacks, this friend is a chef by the way. He was blown away by it. So it’s officially my new dip. It is best served with tortilla chips or pita chips. Even thin crostini would be great or crackers. I used greek yogurt cream cheese the first time I made it. It’s a mix of greek yogurt with cream cheese and fewer calories than regular cream cheese. But it’s just as good with regular cream cheese which I used the 2nd time. The recipe also calls for a shallot, which I didn’t have the first time I made it so I used 1/2 of a Vidalia sweet onion. I also used light mayonnaise but feel free to use regular.

Give this recipe a try, you won’t be disappointed!

Hot Shrimp Scampi Spinach Dip

Hot Shrimp Scampi Spinach Dip

INGREDIENTS:

1 8 oz. package cream cheese of choice (cut up into cubes)

10-12 oz. medium cooked shrimp, chopped into chunks. (2-3 chunks per shrimp)

2 cups fresh spinach leaves roughly chopped

2/3 cup shredded parmesan cheese (feel free to use more cheese also)

1/3 cup light mayonnaise

1 medium shallot, finely chopped

2 tablespoons butter

1 tablespoon minced garlic (more if you like a lot of garlic!)

1 tsp fresh lemon juice

Basil leaf for garnish

DIRECTIONS:

Preheat oven to 350°.

In a large skillet, melt the butter over medium-high heat. Toss in the shrimp, spinach, shallot, and garlic.

Stir gently until the shallot is translucent and the spinach is wilted. This should take about 5 minutes, making sure all the ingredients are heated through.

Remove from the heat and add the lemon juice.

Transfer the mixture into a large mixing bowl. Add the mayonnaise, 1/3 cup of the parmesan cheese and the cream cheese and mix well.

Put mixture into a baking dish large enough to hold it all. 8×8 or larger. Anything is good as long as it’s large enough to hold it all. Sprinkle the rest of the parmesan cheese on top and bake uncovered for 15-20 minutes. The top should be lightly browned and bubbling.

Garnish with a basil leave. Serve hot/warm!

2015-10-24 17.18.54-1

1 2 10
Cruise Ship Recipes at Home

How do I Make That?

Rachael Ray

It's Not Just Popcorn!

Joanne Eats Well With Others

It's Not Just Popcorn!

Garlic Girl

It's Not Just Popcorn!

BuzzFeed - Tasty

It's Not Just Popcorn!

An Edible Mosaic™

It's Not Just Popcorn!

StephenKing.com - Latest News

It's Not Just Popcorn!

Food52

It's Not Just Popcorn!

Big Bear's Wife

It's Not Just Popcorn!

Cinnamon Spice & Everything Nice

It's Not Just Popcorn!

The Weekend Gourmet

It's Not Just Popcorn!

Skinnytaste

It's Not Just Popcorn!

What's Cooking at the Genua's?

It's Not Just Popcorn!

Chef in Training

A great place to find easy, delicious and family friendly recipes.

The Pioneer Woman

Plowing through Life in the Country...One Calf Nut at a Time

Simply Recipes

It's Not Just Popcorn!

It's Not Just Popcorn!

overdeepblueseas

OVER DEEP BLUE SEAS BLOG @ WordPress.com

Sluggo's Escapades

What's Sluggo up to today?

RavieNomNoms

A Girl, Her Blog, and Lots of Food Pictures!

%d bloggers like this: