My husband is a cole slaw fanatic. But he’s very particular. This version is now the only one he really likes now. I’ve tried many in the past but finally got the winning combination! The key is to shred and chop. I use a mandolin that has a blade that turns out chopped/sliced cabbage beautifully. But if you don’t have one just shred as best as you can and chop with a knife.
I have been using light mayonnaise for so many years now and in this recipe it’s perfect. Less calories all around is a good thing. Same with using a sugar substitute. We try not to add real sugar in anything unless absolutely necessary so sucralose it is for us! I have found the white distilled vinegar works best also but you can definitely use a white wine vinegar or a rice vinegar. I also guessed on the shredded carrots. I just really grabbed a handful and added it.
I’ve now made this recipe twice since Labor Day, it’s not just for BBQs! It’s easy to make and takes no time at all! The taste also gets so much better the next day, as most things do! Enjoy!
Ingredients:
1 lb cabbage, shredded and chopped
1/4-1/2 cup shredded carrot (I buy the pre-shredded)
1 cup Hellmann’s Light Mayonnaise
1/3 cup Sucralose (or real sugar if you want)
1/3 cup white distilled vinegar
1/2 tsp salt (I use himalayan sea salt)
1/4 tsp fresh black pepper
1/4 tsp paprika
Instructions:
In a large bowl mix up the cabbage and carrots.
In a medium bowl whisk the rest of the ingredients.
Add to cabbage mix and combine well. I like to use a big fork for this as it mixes better.
Discovered this rice originally at a local waterside dive bar/restaurant called ZigZag Scallop on the west coast of Florida in Hernando Beach and had to recreate it. Their food is phenomenal if you’re ever in the area. They had used regular jasmine rice but we prefer the jasmine brown. It’s not very dark but it is brown rice. I get my rice at Trader Joe’s because it’s the one place I know I can always find it. Sometimes the supermarkets or specialty markets have it but Trader Joe’s has the best price. I buy several bags when we go and store in the fridge, even unopened. Because anyone who lives in Florida knows that the ants here are beyond tenacious and determined to get into ANYTHING! I lost a whole unopened bag of this rice that was in my pantry as they ate through the plastic. So in the fridge it goes. I also make my rice in a rice cooker these days. So much easier if you ask me. For years I swore I’d never buy one and finally broke down and was so glad I did. I love it!
Use fresh pineapple if you can, it makes a HUGE difference. But if canned is all you can get try to get the best quality canned you can find. Do not use crushed. You want the chunks.
I use this recipe with my Tuna Poke recipe and served it warm. But it is also delicious cold. This recipe is a doubled so I will have extra. Feel free to cut it in half.
This can definitely be made on the stove top or in a rice cooker. Just follow the directions for both and all will be fine. I don’t go by the instructions for the rice cooker on their liquid amounts, they are not really accurate and the rice gets over-cooked.
INGREDIENTS:
4 cups jasmine brown rice
1 can of light coconut milk (15-16 oz) (I also get mine from Trader Joe’s, but any brand is fine)
6 cups water
2-3 cups fresh pineapple, diced (if using frozen or canned, drain the juice)
1-2 limes juiced
1 tsp salt or to taste
1/2 cup fresh cilantro or about 1 TBS dried, or leave it out if you don’t like cilantro, I did not use it.
2/3 cup shredded coconut, unsweetened, toasted if desired
1-2 scallions thinly sliced
Directions:
Rice Cooker:
Combine the rice, coconut milk and water in the cooker. Cook until done. (my rice cooker turns off when complete.) Check to make sure it’s not too dried out, if it is just add a little more water and cook for a few minutes.
When cooker turns off and goes to warm (as mine does) add the pineapple chunks, salt, cilantro, scallions, coconut and lime juice. Stir to combine. Serve warm or cold.
Stovetop:
In a medium pot, combine the rice, coconut milk and water. Cover and bring to a boil. Once boiling, reduce the heat to low right away.
Simmer on low for about 40-60 minutes or until the rice has absorbed all of the liquid. Keep covered and remove from heat and let sit for 10 minutes.
Add the pineapple chunks, salt, cilantro, scallions, coconut and lime juice. Stir to combine. Serve warm or cold.
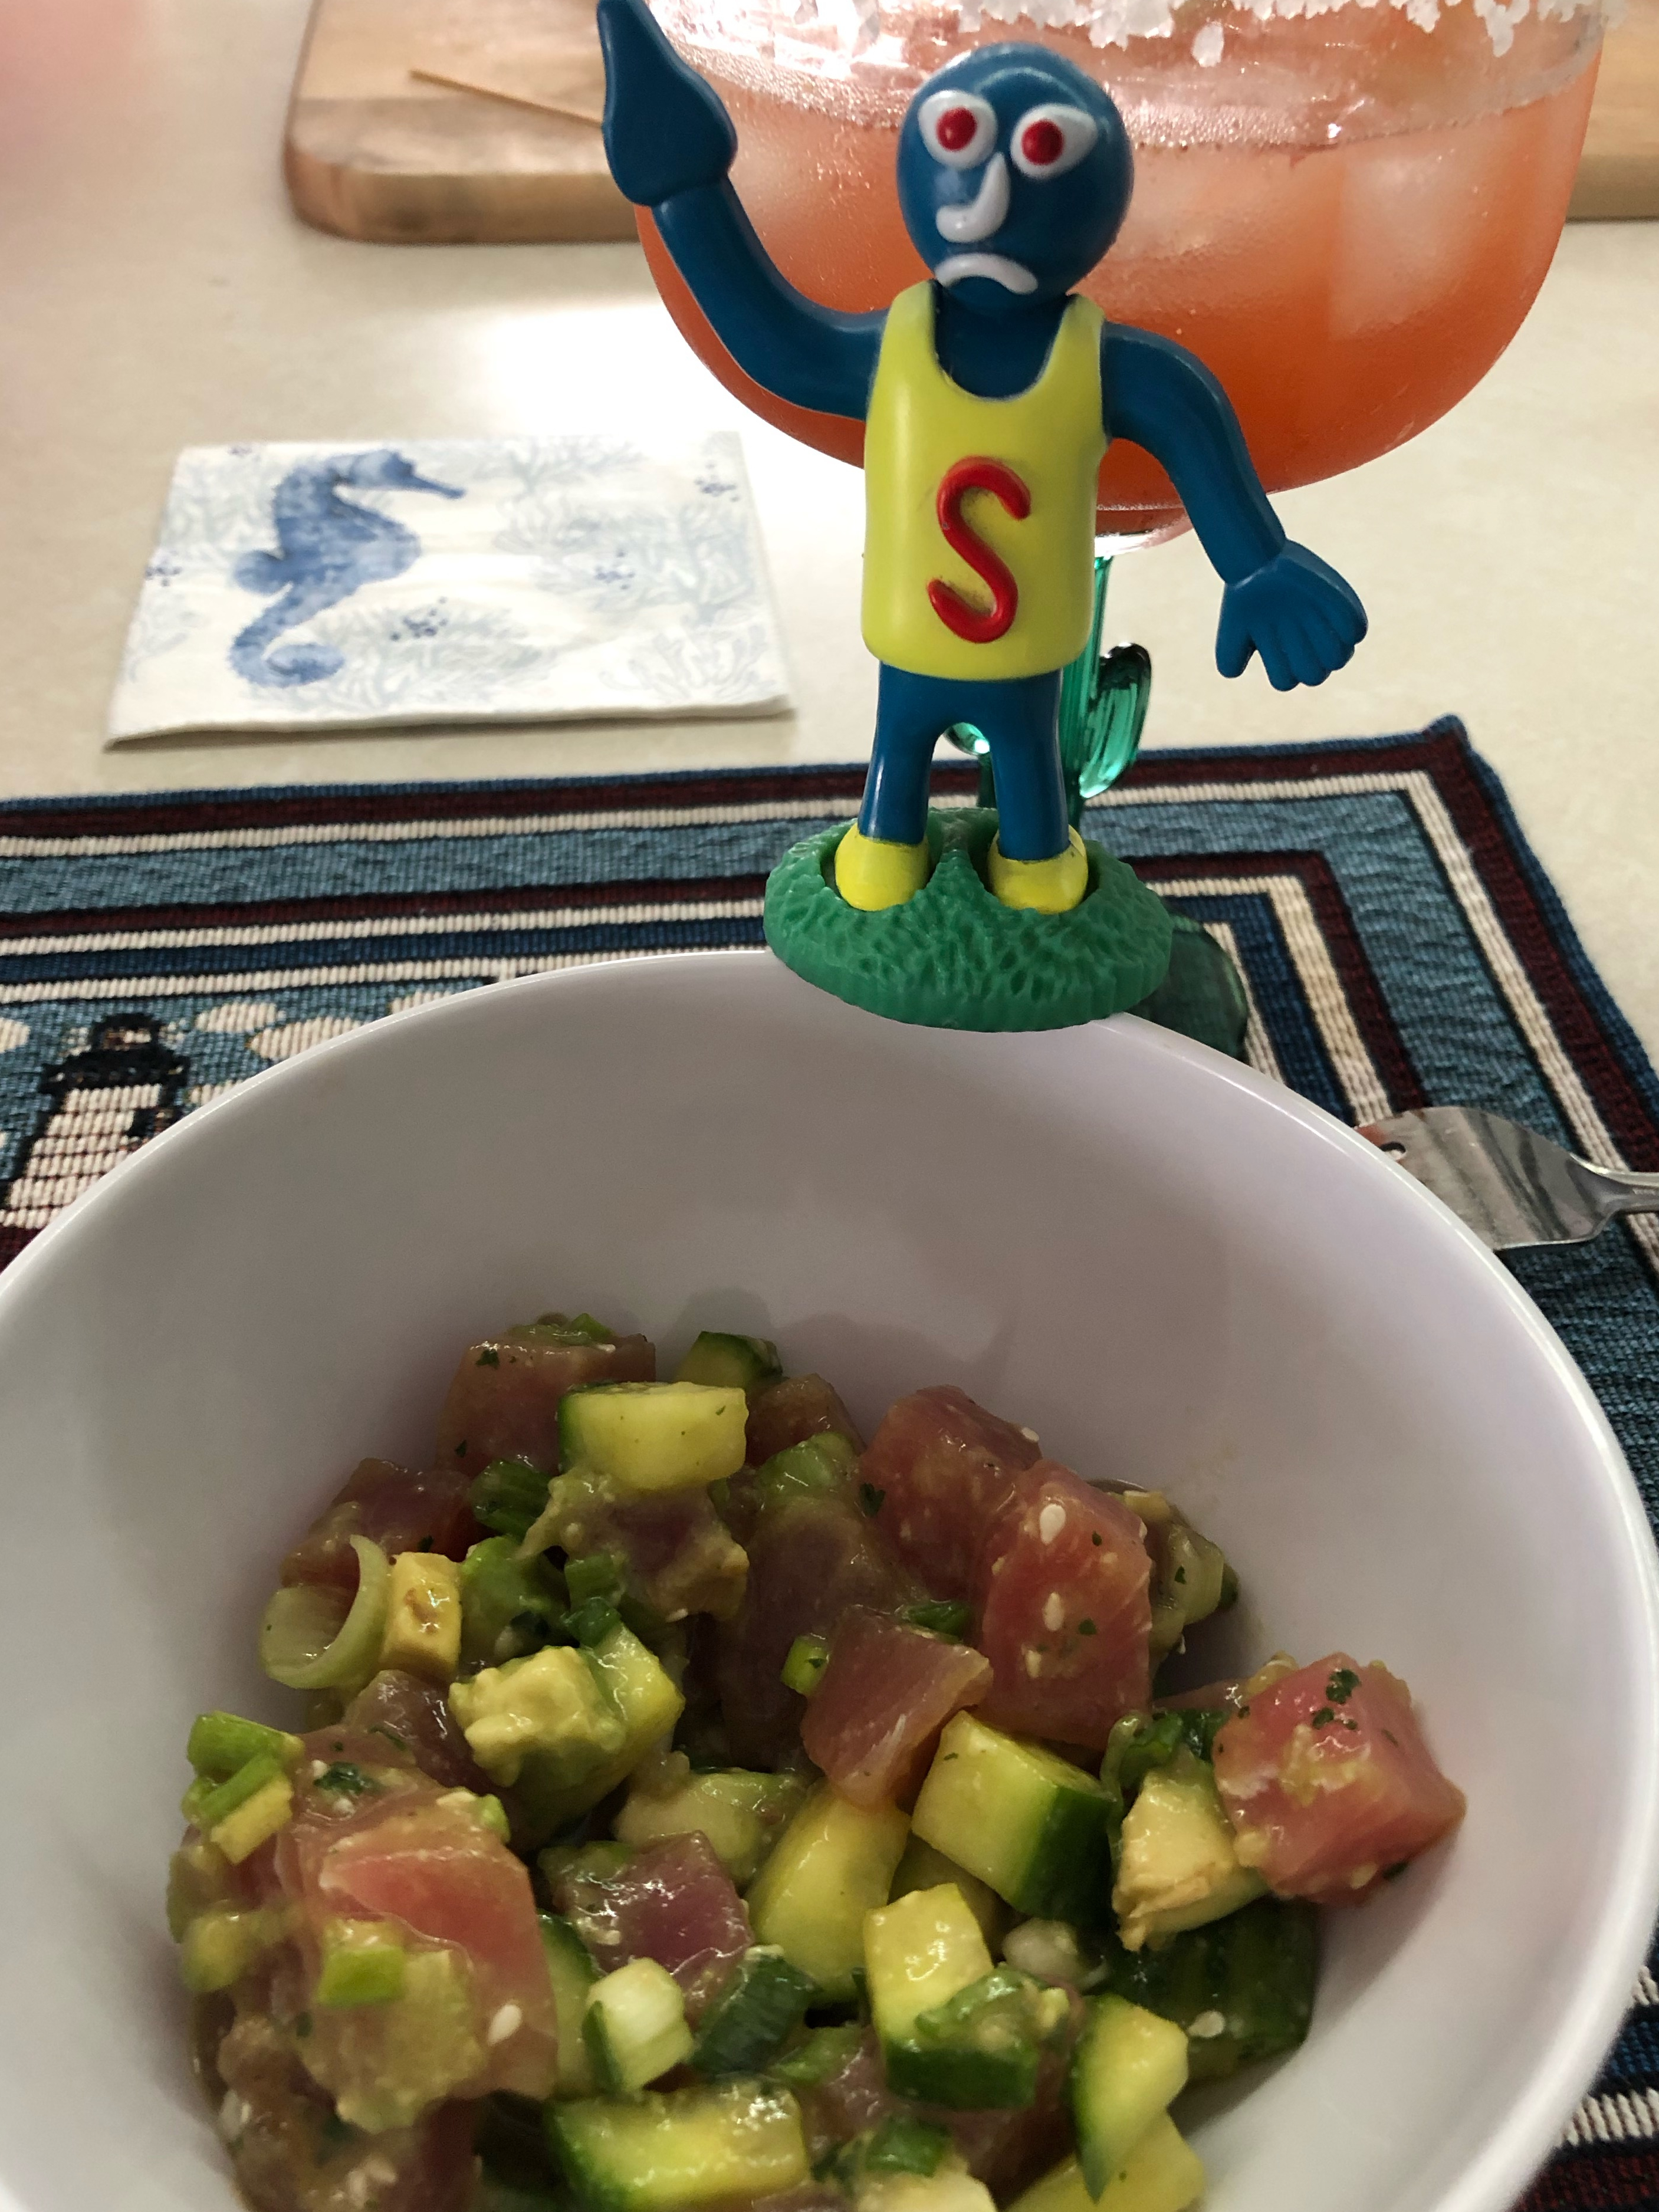
Another post by popular request! I have been making my own poke (po-kay) now for about 6 months or so. Once I found out how easy it was I was hooked. And I do it on a budget without losing flavor! I have adapted my own version from several recipes online, but my main inspiration came from Jimmy Buffet’s book, Margaritaville The Cookbook. You can purchase your favorite sushi-grade tuna where you choose but I have purchased mine from either Aldi (12 oz. bag with 2-3 steaks in the freezer section) or from BJs Wholesale Club (Priced by weight, also frozen section). Both are equally excellent choices.
I try to cut the tuna same day I am using to keep it as fresh as possible. So when defrosting in fridge you can cut it into cubes (1/2″ or so) when it is still slightly frozen. This makes it easier to cut. But cutting it thawed is fine also. Just use a very sharp knife. I always try to keep a bag of frozen steaks in my freezer for when the poke craving hits.
The last time I made it I added a new variation on it and added cooked shrimp. Phenomenal. My guests were not disappointed! The poke can be served as is, or with tortilla chips or my favorite, Pineapple-coconut Jasmine Brown Rice. I will post recipe for that soon.
This is best eaten same day obviously, but it will last 1 more day, sometimes 2, just remember it won’t look as vibrant as day 1. But it will still taste great! And this is such a low calorie, guilt free recipe you’ll love making it over and over! No cooking involved!
Tuna Poke with Shrimp
Tuna Poke with Pineapple-Coconut Jasmine Brown Rice
Ingredients:
12-16 ounces fresh/frozen sushi-grade ahi tuna
6 scallions, thinly sliced
1 garlic clove, minced
1/4 cup minced fresh ginger (this is key that it is fresh)
1/4-1/2 medium cucumber, seeded and diced small (English style cucumbers work best)
large handful fresh Cilantro leaves, minced (or about 1 TBS dried)
2 tablespoons fresh orange juice (best if from actual orange and not juice from a container)
1 1/2 TBS ponzu or teriyaki sauce (I will include my own sugar-free teriyaki recipe below)
1 1/2 tsp toasted sesame oil
1 1/2 tsp honey or agave (both work fine)
1 tsp wasabi paste (not absolutely necessary if you don’t want it)
1 tsp or more kosher salt
1 ripe avocado, pitted, peeled and diced. (Ripe but not TOO soft, better if a little firm)
1 TBS fresh lime juice (again fresh is best)
2 tsp toasted or un-toasted sesame seeds (can use white or black or both)
1/2 lb cooked chopped shrimp if desired
Directions:
Using a very sharp knife cut the tuna into approximately 1/2″ cubes. Easier to do this if tuna is slightly frozen.
Place tuna in a large bowl and added the scallions, garlic, ginger, cucumber, cilantro, orange juice, ponzu or teriyaki (recipe below), sesame oil, honey or agave, wasabi paste and salt.
Gently stir everything together. Taste to see if more salt is needed. Transfer to serving dish.
Top with chopped avocado and drizzle the lime juice over the avocado. Stir if you want and then sprinkle sesame seeds on top. Serve immediately.
Sesame Teiyaki Sauce (sugar free)
I usually double this recipe to always have some on hand. Also if you don’t like using sucralose use regular sugar.
1/2 Cup low-sodium soy sauce
2 TBS sucralose
1 tsp sesame oil
1 tsp fresh minced ginger (can use dried but the taste won’t be the same)
1 clove garlic, minced (can use garlic powder but fresh is best)
Whisk all ingredients together. Store in fridge. I store mine in a glass jar (like the ball/mason jars)
So the slacker blogger is back. I thought I would have posted long before now but being a slacker I didn’t. But the dish I made for dinner last night prompted me to get my butt in gear and post something! I had found this recipe about a month or so ago and kept saying I’d make it. Finally made it! I had to change a couple things from the original recipe 5 Ingredient Chicken Sausage and Orzo Skillet.
Original recipe called for arugula which I did not have, and I added halved grape/cherry tomatoes. I also subsituted grated parmesan cheese for the shaved and I cut down the amount they called for. You can always add more later!
I also cut the recipe in half as it’s just me and the hubby and even though we definitely LOVE leftovers we decided it was best to cut back a bit. I used Wellsley Farms Italian chicken sausage with tomato, mozzarella and basil. Delish! But feel free to use any kind you like.
The recipe is so easy and I just love using 1 pan to cook. Less to clean later!
Ingredients:
6 Italian style chicken sausages, sliced into rounds
2 cups dried orzo
8 cloves garlic, minced
4 cups chicken broth
3/4 cup grated parmesan cheese
6-8 oz. fresh spinach (remember it shrinks down to almost nothing.)
1 cup or more slice grape tomatoes
2 TBS olive oil
salt and pepper to taste
red pepper flakes to taste
Instructions:
Heat oil in a large non-stick skillet over medium heat. Add chicken sausage and cook for 2 minutes each side, or just keep mixing till all sides are nice and golden.
Add garlic, orzo and red pepper flakes. Toss for 1-2 minutes until orzo is slightly toasted and garlic is really fragrant.
Pour in chicken broth and season with salt and pepper. Bring to a boil, reduce heat and simmer, covered, for about 15 minutes, until all of the liquid is absorbed and the orzo is cooked. Keep stirring every so often so it doesn’t stick to the bottom of the pan.
Add the spinach and tomatoes just before the orzo is almost cooked and mix well. Cover for a minute or so and let the spinach reduced.
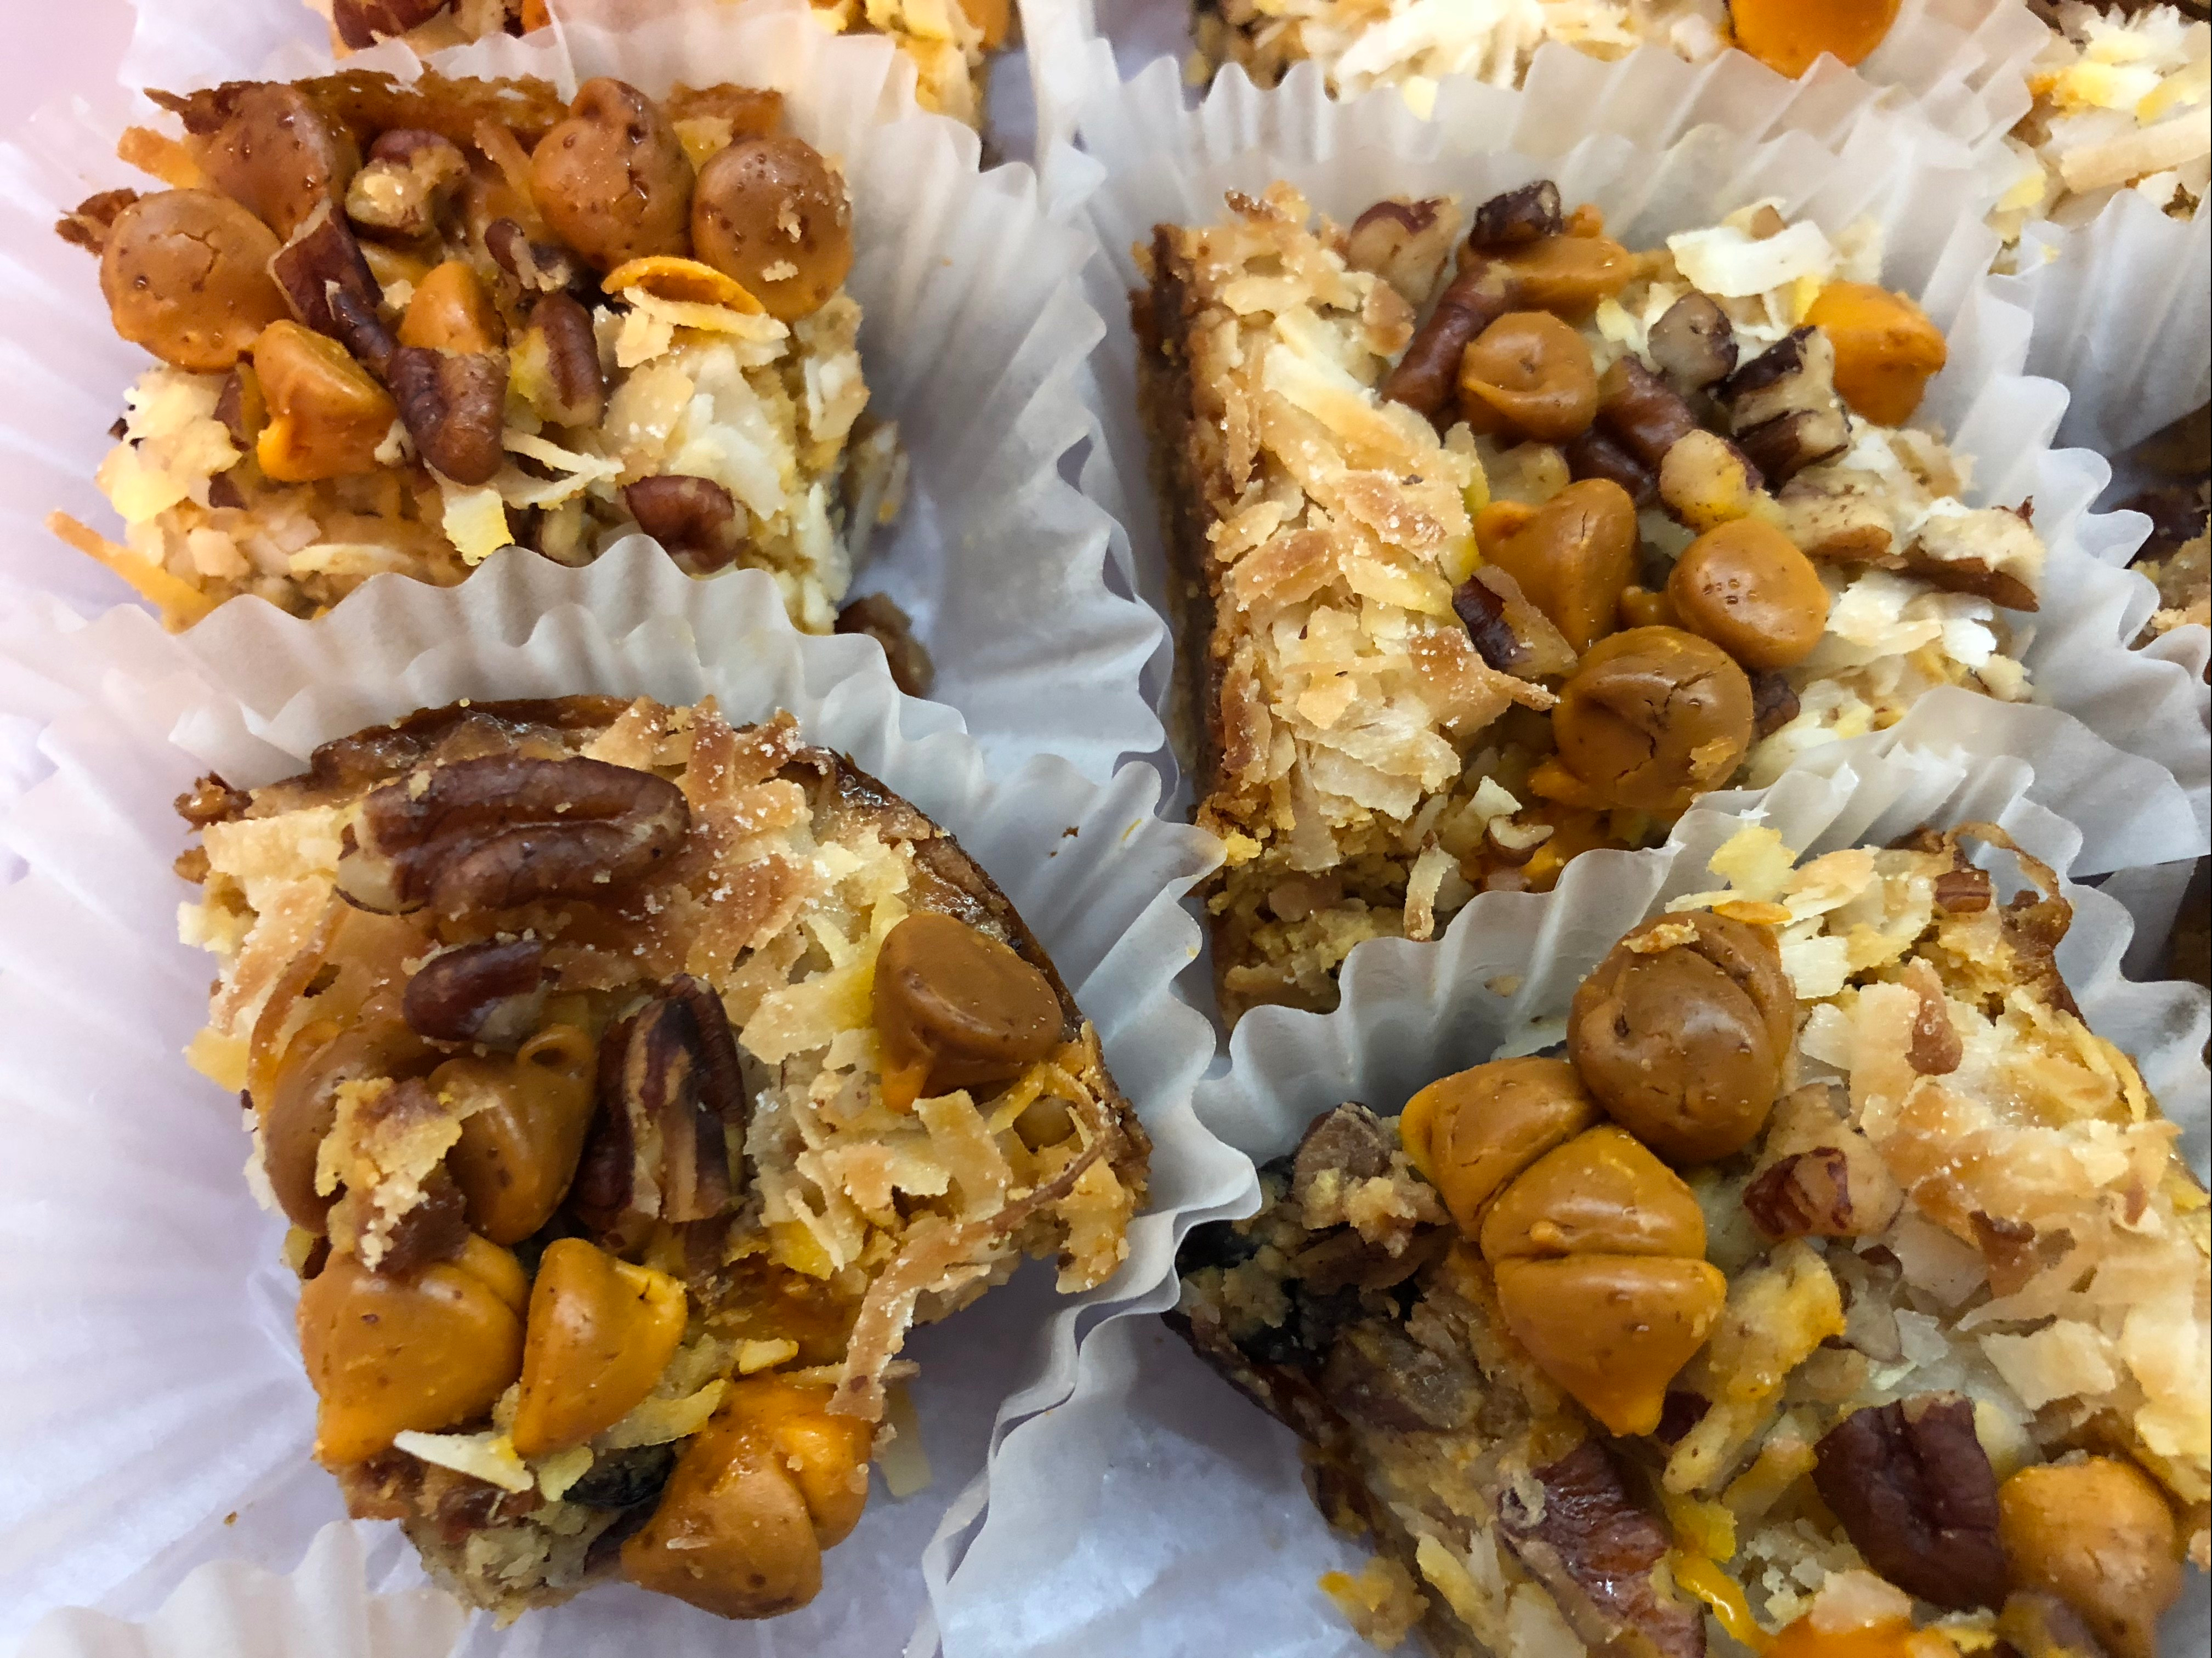
It’s been a while since I posted but I’m back! I made this recipe for our Halloween Party at my new job. (Ok it’s not so new anymore) Everyone knows how much I LOVE to dress up (NOT!) so instead I made a dessert. Normally dessert is not my go to recipe realm but I keep trying! Never give up! Anyway…. I found this recipe on Taste of Home. It was originally called Pumpkin Delight Magic Bars. After reading the reviews I decided it would be a good choice. Though as the reviews do state, the toppings do tend to fall off a bit after it’s baked. Not a big deal but even when I was determined to ‘fix’ that by making sure I pressed the toppings into the cake before baking, it did no good. Oh well! I think the next time I make it I may put some of the topping inside instead. Either way, this recipe came out amazing! I didn’t have any leftovers at work! Score for the newbie! The recipe says it makes 24 bars. I thought they might be too big so I cut them in half and got 48 small bars. Worked out great. But what to do about keeping the topping under control? I put each bar into a cupcake liner! This way it kept everything neat! Easier to transport and display as well.
I kept the recipe the same except instead of the 1 cup of white baking chips it called for I used 1 cup of pumpkin spice chips. AMAZING! So experiment with different flavors! I think for Christmas I will use cinnamon morsels and maybe throw some toffee bits on as well! Can’t hurt right! And yes even though I am doing WW again, and yes these are many points I did eat a few. How could I not? And I definitely recommend keeping them in the refrigerator if you’re not going to devour them at one sitting. Chilled is definitely better! They will not disappoint! Moist, sweet, nutty, rich bites of heaven…
INGREDIENTS:
1 package vanilla wafer cookies (11 ounces)
½ cup butter, melted (1 stick)
4 ounces cream cheese, softened (½ a brick)
1 can (14 oz.) sweetened condensed milk
½ teaspoon pumpkin pie spice
1 can (15 oz.) solid-pack pumpkin (NOT Pumpkin Pie filling)
1 cup dried cranberries
1 ½ cups sweetened shredded coconut
1 cup pumpkin spice baking chips (or white if you choose)
1 cup chopped pecans
DIRECTIONS:
Preheat oven to 350ºF. Great a 13×9 inch baking pan.
Place the vanilla wafer cookies in a food processor* and pulse until coarse crumbs form.
Drizzle in the melted butter and pulse until blended. Press into the bottom of the baking pan.
In a large bowl, beat the cream cheese, sweetened condensed milk and pumpkin pie spice until smooth. Beat in the pumpkin. Stir in cranberries.
Pour over crust. Layer the coconut, baking chips and pecans.
Bake 45-55 minutes (it took my oven 45 minutes) or until golden brown. Cook in pan on a wire rack for 10 minutes
Loosen the sides from pan with a knife of spatula. Cool completely. Cut into bars**and refrigerate leftovers.
* If you don’t have a food processor you can just put the cookies in a large Ziploc type bag and smash them until they are crumbs.
** I recommend cooling completely in the refrigerator and then cutting them. Makes it easier to cut.
NUTRITION FACTS: (like we really care at this point)
This recipe is from Gina at Skinnytaste. I had made them once before and they were good but I used whole wheat flour. This time I made them with unbleached all-purpose flour and they came out so much better! Each recipe makes 4 bagels and for those following Weight Watchers and counting points, each bagel is only 3 Freestyle points! I put 2 tablespoons of greek style cream cheese for a total of 2 points, making the whole bagel 5 points! Amazing, since a normal bagel is 9-11 points, plain! So thank you to Skinnytaste for this delicious recipe! I used an “everything” seasoning (recipe to follow) on them but you can use whatever you like.
These are really easy to make and have only 5 ingredients! I made mine in my Air Fryer and they came out great! I love my Air Fryer. I have a GoWise USA fryer in purple. But they can easily be made in the oven as well, they just take longer. Give it a try! You won’t be disappointed!
1 cup unbleached all-purpose flour (you can use whole wheat or gluten-free if you want)
2 teaspoons baking powder (make sure it’s not expired)
3/4 teaspoon kosher salt
1 cup non-fat Greek yogurt ( I used Fage, but use whatever you like, just don’t use regular yogurt, it can get too sticky)
1 egg beaten (or egg white if you choose)
AIR FRYER DIRECTIONS:
Preheat the air fryer to 325ºF and set for 11-12 minutes. (My machine only had 320 or 330 so I set it for 330)
In a medium bowl combine the flour, baking powder and salt, mixing well.
Add the yogurt and mix with a fork until well combined. It should look like small crumbles.
Place the down on a lightly dusted work area and need it a bit until it is tacky but not sticky. About 15-20 turns, the dough should come off your hands easily.
Divide the dough into four equal balls, rolling each ball into 3/4 inch thick ropes and join the ends to make the bagel shape.
Brush the tops with the beaten egg and coat the top and bottom with your seasonings.
Once the air fryer is heated, spray a little cooking spray on bottom of pan and transfer the bagels in batches but don’t overcrowd. I put 3 in at a time. If I had put all 4 in they would have been too crowded.
Bake/Fry for 11-12 minutes. I put mine in for 12 minutes, 11 was good but the dough inside was still a little tacky. So 12 minutes worked for me. They should be golden brown. There is no need to turn them over either.
Let cool at least 10 minutes or more before cutting, they will firm up when cooled.
OVEN DIRECTIONS:
Preheat oven to 375ºF. Put parchment paper on a baking sheet and spray with oil to avoid sticking. (you can also use a silpat if you have one)
Follow steps 2-6 as above.
Bake on the top rack of the oven for 25 minutes. Let cool at least 10 minutes before cutting.
Makes 4 bagels
EVERYTHING BAGEL SEASONING
Ingredients:
1/4 cup sesame seeds
1/4 cup poppy seeds (If using fine poppy seeds use only 1/8 cup)
3 tablespoons dried onion flakes
3 tablespoons dried garlic flakes (hard to find so I ordered on Amazon)
2 tablespoons coarse sea salt
DIRECTIONS:
Mix everything together and store in an airtight container.
This post is from many years ago but since it is Cinco de Mayo I thought I’d repost it! Guacamole isn’t just for Cinco de Mayo either! Enjoy it every day if you want! Avocados are good for you! An update on the avocado “tree” I had all those years ago…It didn’t last. We don’t have the proper surroundings for it. Living with an extremely strict HOA we can’t have ANY kind of fruit trees outside our screen enclosure. So my little tree is no more. Very sad.
I love guacamole! (I think I’ll marry it!- inside joke) I always thought it was so hard to make until my cousins Linda and Kim showed me how when they were visiting me. Ever since then I was hooked on making it myself. I am always looking for the sale on the Hass avocados. They are the best to use. There are other larger avocados out there but they just don’t do it for me. The color is wrong too and the taste is bland. So stick to the Hass. They are usually from California but lately the ones I’ve bought have been from Mexico. Still really good. I make guacamole at least once a week! It goes great on so many things other than chips. Sandwiches, burgers, hot dogs, chicken, steak, you name it. I also bought one of those avocado slicers to make the slicing easier, but it’s just as easy to score and then scoop out the avocado with a large spoon. Though it is actually good for getting the pit out without cutting open your hand and getting blood all over the guac. But you can just cut open an avocado by slicing all the way around the long way and twist the two halves apart. Then take a sharp knife and whack the seed with it till it sticks in and twist. Just don’t whack your hand in the process! The seed should come right out. And I planted one recently, I had to see if I could actually grow it. It works! Just waiting for fruit! (See picture below) Though that might not happen but we will see! As soon as I finish writing this I am going to make another batch as well! And when you buy avocados pick ones that are a nice color and firm. If they are already soft you will have to use them right away. They take a day or so to soften on the counter, once they do put them in the fridge and use in few days. They should not be mushy! Mushy is bad. I also make mine half mashed and half chunky. But if you don’t like chunks mash away!
INGREDIENTS:
2 large Hass avocados
1 large plum tomato (halved, seeded and chopped)
¼ cup chopped red onion
1 tablespoon cilantro (or ½ cup fresh chopped)
juice of 1 lime or lemon
¼ cup jalapeños, chopped (I use the pickled ones in the jar but fresh is good too!) If this is too hot for you lessen or leave out.
2 cloves garlic, minced or chopped
1 teaspoon kosher salt (regular will be fine if you don’t have the Kosher)
DIRECTIONS:
1. Cut open the avocado and slice and chop one of them and place in a large bowl. Do the same with the second one but set aside.
2. Mash the avocado in the large bowl with a fork till all mashed up. Add the rest of the ingredients as well as the unmashed avocado and mix gently so you don’t mash all the chunks. (Unless you want it all mashed!)
3. Chill and serve in a few hours. If you will be waiting longer to serve place a piece of wax paper over the top of the guacamole in a container and cover tightly. It will start to turn brown from oxidation if you don’t do this. Also adding a little more lime juice will help. If it does start to turn just mix it up, there’s nothing wrong with it, just won’t look as pretty.
I BAKED!! I know what you’re all saying…(But you don’t bake!) But I tried yet again, I refuse to give in on this. And it’s not really from scratch, it’s semi-homemade. I added my own touches and it worked! It came out amazing! So moist, rich and tropical! Oh and I even made the frosting from scratch! It was so easy! Go figure!
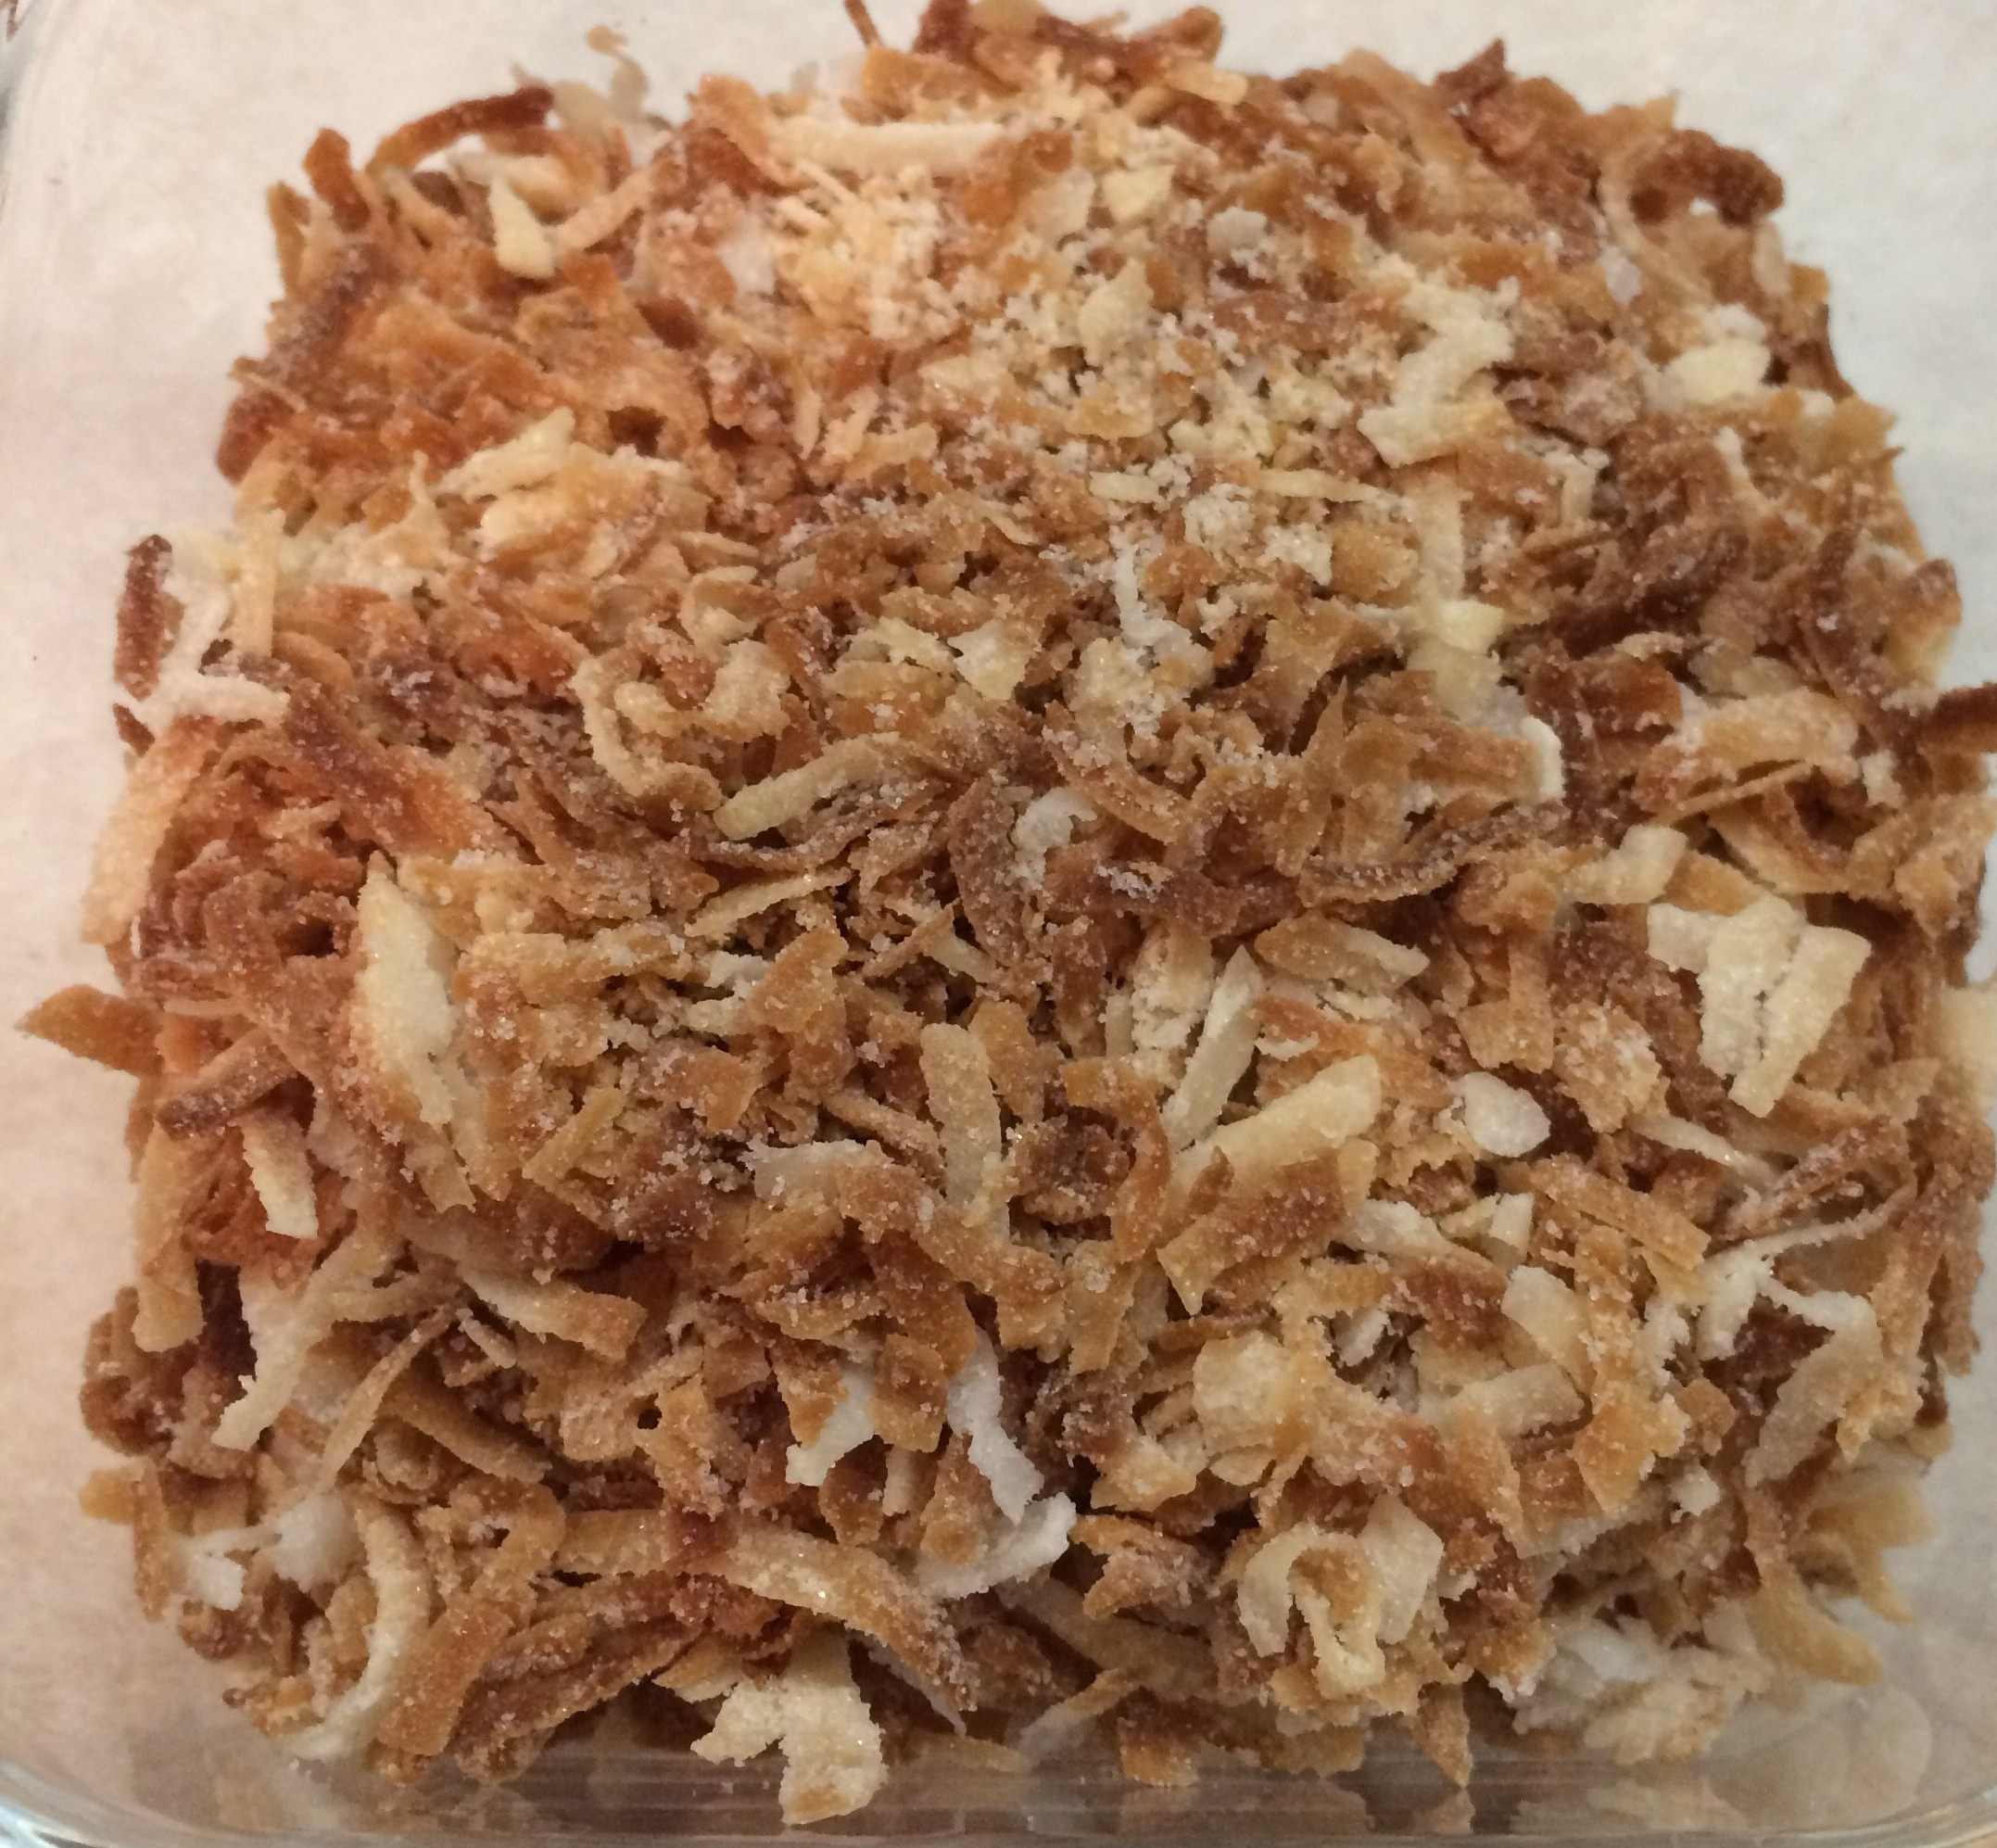
I had this cake mix in my cabinet for months, I bought it online for like a dollar and it was past it’s “best if used by date” by a few weeks so I figured I’d be adventurous. Originally I was going to make cupcakes but I thought I better just stick with a sheet cake this time. I toasted up some sweetened coconut flakes I had in the pantry also (they came out a little darker than I wanted but they taste great so all is well), and topped the cake with them.
Toasted Coconut
After tasting a small piece I wanted to eat the whole cake! WOW! Success!! I can bake I can bake I can bake!!!!
So without anymore self-praise here is how I did it.
Cake Ingredients:
1 box pineapple cake mix (I used Pillsbury Moist Supreme Pineapple)
1 (8 oz) can crushed pineapple in juice, undrained (I used about 8 ounces of fresh crushed pineapple I had in the freezer and thawed)
1/2 cup butter, melted (1 stick)
1/4 cup coconut syrup (or you can just use water or even coconut water)
3 large eggs
1/2 teaspoon rum extract
Frosting Ingredients:
2 cups confectioners sugar
4 oz butter (1 stick), softened
4 oz. cream cheese, softened
1 teaspoon rum extract
1/2 teaspoon vanilla extract
Extra Ingredients:
1/2-3/4 cup sweetened coconut flakes
Cake Directions:
Heat oven to 350°F. Grease bottom of 13 x 9 pan with cooking spray or butter with a dusting of flour.
Beat cake mix, pineapple, butter, coconut syrup and eggs in a large bowl with mixer on medium speed for 2 minutes. (didn’t realize how long 2 minutes can be when you’re timing something!)
Pour batter into prepared pan.
Bake for 34-38 minutes. (Check after 30 minutes as all ovens can be different. I took mine out at 32 minutes)
Let cool completely before frosting.
Once cool, frost the cake.
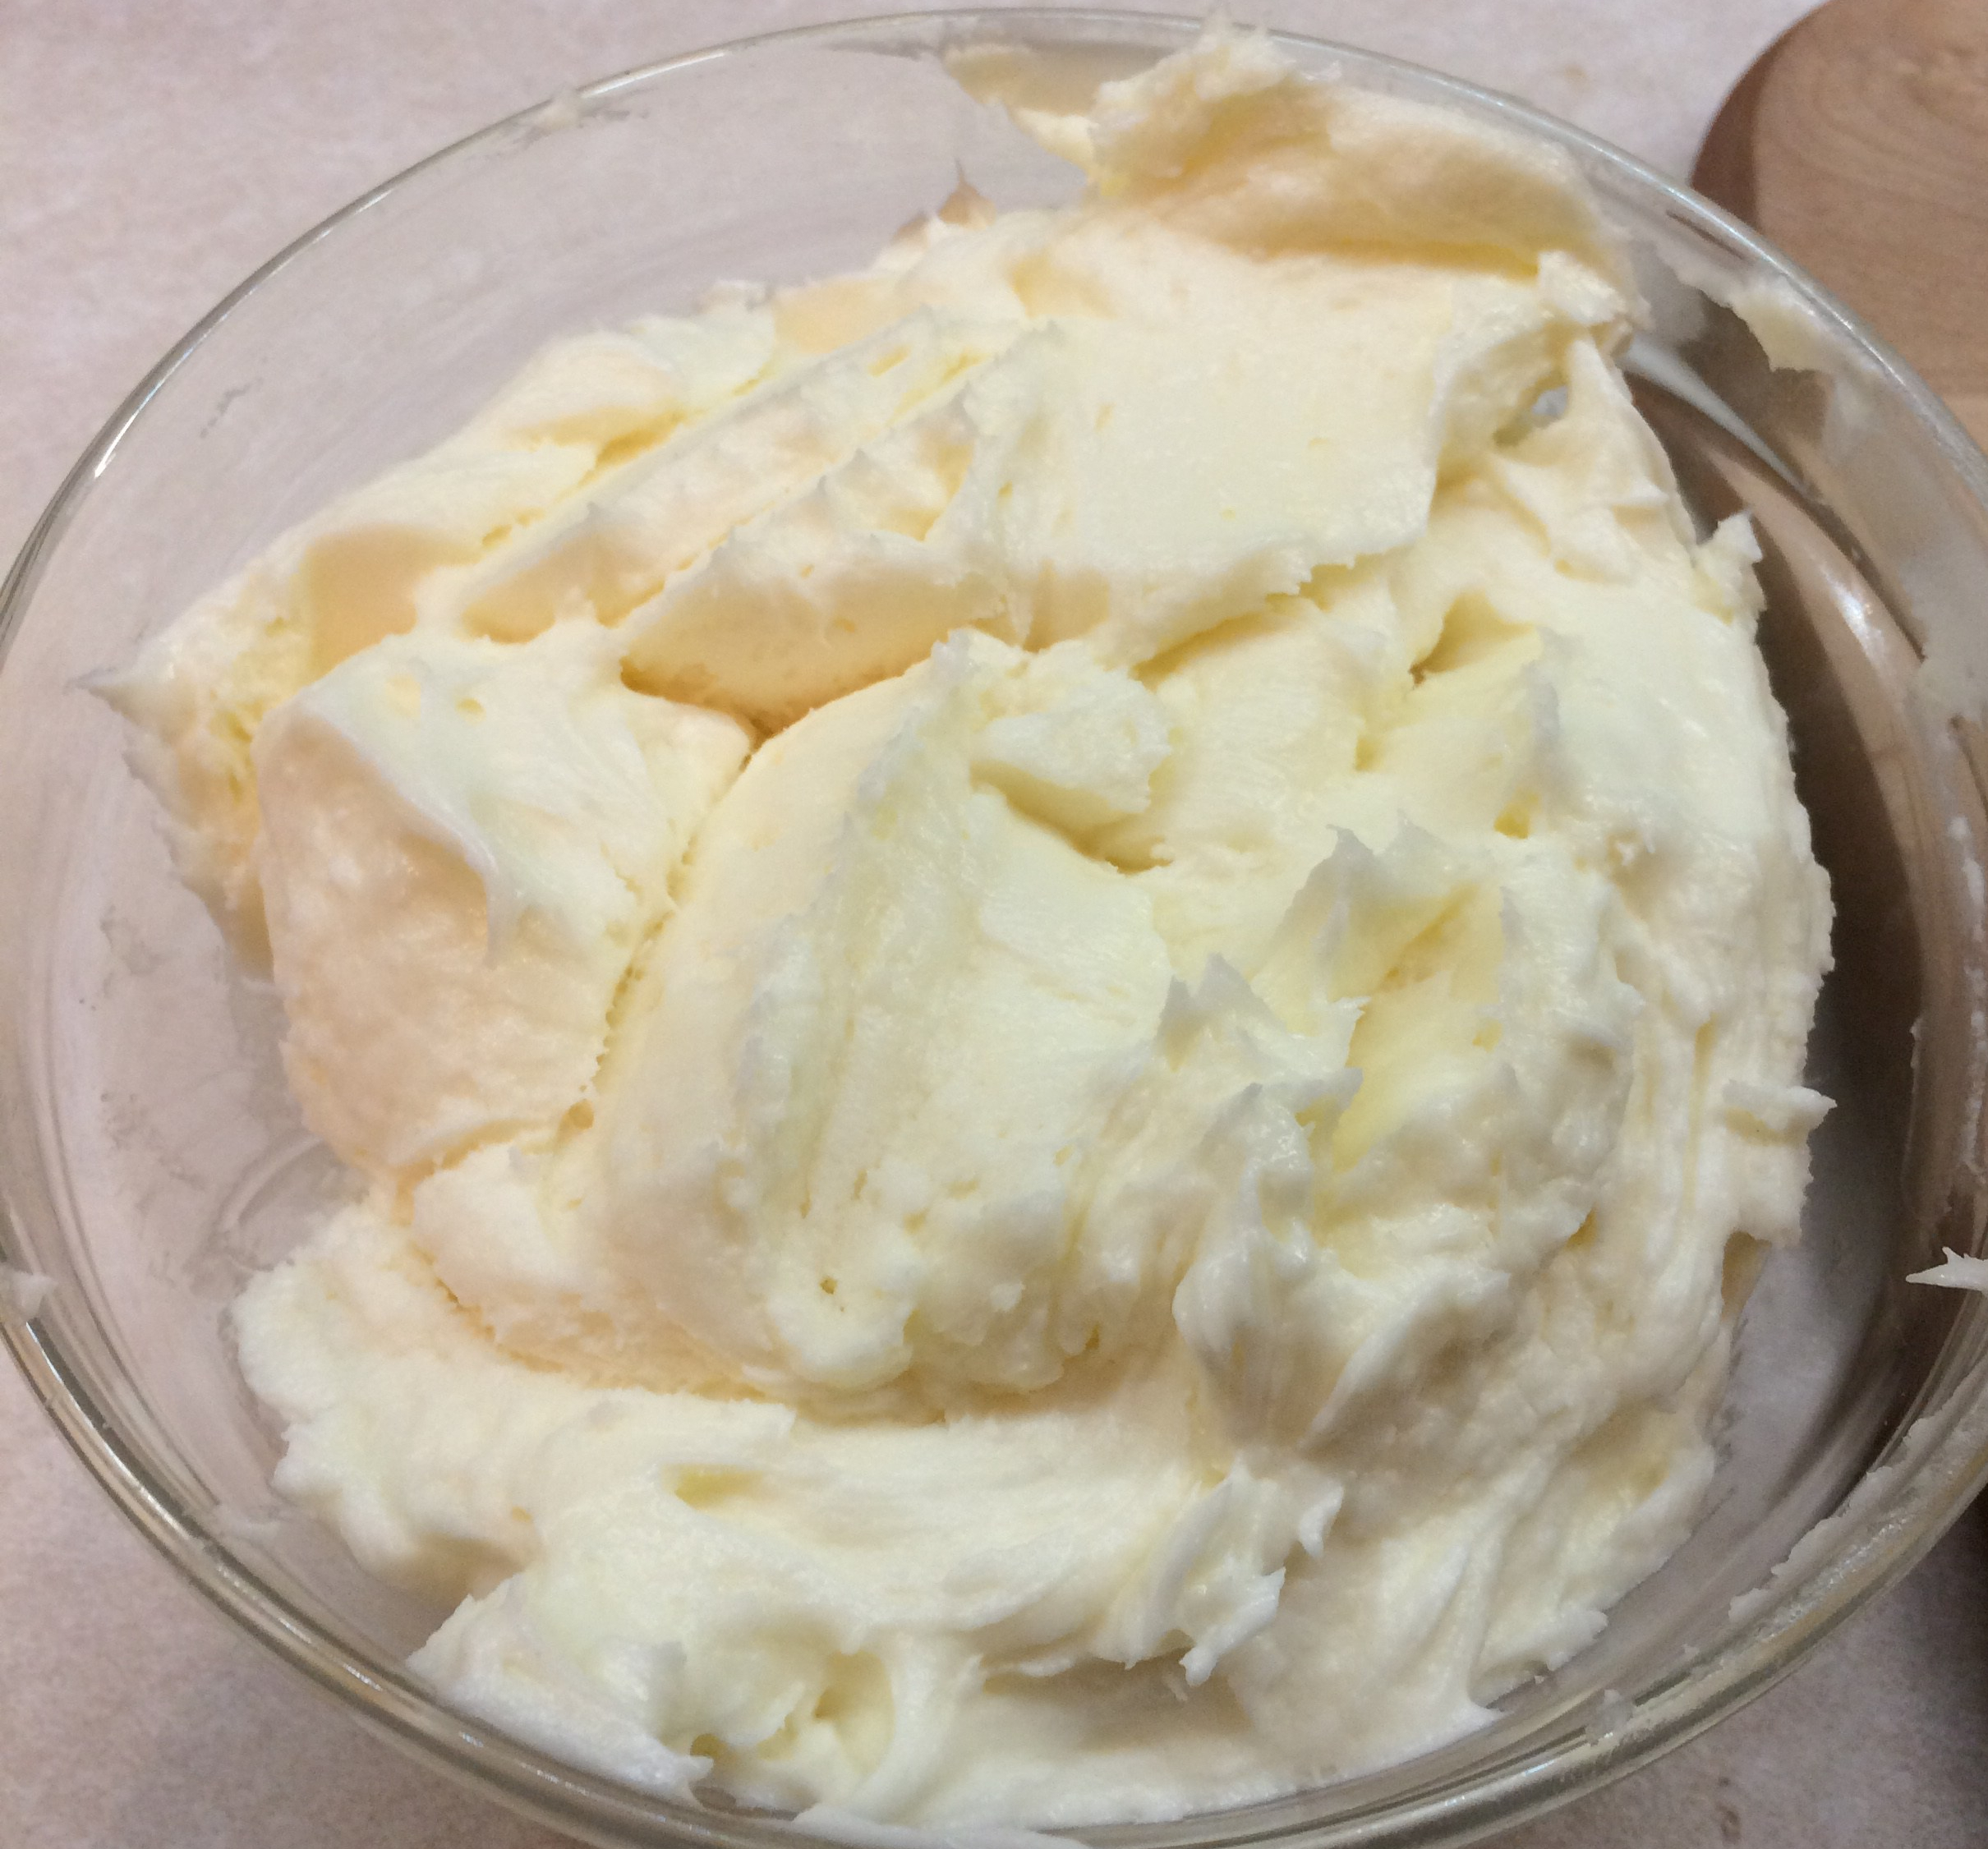
Frosting Directions: (this recipe will frost the entire cake)
In a large bowl beat(cream) the butter and cream cheese.
With the mixer on low-speed add the sugar a little at a time until smooth and creamy.
Add the extracts.
Toasted Coconut Directions:
Place the coconut on a cookie sheet in a 350°F oven for about 2-5 minutes. Check after 2 minutes so it doesn’t burn. It goes quick once it starts to toast. Cool before putting on cake.
As promised I am posting the recipe for the French Onion Dip/Soup Pizza I posted pictures of the other day. This recipe came from Rachael Ray. It actually aired on her show back in 2009 but I just came across it now. If you want to see the video and original recipe click on French Onion Dip Pizza.
Ready for the oven!
When I first saw this recipe I was hooked. If you love french onion dip or french onion soup and pizza then you will love this recipe. My one word of caution is to give yourself time to make it. Caramelizing onions is NOT a quick process. I would say this recipe took me a good 90 minutes from start to finish with all the prep and cooking. It’s not complicated at all either. Just time-consuming. I also made the recipe as instructed, for the most part. I did add an extra clove of garlic (duh!) and an extra onion. I also added a bit more on the cheese. (again, duh!) She also calls for Parmigiano Reggiano cheese, but come on, I’m not made of gold. I used Locatelli Romano. The Gruyère cheese in this recipe was my big splurge. And don’t leave out the thyme leaves. I actually have never cooked with fresh thyme before, I know, hard to believe. What was I thinking? It totally made the pizza. The flavors just exploded in my mouth.
Look at all that cheese!
Yummmm
I will be making this pizza again for sure. Another thing I learned when pre-baking the crust, I will also poke tiny air holes in it with a fork before baking. I didn’t do that when I made this and it puffed up so big all I could think of was that Little Rascals episode with the cake that kept expanding on the sides. I was able to flatten it but I was nervous. Baking the crust prior is definitely a must otherwise the pizza will be very soggy.
So if you like onions and cheese and pizza try this recipe. You will NOT be disappointed. If you don’t like any of those things then I feel sad for you. (Sorry Biz, way too many onions for you)
Double Yummmm
Ingredients:
2 tablespoons (approximately) extra virgin olive oil
2-3 large sweet onions, thinly sliced
2-4 cloves garlic finely chopped or grated
salt and pepper to taste
1 ball/package fresh pizza dough (I buy mine at Wal-Mart in their deli section, $1!)
1 cup sour cream or creme fraiche (I used sour cream)
3/4 cup shredded sharp white cheddar cheese
3/4 cup shredded Gruyère cheese
1/2 cup grated Parmigiano Reggiano cheese (I used Locatelli Romano, use what you have)
1 tablespoon fresh thyme leaves, chopped
Directions:
Preheat the oven to 450°F.
Using a large skillet, on medium, heat the olive oil. Add the onion and garlic and gently cook, stirring occasionally until the onions are soft and deep golden brown. This takes about 25 minutes. Be careful not to let the onions get crispy.
As the onions are cooking prep your pizza dough on your pizza pan, baking sheet or whatever you use. Poke tiny air holes with a fork through the dough. (remember we don’t want a balloon to appear!) Bake the dough until light golden brown, about 15 minutes. Keep an eye on it to make sure it doesn’t get too brown.
When the onions are done, season them with salt and pepper and stir in the sour cream or creme fraiche.
Spread this mixture over the pre-baked crust. Sprinkle the cheeses over the onions. Sprinkle the thyme over the cheese.
Bake until golden brown and bubbly about 10 minutes. Keep a watch on it so the cheese doesn’t burn. (I placed it on the middle rack because it was so dense. Normally my pizza is baked on the bottom rack)
Remove from oven carefully and let sit for a couple of minutes. Slice it up and serve! Be careful it’s HOT! Enjoy!
(This recipe is my most viewed post and I thought it was worth reposting for any newcomers! Enjoy!)
I think just about everyone loves chicken wings. But after a while they can get a little boring. Same thing all the time…We have a favorite wings place here in Florida called Hurricane Wings. (They’re on Long Island in NY now too!) They have lots of different flavors along with the usual hot stuff. So the other night I remembered I had a bag of frozen wings and wanted to make up a batch. Well as most of you know, I love garlic. Can never have too much if you ask me. I also love butter and parmesan cheese. So why not combine them all with the chicken wings! Wonderful idea. What I liked most about this is that I didn’t have to defrost the wings first. I just followed the directions on the bag. Baked them for 45 minutes at 400ºF. My oven also has a convection option so I used the convection roast setting. I also turned them over a couple of times during the cooking. We love crispy wings and if you do them this way you won’t have all the extra fat from deep-frying. I am happy to say they came out awesome! We also served them with the usual blue cheese dressing. I also didn’t have any celery so I cut a cucumber into long slices and that worked just fine.
I’m thinking of making up another batch for tonight!
INGREDIENTS:
2-4 lbs. uncooked chicken wings (frozen or unfrozen)
6-8 cloves garlic minced (cut back if you don’t like a lot of garlic)
6-8 tablespoons butter, melted
½ cup of grated parmesan cheese of choice
½ teaspoon each dried basil and oregano
DIRECTIONS:
Follow cooking directions on bag of chicken. Different cooking times for frozen or thawed. Place the chicken wings on a cookie sheet or roasting pan and cook as directed. This will take 30-45 minutes.
Meanwhile in a medium bowl combine the melted butter, garlic, basil and oregano. Add ¼ cup of the parmesan cheese. Mix well.
When the wings are done to your liking, we like them crispy, remove from cookie sheet and put them in a large bowl. Add the butter, garlic mixture to the wings and mix well.
Put the wings back onto the cookie sheet, making sure you get all the mixture on them. Sprinkle with the remaining ¼ cup of parmesan cheese.
Broil for about 5 minutes about 3-4 inches from the broiler element. Keep an eye on them so the cheese doesn’t burn.
Remove from oven and transfer to a platter and dig in!
This is a refreshing chilled soup/bisque that tastes more like ice cream than a soup! It’s sweet, creamy and delicious! Great for those hot cruise days when you just want something refreshing before dinner. When the staff serves you they put some fresh strawberries in the middle of the soup bowl and pour the soup […]
Full disclosure, this blog post appeared on my other site What’s Cooking at the Genua’s? almost 8 years ago! I’ve updated the copy a bit but it’s still the same delicious recipe. Cruises are a wonderful thing. In the last 27 years I’ve been on 19 (20 this January 2019), so far. Most (12, […]
Yes, another cocktail. Hey what can I say, I love new and refreshing cocktails on a hot summer day, on a cruise, in the Caribbean…Anywhere really! And anyone who has cruised on Carnival knows all about the Alchemy Bar! It’s a great bar, if you can get a seat or place at the counter! Always […]
Years ago on most of my early cruises they always served Baked Alaska on the Captain’s Night or some other elegant night for dessert. They still serve it BUT with one difference, it is no longer flaming. Yes, flaming. I remember the first time I saw this, the waiters all came dancing into the dining […]


Recent Comments