Tag Archives: eggs

Who Doesn’t Love Tater-tots Breakfast Casserole

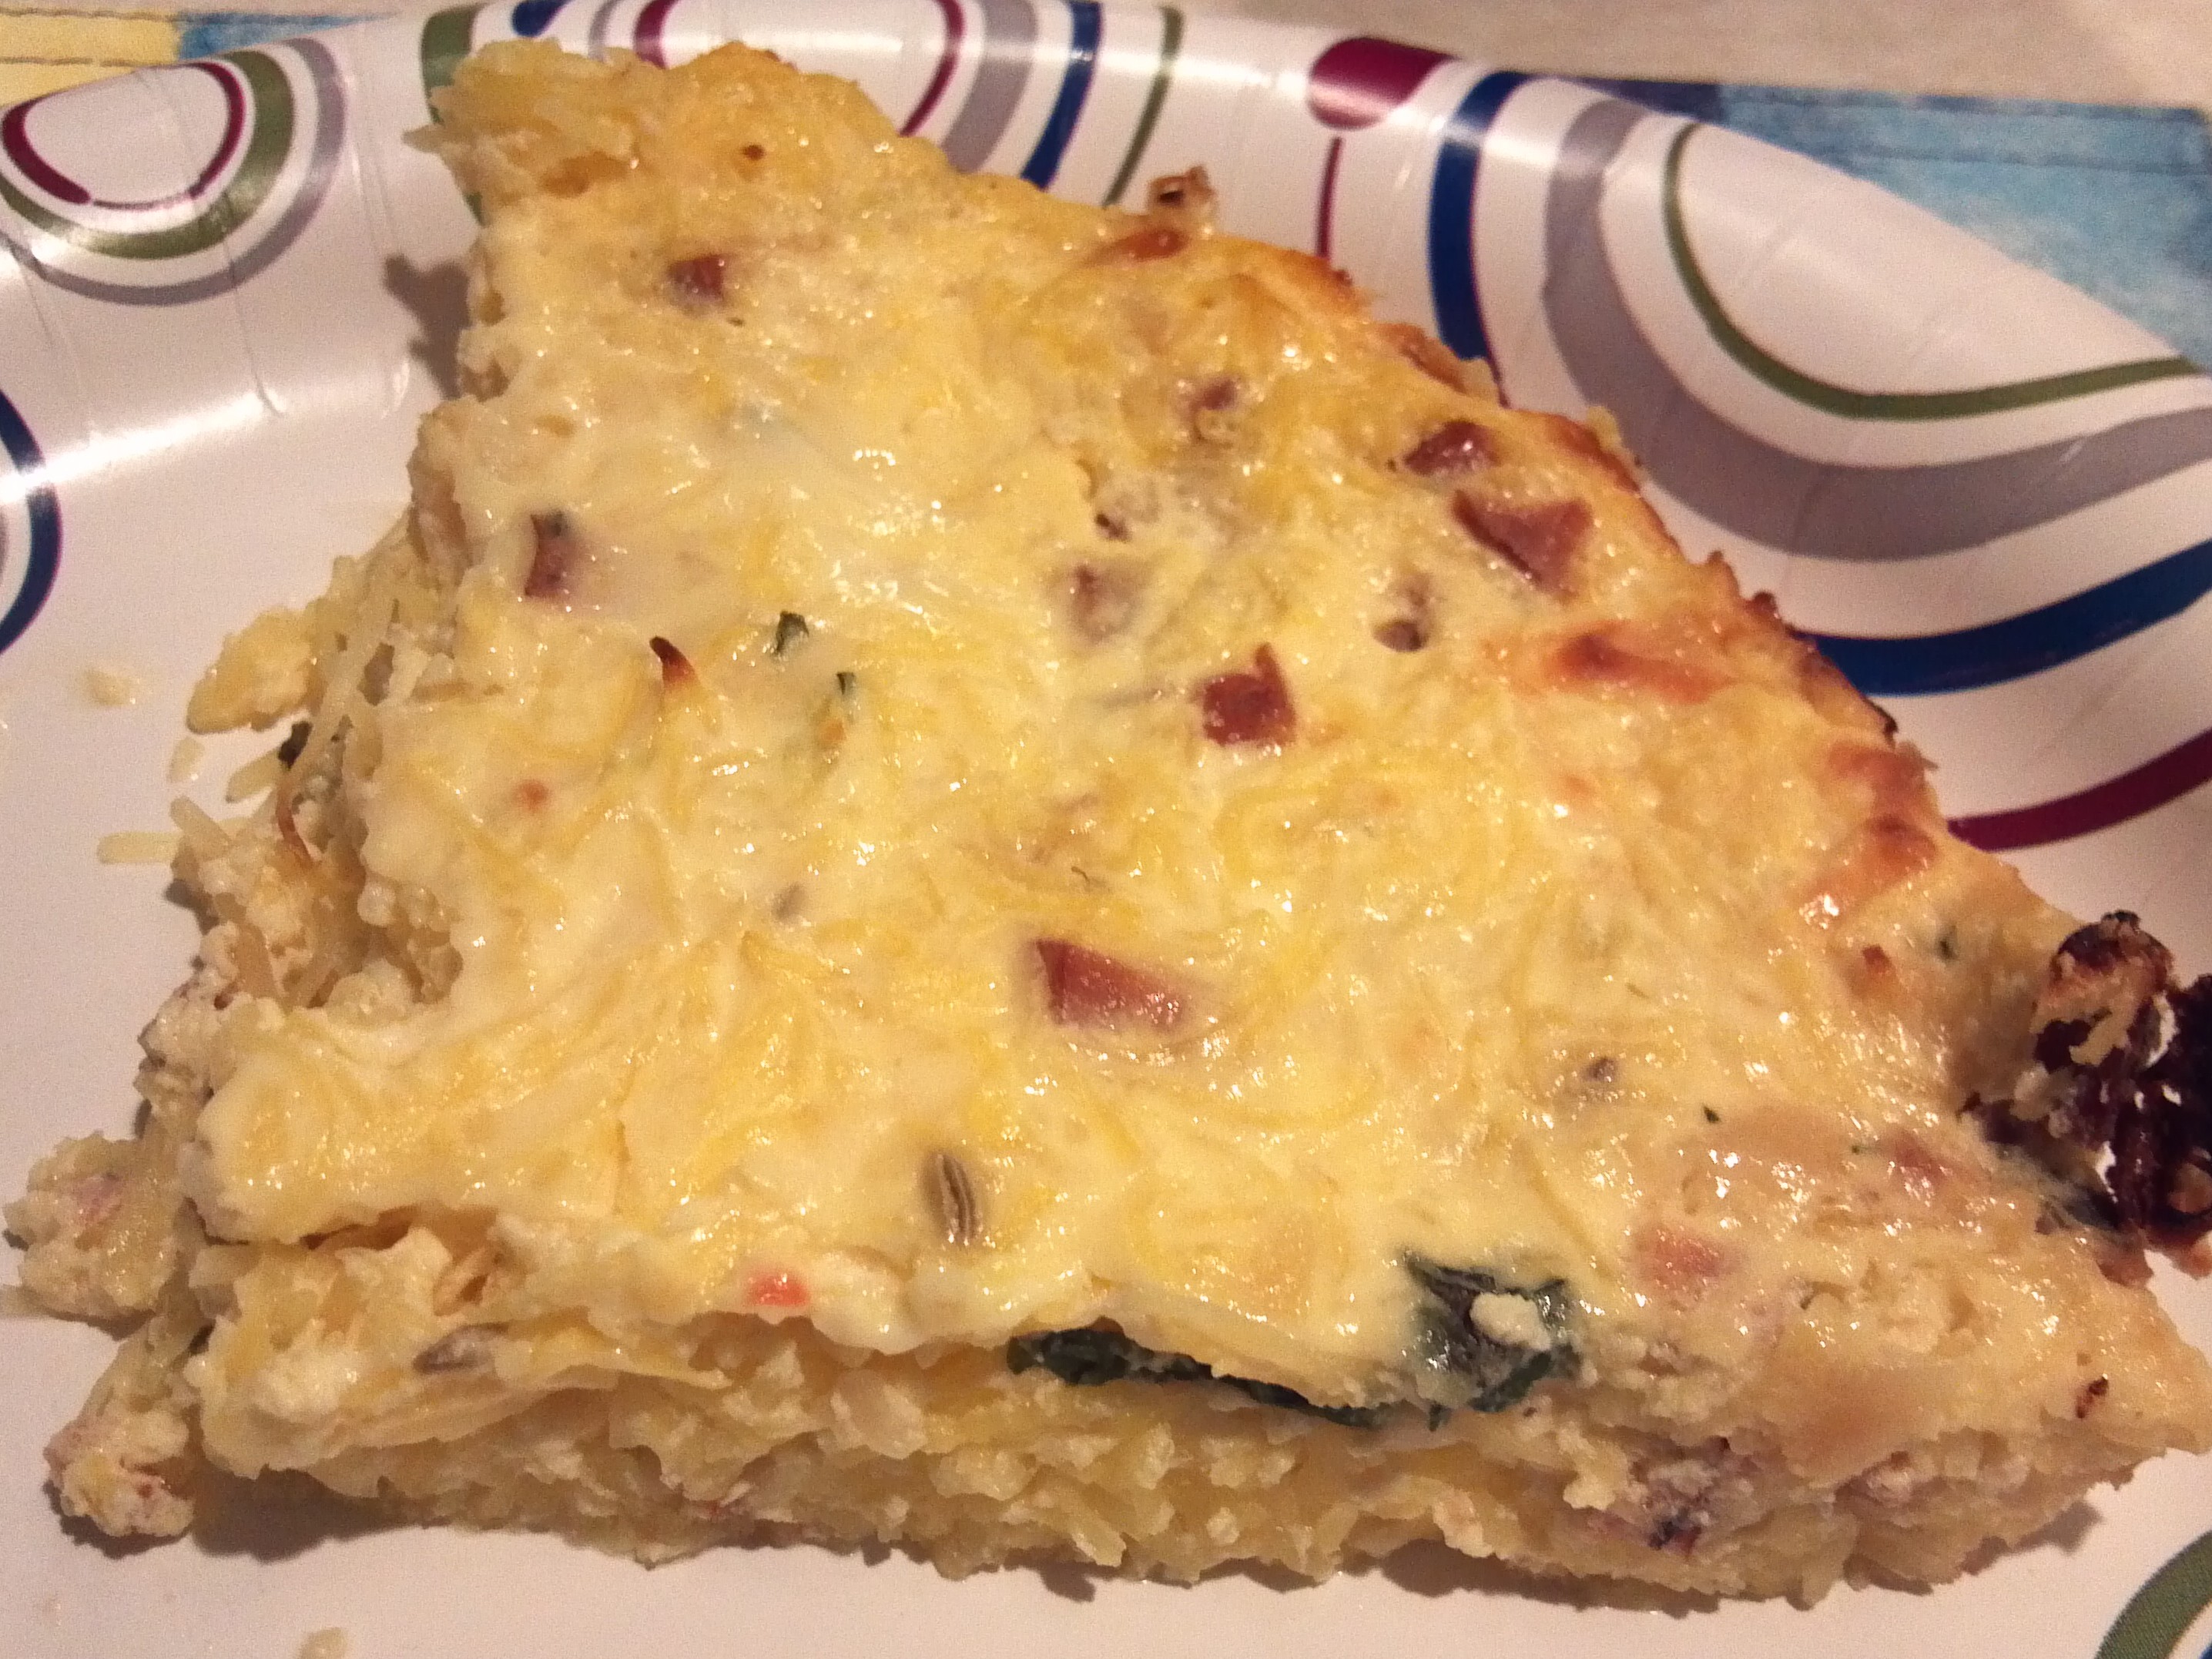
I’ve made this recipe twice now and I tweaked it even more from the original recipe from Kraft. Made it better! And sorry, it’s not low-calorie, but come on, its got tater-tots in it! Or as they are sometimes called potato tots, potato puffs, etc. I have used Great Value brand and Aldi’s brand. Both came out amazing! The pictures are from the first time I made it since I forgot to take pics the second time. It was Super Bowl Monday the 2nd time and it sure hit the spot that morning!

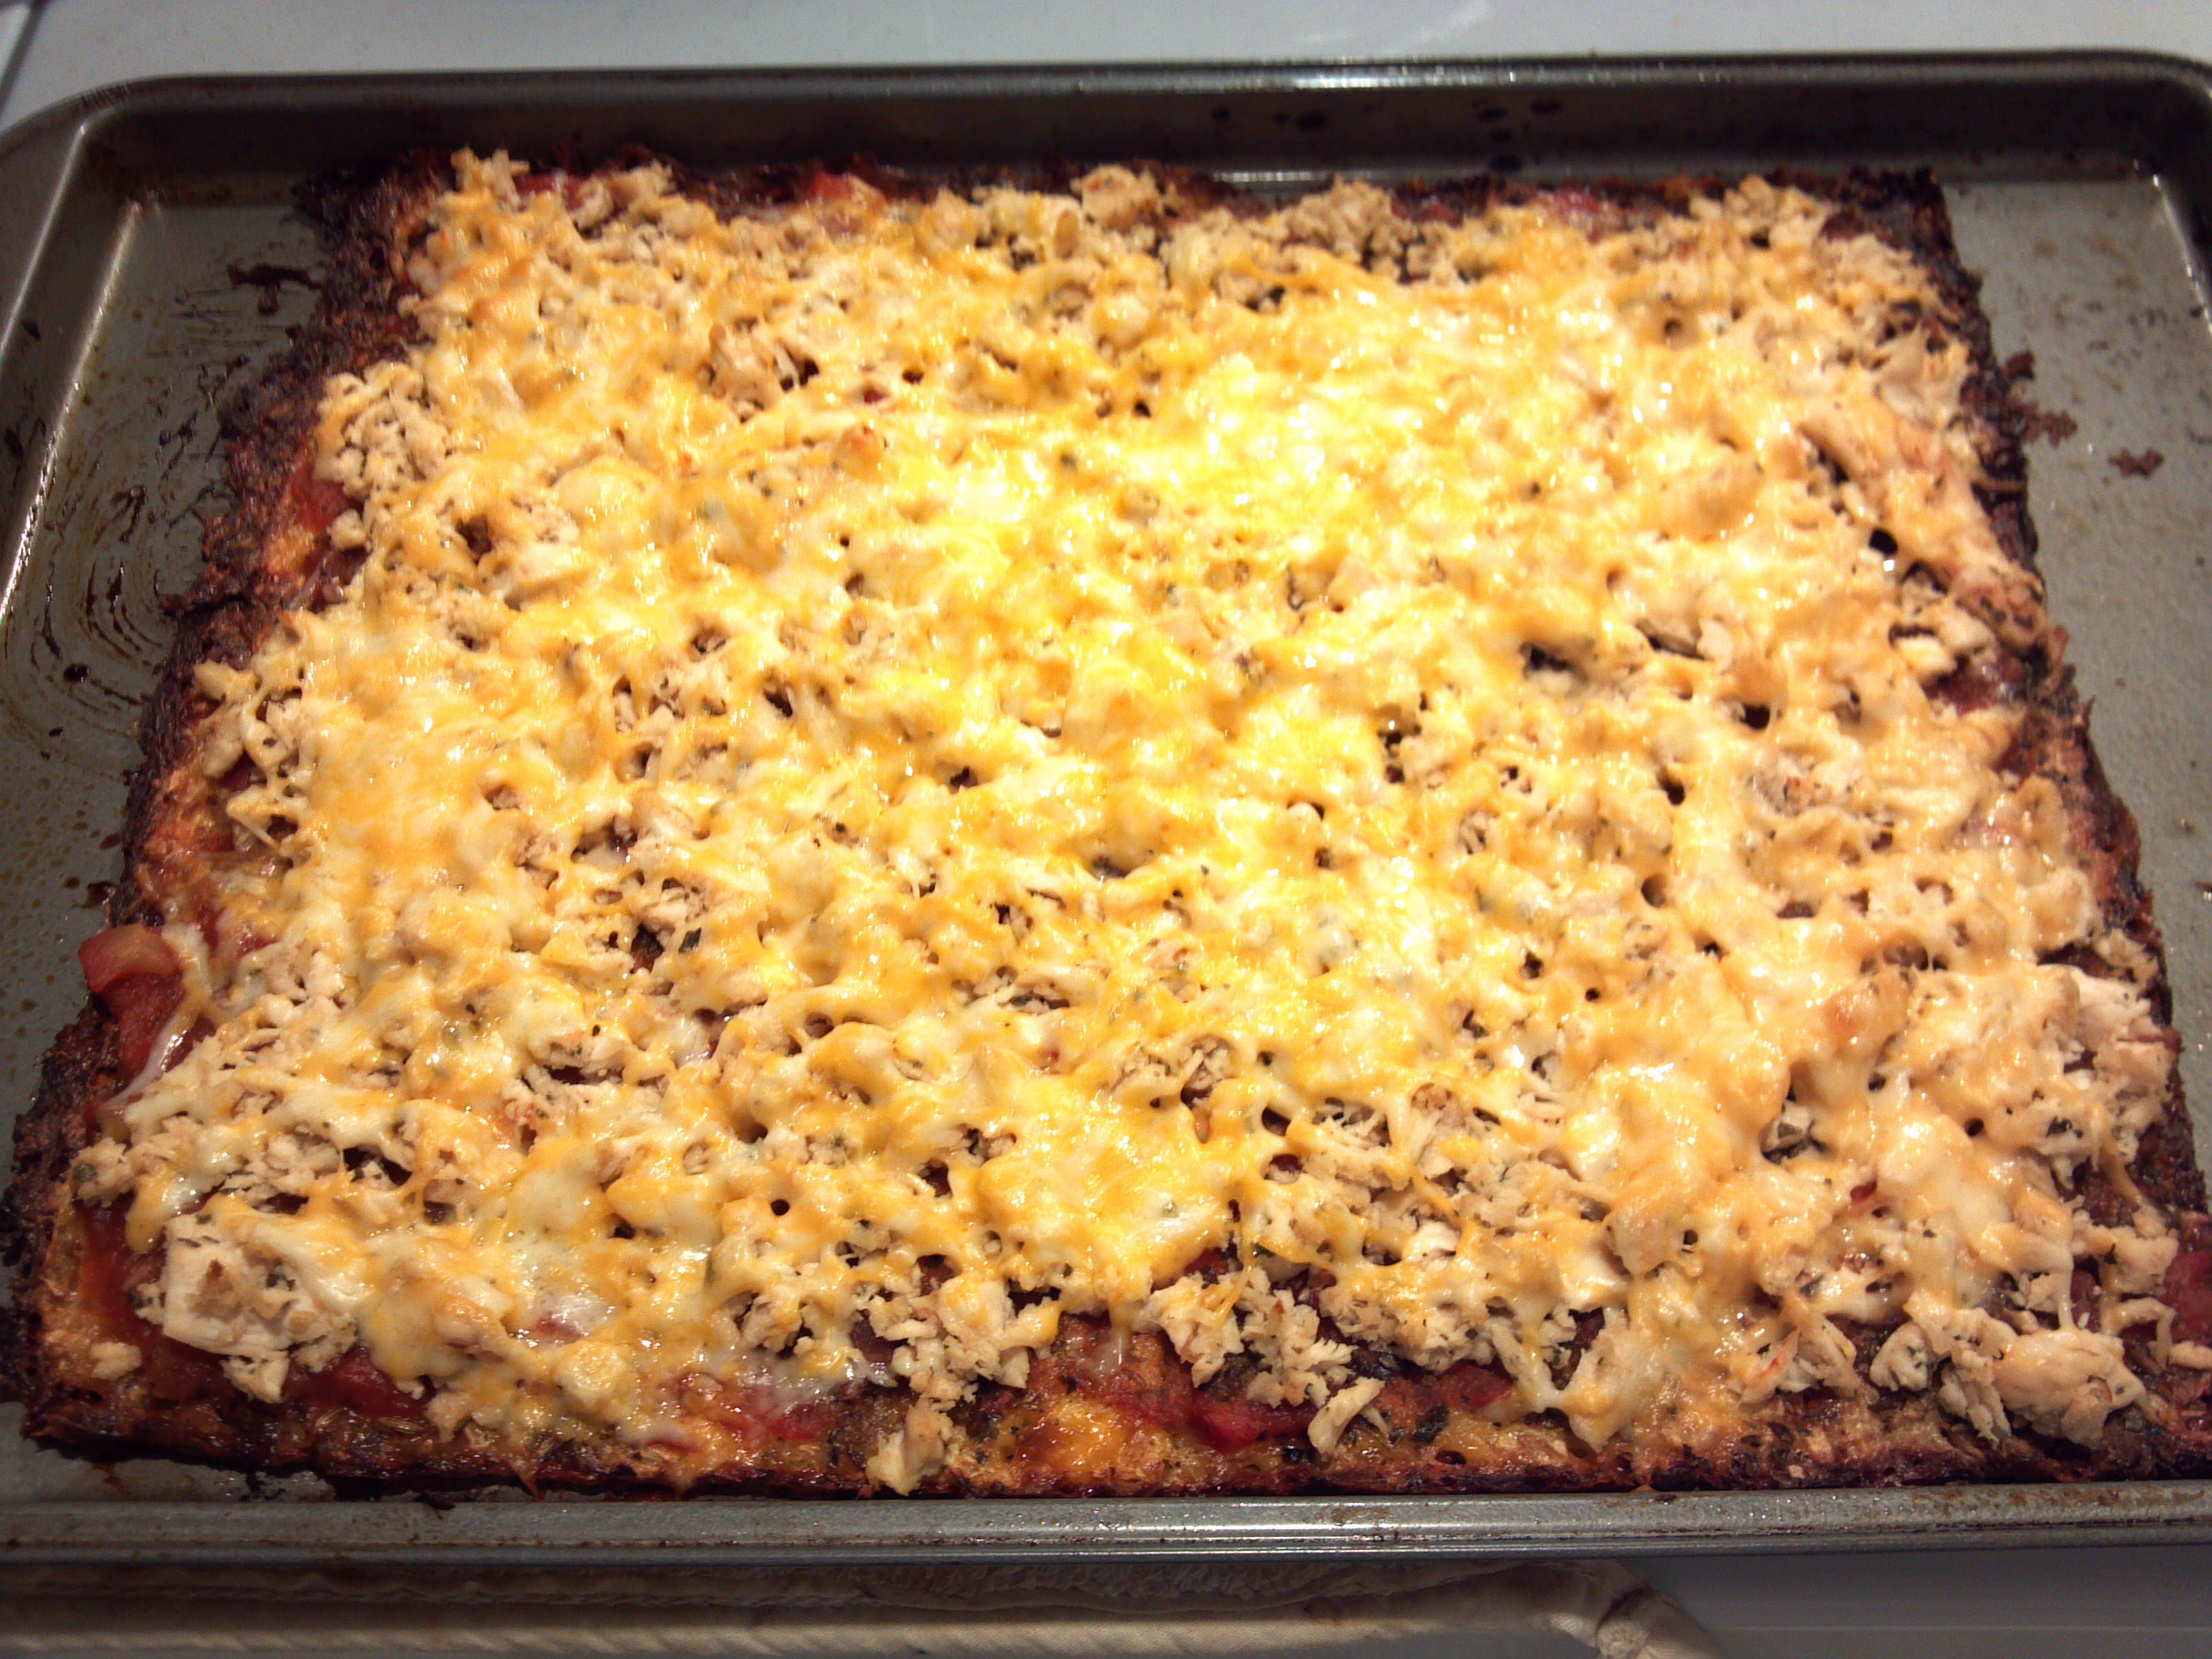
First time I made it I forgot to cover it when I baked it, still came out good but it needs to be covered. Omg, sooooo incredibly delicious! It can definitely be prepared the night before and then baked in the morning. For the sausage, I use whatever type of sausage I have in the house. Usually some kind of chicken sausage. I’ve used the Italian style and it’s fine. The original recipe also called for 2.5 ounces of bacon! HA! I used a whole pound. Also, the original called for a 10.5 ounce can of cream of potato soup. The store was out of it when I went so I used the big “family” size can. I think it’s like 23 ounces. I used it all! Makes it much creamier.

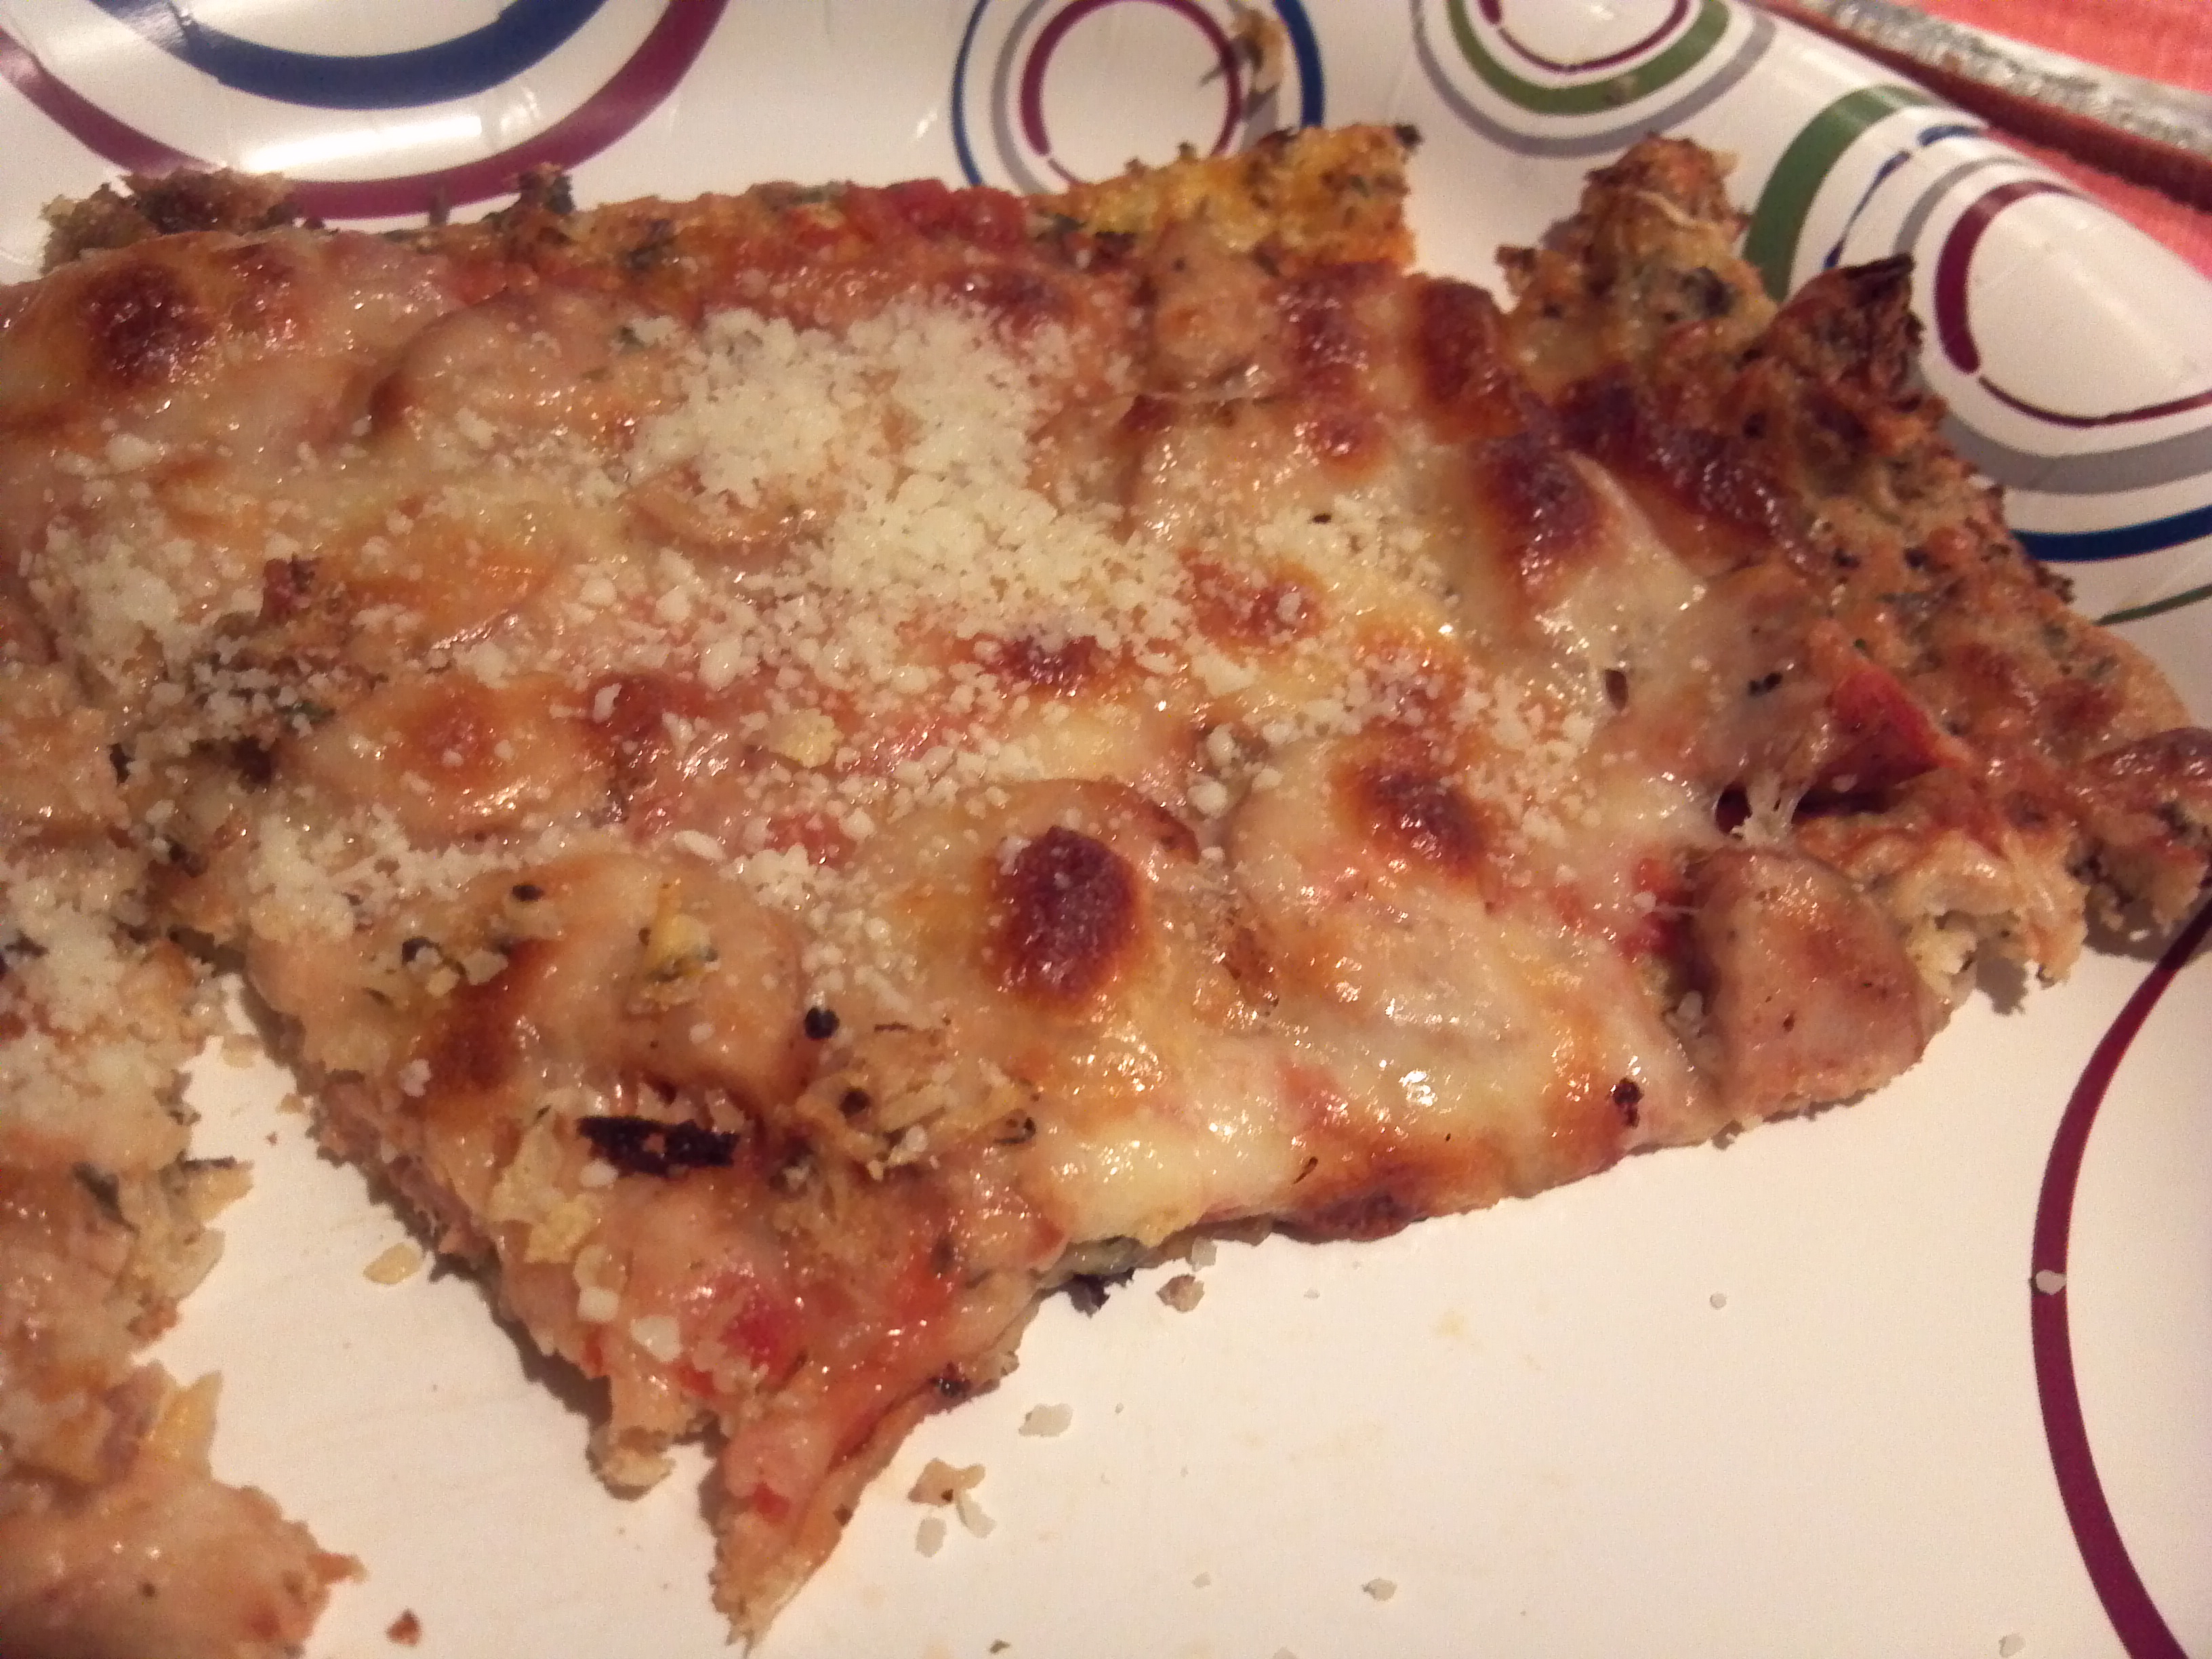
This recipe is so simple to make. You will NOT be disappointed!

INGREDIENTS:

1/2 pound cooked ground sausage

4 large eggs, scrambled

1 pound bacon, cooked and crumbled

2 tablespoons finely chopped onion

3 1/2 cups thawed tater tots (any brand will be fine!)

1 family size (23 oz) can cream of potato soup (any brand is fine)

1 tsp red pepper flakes

1 tsp black pepper

1 cup sharp shredded cheddar cheese, divided in half.(use more if you wish!)

Sour cream for top if desired

Directions:

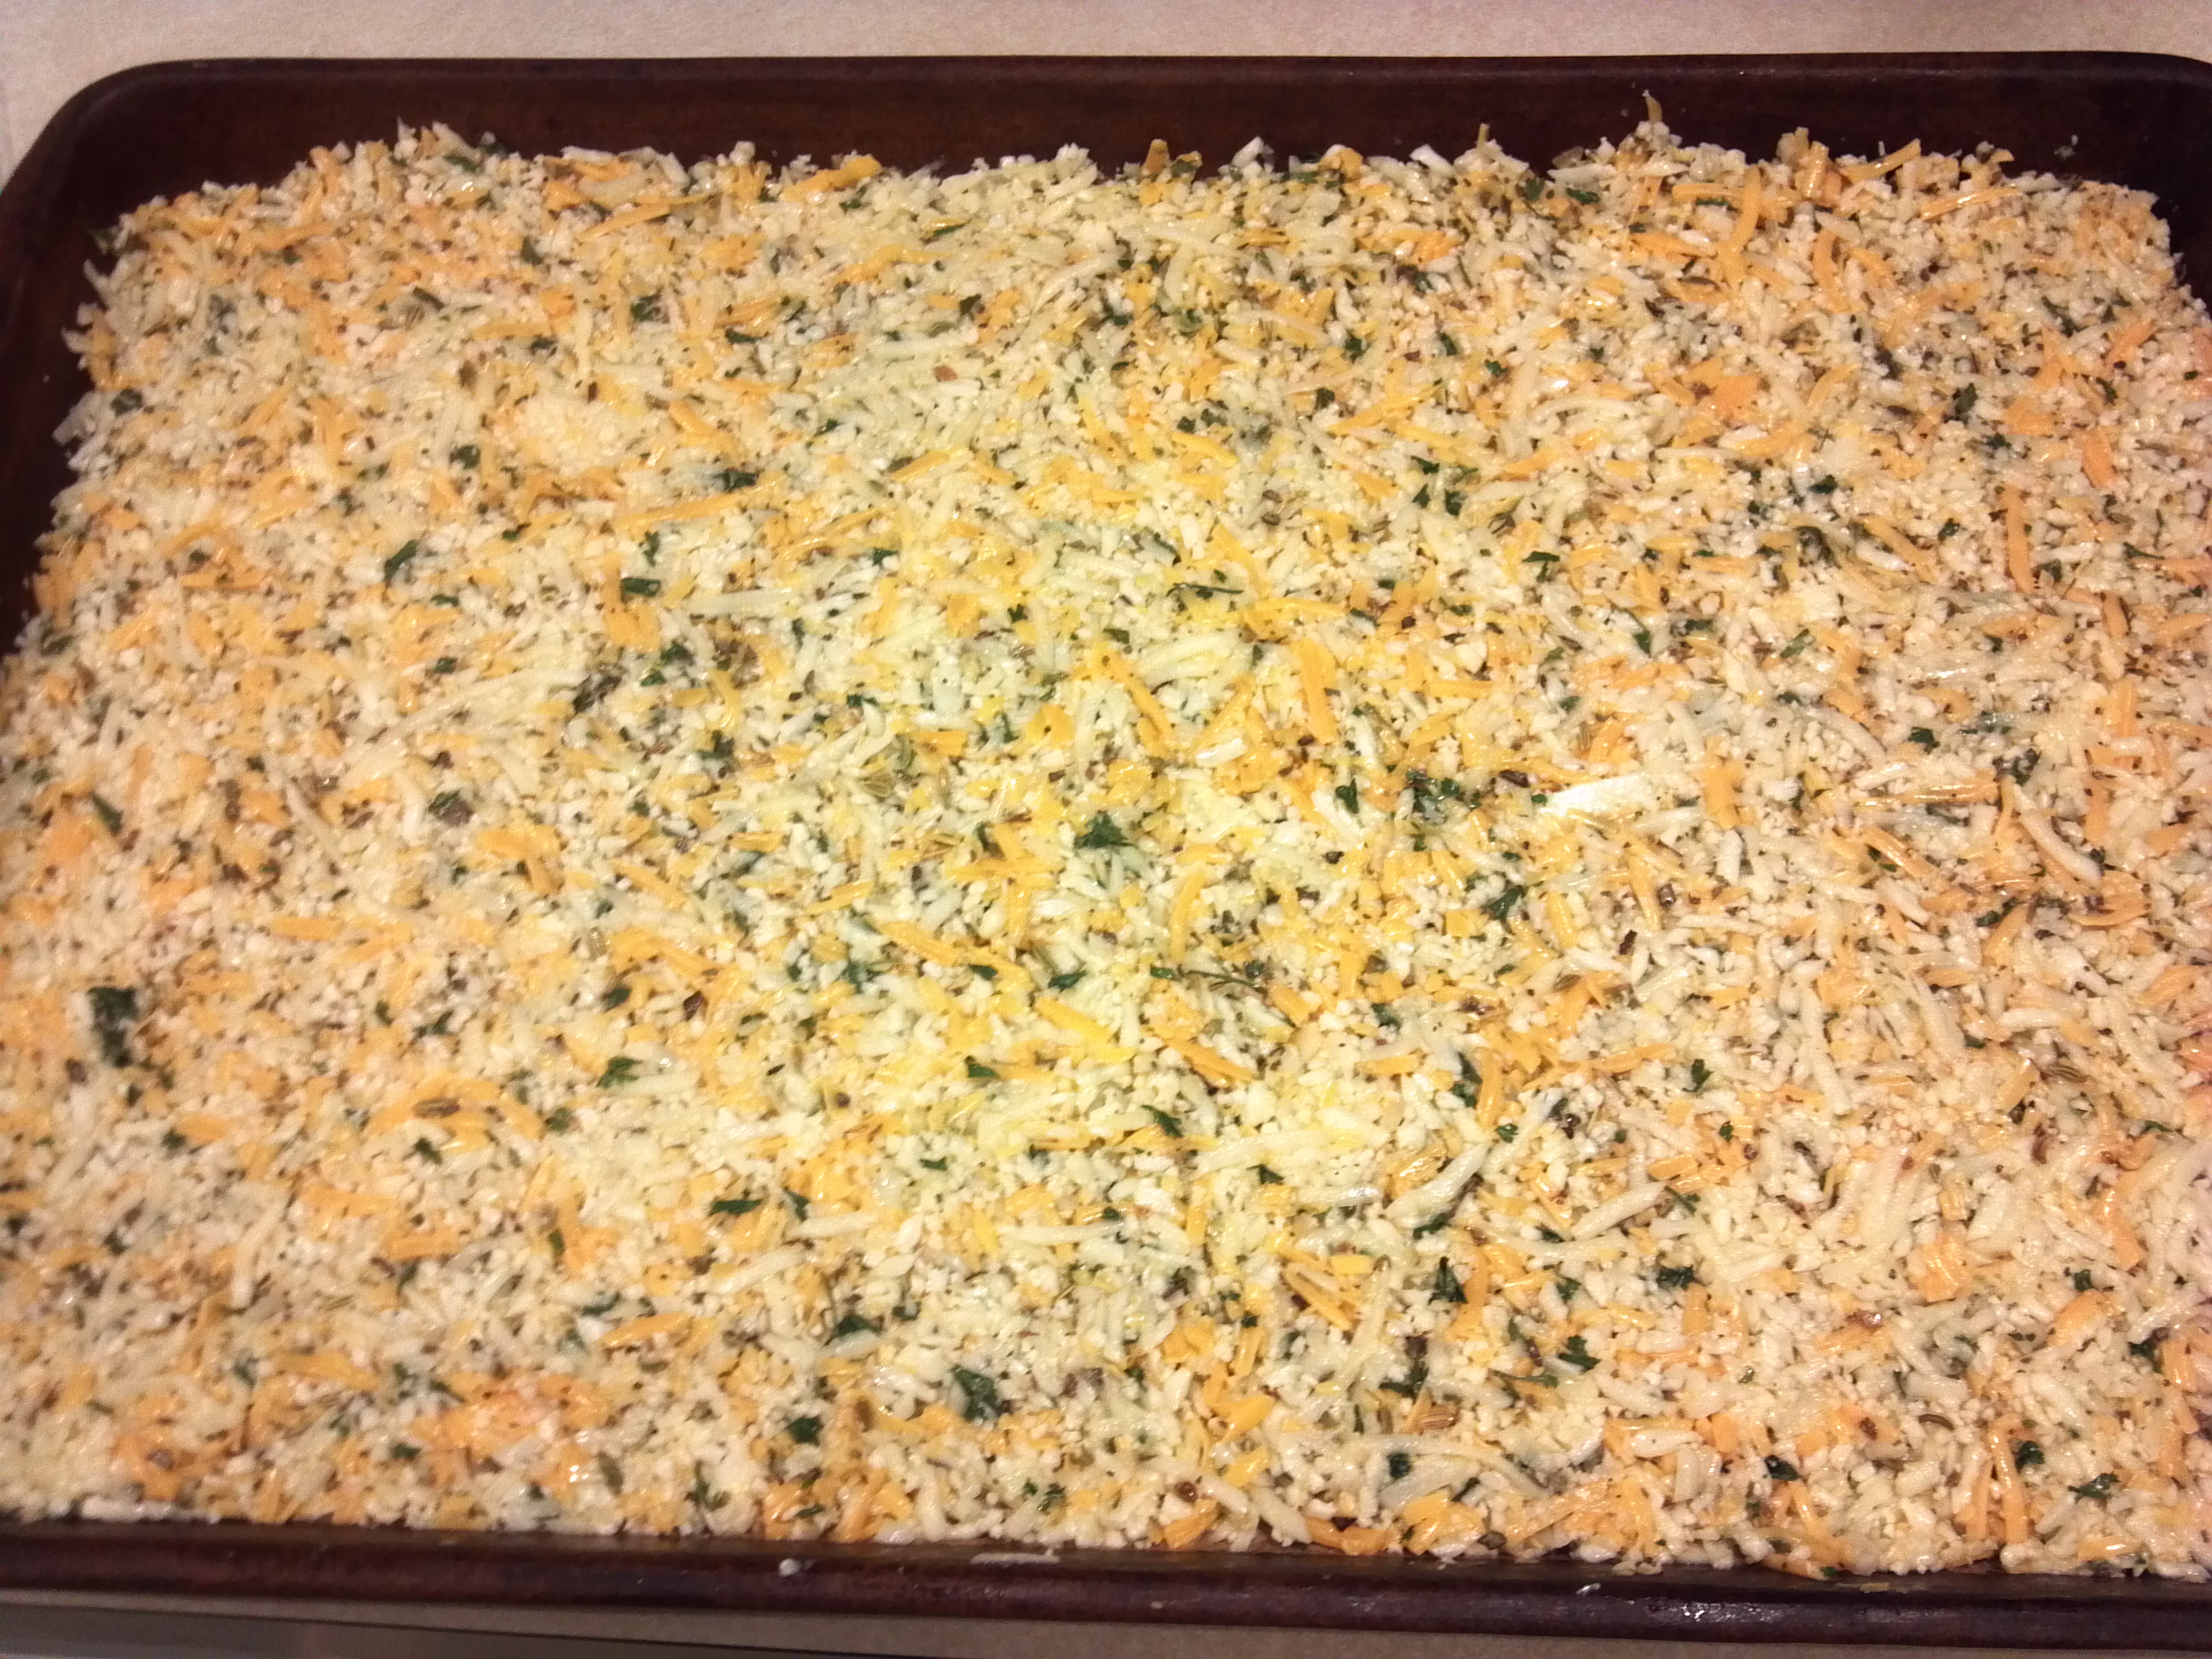
  1. Mix all ingredients in a large bowl, except for 1/2 cup of the cheddar cheese.
  2. Pour into a large casserole dish making sure it’s all distributed evenly.
  3. Cover and bake for 35 minutes at 350°.
  4. Sprinkle with remaining cheddar cheese and bake uncovered another 5 minutes, or until cheese is bubbly!
  5. Serve hot! If you want, add a dollop of sour cream to each serving.


Italian Spaghetti Squash Quiche

Last night I decided I wanted to make something a little different for dinner. I hadn’t made a Quiche in a while so I thought about doing that. I also had a nice spaghetti squash sitting on my counter and wanted to use it soon. Good thing I decided on the spaghetti squash! When I cut it open a few seeds inside had sprouted! And we’re talking a good 3-4 inches! Crazy! But I also decided to make a Quiche. I combined the two. I just threw stuff together that I had in the refrigerator and voilà! A new delicious taste for dinner! (Or breakfast the next day!)
 I only used half of the squash and it was plenty. And to make it all worth while, ¼ of the Quiche is only 272 calories! Bonus!
 This recipe will make about 8 pieces We usually each have ¼ of the Quiche as a serving though. Oh and did I mention, it’s crustless!

2013-03-13 21.26.07
Ingredients:
½ of a spaghetti squash cooked and scraped out into a bowl. (Cook any way you are used to. I microwave it, cut side down in a shallow casserole with some water for about 10-15 minutes until soft)
1 cup fat-free half-and-half
3 eggs (You can use egg beaters if you want), beaten
1 cup shredded low-fat part-skim mozzarella cheese
1 chicken sausage (any kind you like is fine. I used a Casual Gourmet tomato and mozzarella one), cut into small pieces
2-3 fresh basil leaves, minced
½ teaspoon fennel seed
1 head roasted garlic, chopped (I had it in the fridge, garlic powder will be good too if you want)
Salt & pepper to taste
Directions:
1. Mix all ingredients in a large bowl
 2. Pour ingredients into a casserole dish or any type of baking dish you have. An actual Quiche pan may be too small. Spray the pan with cooking spray.
3. Bake at 375 for about 45 minutes. Let sit about 10 minutes when done. It will rest this way.

Cauliflower Crust Pizza

As promised, here is a recipe I made for pizza with a cauliflower crust. I was at a Weight Watchers meeting a couple of weeks ago and I heard someone mention making a pizza crust with cauliflower. I was intrigued! My husband is doing his Atkins thing, again,  so he’s avoiding bread like the plague. I however still want my bread! But to be nice I researched the alternatives using cauliflower. Now I will say, it’s not like normal pizza crust. It’s not bread! But, it is still really good! I was pleasantly surprised at the outcome and my husband loved it. So I guess it was a success. I have made it twice now so it’s a keeper for sure.  And for those of you out there crinkling up your noses, it doesn’t taste like cauliflower! Honest! It is a little soft but hardens a bit when it starts to cool out of the oven. 

Made with crumbled chicken sausage

Made with crumbled chicken sausage & cheddar cheese topping

What I really like about this is you can put anything you want on it to make it a pizza. I used chicken sausage, some tomato sauce and some cheese. Incredibly delicious! So be daring, make some cauliflower crust pizza today! It’s worth it! Honestly the hardest part is shredding/chopping the cauliflower. Don’t be scared. It’s a taste sensation!

Crust before baking

Crust before baking

Ingredients:

2-3 Cups shredded or finely chopped cauliflower (I used my shredder attachment on the food processor)

2-3 large eggs, if they are on the small size of large, use 3, beaten

2 cups shredded cheddar cheese

1½ teaspoon fennel (this really makes a difference, I didn’t use it the 1st time but did the 2nd time, so invest in a jar)

1 tablespoon dried oregano

2 tablespoons dried parsley

1 teaspoon garlic powder (more if you desire!)

Directions:

1: Finely chop, shred or rice cauliflower until you have 2-3 cups of cauliflower. Add the eggs and shredded cheese.

2. Add the spices and mix well.

3. Press the mixture into a greased pizza pan or cookie sheet. (Don’t worry if it doesn’t fill up the entire sheet, mine didn’t the first time I made it) First time I used a cookie sheet. Second time I used a stoneware baking sheet. I think the cookie sheet worked better. It’s up to you though.

(Make sure it’s as flat as you can get it with no holes showing through.)

4. Bake at 450º for about 20 minutes. If it is starting to brown and crisp on the edges it’s good. You can cook a little longer if you want.

5. Remove from oven and add desired toppings. Be careful with sauce, don’t over-sauce as it will make the crust too soggy. I used about ½ cup sauce and spread it thin over the crust. I topped it with chopped chicken sausage and part-skim mozzarella. Use whatever you want!!

6. Bake until brown and cheese is bubbly! (about another 5-10 minutes, just keep an eye on it)

Makes about 8 servings

Made with sliced chicken sausage & mozzarella cheese

Made with sliced chicken sausage & mozzarella cheese

Zucchini Quiche

Now before you think this is just another boring Quiche, think again! This recipe is one of the most incredibly moist, creamy and delicious Quiche recipes I’ve ever made. It was originally a Weight Watchers recipe that I changed a bit. My version came out incredible. My husband loved it and I can’t wait to make it again. The wonderful thing about it is that there is no cream, no milk, no half-and-half at all in this recipe! It is pretty low-calorie and yet tastes so decadent that you’d never believe it good for you! Well it is. A great recipe to make ahead and freeze too! The original recipe was for ‘mini Quiche’. It was supposed to make 48 little tiny Quiche type bites. Great for a brunch or breakfast. I chose not to do that and we had it for dinner. And breakfast, and lunch. You will not miss the crust. Who needs all those extra useless calories! Crust just covers up the taste and creaminess of the Quiche! The Quiche was so fluffy I was amazed. Usually when I make something like this it falls and flattens when it cools a bit. Not this recipe! 

A side note, I have also gone back to Weight Watchers for what seems like the 20th time. I had to make a change. Couldn’t go on just eating everything in sight and expecting the weight to stay off. So I am back on track. In three weeks I have already shed 5.2 lbs and I’m not stopping till I get where I want to be. It’s a good thing all around. But don’t worry, my recipes won’t all be Weight Watcher recipes or “diet” recipes. But they will be leaning toward the healthier and leaner type stuff. Don’t get me wrong, I’m not giving up my cocktails either, so when I find another great one, I will share! Now if I could just figure out a way to exercise while blogging…hmmm…

Ok here is the recipe!

INGREDIENTS:

cooking spray

2 medium uncooked zucchini, peeled and shredded

3 shallots finely chopped (or one small onion chopped)

3-4 cloves garlic chopped

1 cup shredded or grated parmesan cheese

6 large eggs

½ cup all-purpose flour

¼ cup basil, fresh, finely chopped

3 tablespoons extra virgin olive oil

2 teaspoons baking powder

1 teaspoon sugar or sugar substitute

1 teaspoon kosher salt

½ teaspoon black pepper

OMG So incredibly creamy and delicious!

DIRECTIONS:

  • Preheat oven to 375ºF. Coat a glass or non-stick Quiche pan or round casserole dish with cooking spray.
  • Combine all ingredients in a large bowl and pour into prepared dish.
  • Bake until bottom is golden brown and Quiche is cooked through. (I cooked it 30-45 minutes. Check after 30 minutes. Make sure it’s not too loose and watery.)
  • Remove from oven and let cool for a few minutes before serving. The Quiche will continue to set up.

Makes 6-8 servings.

Bloody Mary Breakfast Bake

Well being back at work after 18 months is beyond exhausting. The main thing is I am now in an office job! Haven’t had an office job for 7 years! I LOVED my last job, I worked from home on my schedule. It was wonderful. But alas, our economy had other ideas. Either way I am now in my first week back and I’m so tired every night I barely have time to read emails. I am going to do my best to get the blog done without fail though. I’m sure once I get back in a routine I will be fine. But till then please bear with me! Thanks.

Ok, this recipe I found in a Rachael Ray magazine but it’s also a recipe from CorningWare. I have not made this yet but it looks pretty easy and I plan to do this next time I have brunch or company stay over on the weekend. I love a good Bloody Mary so this sounded intriguing. No there is no vodka in it but that doesn’t mean you can’t make an actual Bloody Mary to go with it!  It’s an easy recipe so give it a try. I will swap out the photo once I make it myself! The recipe says to use a 1.5 quart square casserole but you can use a longer one also.

Photo is for illustrative purposes only

INGREDIENTS:

8 slices soft light white sandwich bread, crusts removed

3 cups shredded pepper jack cheese

9 large eggs (or egg substitute 2¼ cups)

2 cups low-milk or fat-free half-and-half

½ teaspoon celery salt

1 jar salsa (16 ounces), your choice

DIRECTIONS:

1. Grease a 1.5 quart square casserole dish. Arrange 2½ slices of bread in the bottom of the dish. Sprinkle 1/3 cup shredded cheese on top and cover with another 2½ slices of bread.

2. Layer on another 1/3 cup shredded cheese and top with the final 3 pieces of bread.

3. In a medium bowl, beat eggs, milk and celery salt. Pour over the bread layer; let stand.

4. Bake in a 375º oven for 40-45 minutes, then cover with salsa, sprinkle with remaining pepper jack cheese and bake for 5 minutes more.

5. Let stand for 5 minutes before serving.

Serves 12

Brownie Holi-Pops

Well tomorrow is Christmas Eve! Wow where did the time go to? As a kid Christmas could not get here fast enough and now many years later, ok decades later, Christmas appears as if out of nowhere! It was just Halloween! My house is decked out, inside and out, and it is certainly festive looking! The weather is cooler, in the 50s and 60s so it’s not so hot that we do forget it’s winter here in south Florida. And I am still sticking with my no dieting till after the New Year. Weight Watchers can wait a little longer for me!

So here I am putting together the last “cookie” blog for the  year. These cookies are actually brownies, but also a lollipop. But hey, I’m using it anyway. I am not really a big brownie fan. Never was. Love making them but not eating them. The only ones I truly LOVE are my friend Debbie’s. They are little bitty ones and she puts frosting on them! I swear they must also have some kind of booze in them or something. They are so moist and just down right addicting! I could eat a dozen no problem! But these are not those. Sorry. I will have to get her recipe another time! These are just too cute not to include them and the kids will love them also. I have not actually made these as of yet but I think I will soon!

I actually got this recipe from Land-o-Lakes. Aren’t they just adorable!

BROWNIE MIXTURE:
¾ cup LAND O LAKES® Butter, divided

3 (1-ounce) squares unsweetened baking chocolate, divided

1 cup sugar

¾ cup all-purpose flour

2  eggs

1 teaspoon vanilla

¼ teaspoon salt

½ cup powdered sugar
COATING:
16 ounces vanilla or chocolate flavored candy coating (almond bark)
40 lollipop sticks
DECORATIONS:
Holiday nonpareils, jimmies, sprinkles and/or decorator candies. Your choice!

DIRECTIONS:
1. Heat oven to 350°F.

2. Combine ½ cup butter and 2 ounces chocolate in 2-quart saucepan. Cook over medium heat, stirring constantly, until melted (3 to 5 minutes). Add sugar, flour, eggs, vanilla and salt; mix well.

3. Spread batter evenly into greased 8-inch square baking pan. Bake for 23 to 27 minutes or until brownies just begin to pull away from sides of pan. Cool completely.

4. Melt remaining ¼ cup butter and 1 ounce chocolate as above.

5. Finely crumble cooled brownie into large bowl. Add butter mixture and powdered sugar; mix well.

6. Shape mixture into 1-inch balls; place onto waxed paper-lined jelly roll pan. Cover with plastic food wrap; refrigerate until firm (at least 2 hours or overnight).

7. Melt candy coating according to package directions; keep warm.

8. Remove 1/3 of balls from refrigerator; insert lollipop sticks. Dip balls into melted coating, swirling or tapping off excess; press coated balls into desired decorations. Push lollipop stick into craft foam or place coated balls onto waxed paper. Repeat with remaining balls. Let stand until coating is set.

Makes 40 pops

Cranberry-White Chocolate Cookies

These cookies are very festive looking with their white chips and red cranberries! To make them look even more Christmas-like you can even add some shelled pistachios! The green will be subtle but very classy looking.

These cookies are also pretty easy to make. They are drop cookies. Nice and simple.

INGREDIENTS:

2½ cups all-purpose flour

1 teaspoon baking powder

¼ teaspoon salt

1/8 teaspoon baking soda

½ cup butter, softened

1 1/3 cups sugar

2 large eggs

1½ cups white chocolate morsels

1 (6 ounce) package sweetened dried cranberries

DIRECTIONS:

1. Combine flour, baking powder, salt, and baking soda. Set aside.

2. Beat butter at medium speed with an electric mixer until creamy; gradually add sugar, beating well. Add egg, 1 at a time, beating until blended after each addition.

3. Add flour mixture to butter mixture gradually, beating at low-speed until blended. Stir in white chocolate morsels and cranberries.

4. Drop dough by heaping tablespoonfuls onto lightly greased baking sheets.

5. Bake at 350º for 10-12 minutes or until lightly browned on bottom. Remove to wire racks to cool.

Makes 3 dozen cookies

Rainbow Cookies

Here they are as promised! Rainbow Cookies! This recipe was from one of my very first Cookie Exchanges. My sister was the ambitious one! She didn’t have any kids yet and had lots of time! (She has 5 now!) The recipe itself isn’t really that hard, it is however time-consuming. Many things to do but if you follow the directions you’ll have no problems. Some rainbow cookies have a chocolate layer on the bottom as well as the top, this one has only chocolate on top. Either way they are delicious and your friends and family will be impressed when you tell them you actually baked them yourself!

I was trying to find a picture from this party way back when. It had to be in the mid-late 1990s. I’m still looking though so if I find it (after 5 or 6 moves I’m lucky I find anything!) I will add it in. I know I must have a photo of it somewhere so be patient and I’ll search for it.

This recipe will NOT, I repeat NOT, be low-calorie. Then again, most cookies that are really good aren’t! It is the season for eating and being merry so no worries this time. Just get in the kitchen and bake like crazy! I wonder if I asked my sister to make these today what she would do. Hmmm…Oldest child is 12 and youngest is now 6. Free time? Sure! NOT! She’ll just laugh at me.

Cousin Linda (L) and sister Michele (R)

I may still do an exchange this year if I want to throw one together real fast. I just love them. I just wish everyone else did! I have so many fun memories of the past ones I’ve had. Like my cousin Linda showing up to the party with cookies that were still warm from the oven! As my sister-in-law Maureen told her, “Linda, the party starts at 4:00, that doesn’t mean start baking at 4:00!” She was also late to the party. The following year I told her an hour before everyone else. Guess what? She showed up on time, an hour before everyone else! It’ll never happen again though!

INGREDIENTS:

3 sticks butter

1½ cups sugar

1½ cups flour

4 eggs

4 ounces almond paste (½ stick or ½ can usually)

1 bag (about 12 ounces) semi-sweet chocolate chips

red, green, yellow food coloring

1 jar seedless raspberry jam (use sugar-free here if you want to save a little calories)

DIRECTIONS:

1. Combine butter, sugar, flour, eggs and almond paste in a large bowl with an electric mixer.

2. Divide batter evenly into 3 bowls (something that won’t get stained). Add yellow, green and red food coloring into bowls. One color per bowl. Add a few drops at a time till the color you want is reached.

3. Spray three 11½ x 8 (1½” deep) aluminum pans with cooking spray. Line with wax paper and spray again. Pour each bowl into a separate pan.

4. Bake individually for 15-20 minutes at 350º.

5. After cooling, remove from pans, stack and layer with raspberry jam. Don’t put jam on the top. Just between the two bottom layers.

6. Place chocolate chips in a microwave safe bowl and microwave on HIGH for 2 minutes. Stir till smooth. Frost top of layers only with the melted chips. After chocolate hardens (put in fridge to help this along), cut into individual squares. Store in refrigerator.

**Not sure how many this will make but it also depends on how big or small you cut the squares. Enjoy!

Pumpkin Carrot Bars

Yes I am still in Fall mode. Trying to pretend it’s cooler outside and that the leaves are changing here. But then I look outside and see nothing but green palm trees, green leaves on the maple trees, green everywhere! Ok, so the leaves really don’t change here. They do fall on some trees but they aren’t pretty about it. Oh well, the sacrifice for living in the Sunshine State. Maybe they change in northern Florida? And right now the temperature is still 79 degrees. It’s 7pm! But I did buy a couple little pumpkins at Walmart yesterday! I will use them for pies or something later in the year. They actually last a long time after the fall! I’ve had pumpkins that lasted till April!

Well I found this recipe and changed it a bit to make it a little less fattening. I substituted Splenda and Splenda Brown Sugar Blend for the sugars and I use light cream cheese in place of regular. As always, feel free to use the real stuff if you want. I was also very happy to hear that the pumpkin shortage is officially over as well. Last year I had stocked up on the canned pumpkin when I found it. It was like gold! But the crop was good this year and we can all breathe easily now! Whew!

INGREDIENTS:

2 cups flour or whole wheat flour

1 tablespoon pumpkin pie spice

2 teaspoons baking powder

1 teaspoon baking soda

1 cup granulated Splenda (sucralose)

1/3 cup light butter/margarine, softened

½ cup Splenda Brown Sugar Blend

2 eggs

2 large egg whites

1 can (15 ounce) pumpkin

1 cup carrot, finely shredded

Cream Cheese Topping/Icing:

4 ounces light cream cheese, softened

¼ cup Splenda

1 tablespoon fat-free half-and-half (or whatever milk product you want)

DIRECTIONS:

1. Preheat oven to 350º.  Grease a 15 x 10 jelly roll pan. (or similar pan)

2. In a small bowl combine flour, pumpkin pie spice, baking powder and baking soda.

3. In a larger bowl, beat together sugar (1 cup), butter and brown sugar until crumbly. Add eggs, egg whites, canned pumpkin and carrots. Beat until well blended. Add flour mixture and mix until well blended. Spread into greased pan.

4. Mix together cream cheese, sugar (¼ cup) and milk until thoroughly blended.

5. Drop teaspoonfuls of topping over pumpkin batter and swirl mixture with a butter knife.

6. Bake for 25-30 minutes or until toothpick or cake tester comes out clean. Cool in pan completely on wire rack before cutting into squares.

Makes 48 squares.

Skinny Key Lime Pie

Key Lime Pie is my favorite pie. But I could do without all the extra calories in it. This recipe is lower in calories and fat but still tastes great. If you don’t care about your calories/fat use the regular versions of the ingredients. Key Lime Pie also should NOT be bright lime green in color! It should be an almost pale yellow to very faint green. All those other pies that glow in the dark have food coloring added. You don’t need it! Honest! This recipe is also very easy to make and takes more time to chill and set than it does to prepare and bake. If you are ever in Key West though, try their frozen chocolate covered key lime pie on a stick! OMG! Talk about sugar coma! But it is so incredibly delicious and  heavenly. The last time I had it I shared it with my husband and stepson and we had a hard time finishing it. So worth the extra calories and fat every so often!

INGREDIENTS:

2 large eggs

2 large egg whites

½ cup Key Lime juice (such as Nellie & Joe’s Famous Key West Lime Juice)

1 teaspoon lime zest (if you can find a key lime use that instead)

1 (14 ounce) can fat-free sweetened condensed milk

1 (6 ounce) reduced-fat graham cracker crust

1½ cups frozen reduced-calorie whipped topping, thawed

DIRECTIONS:

1. Preheat oven to 350º.

2. Beat eggs and egg whites at medium speed on an electric mixer until well-blended.

3. Gradually add the lime juice, zest and condensed milk into the egg mixture, beating until well-blended.

4. Spoon mixture into pie crust and bake at 350º for 20 minutes or until almost set. (The center will not be firm but will set up as it chills.)

5. Cool on a wire rack. Cover loosely and chill for at least 4 hours. Spread whipped topping evenly over filling. Serve!

Makes 8 servings


Cruise Ship Recipes at Home

How do I Make That?

Rachael Ray

It's Not Just Popcorn!

Joanne Eats Well With Others

It's Not Just Popcorn!

Garlic Girl

It's Not Just Popcorn!

BuzzFeed - Tasty

It's Not Just Popcorn!

An Edible Mosaic™

It's Not Just Popcorn!

StephenKing.com - Latest News

It's Not Just Popcorn!

Food52

It's Not Just Popcorn!

Big Bear's Wife

It's Not Just Popcorn!

Cinnamon Spice & Everything Nice

It's Not Just Popcorn!

The Weekend Gourmet

It's Not Just Popcorn!

Skinnytaste

It's Not Just Popcorn!

What's Cooking at the Genua's?

It's Not Just Popcorn!

Chef in Training

A great place to find easy, delicious and family friendly recipes.

The Pioneer Woman

Plowing through Life in the Country...One Calf Nut at a Time

Simply Recipes

It's Not Just Popcorn!

It's Not Just Popcorn!

overdeepblueseas

OVER DEEP BLUE SEAS BLOG @ WordPress.com

Sluggo's Escapades

What's Sluggo up to today?

RavieNomNoms

A Girl, Her Blog, and Lots of Food Pictures!

%d bloggers like this: