Main Dishes

Italian Spaghetti Squash Quiche

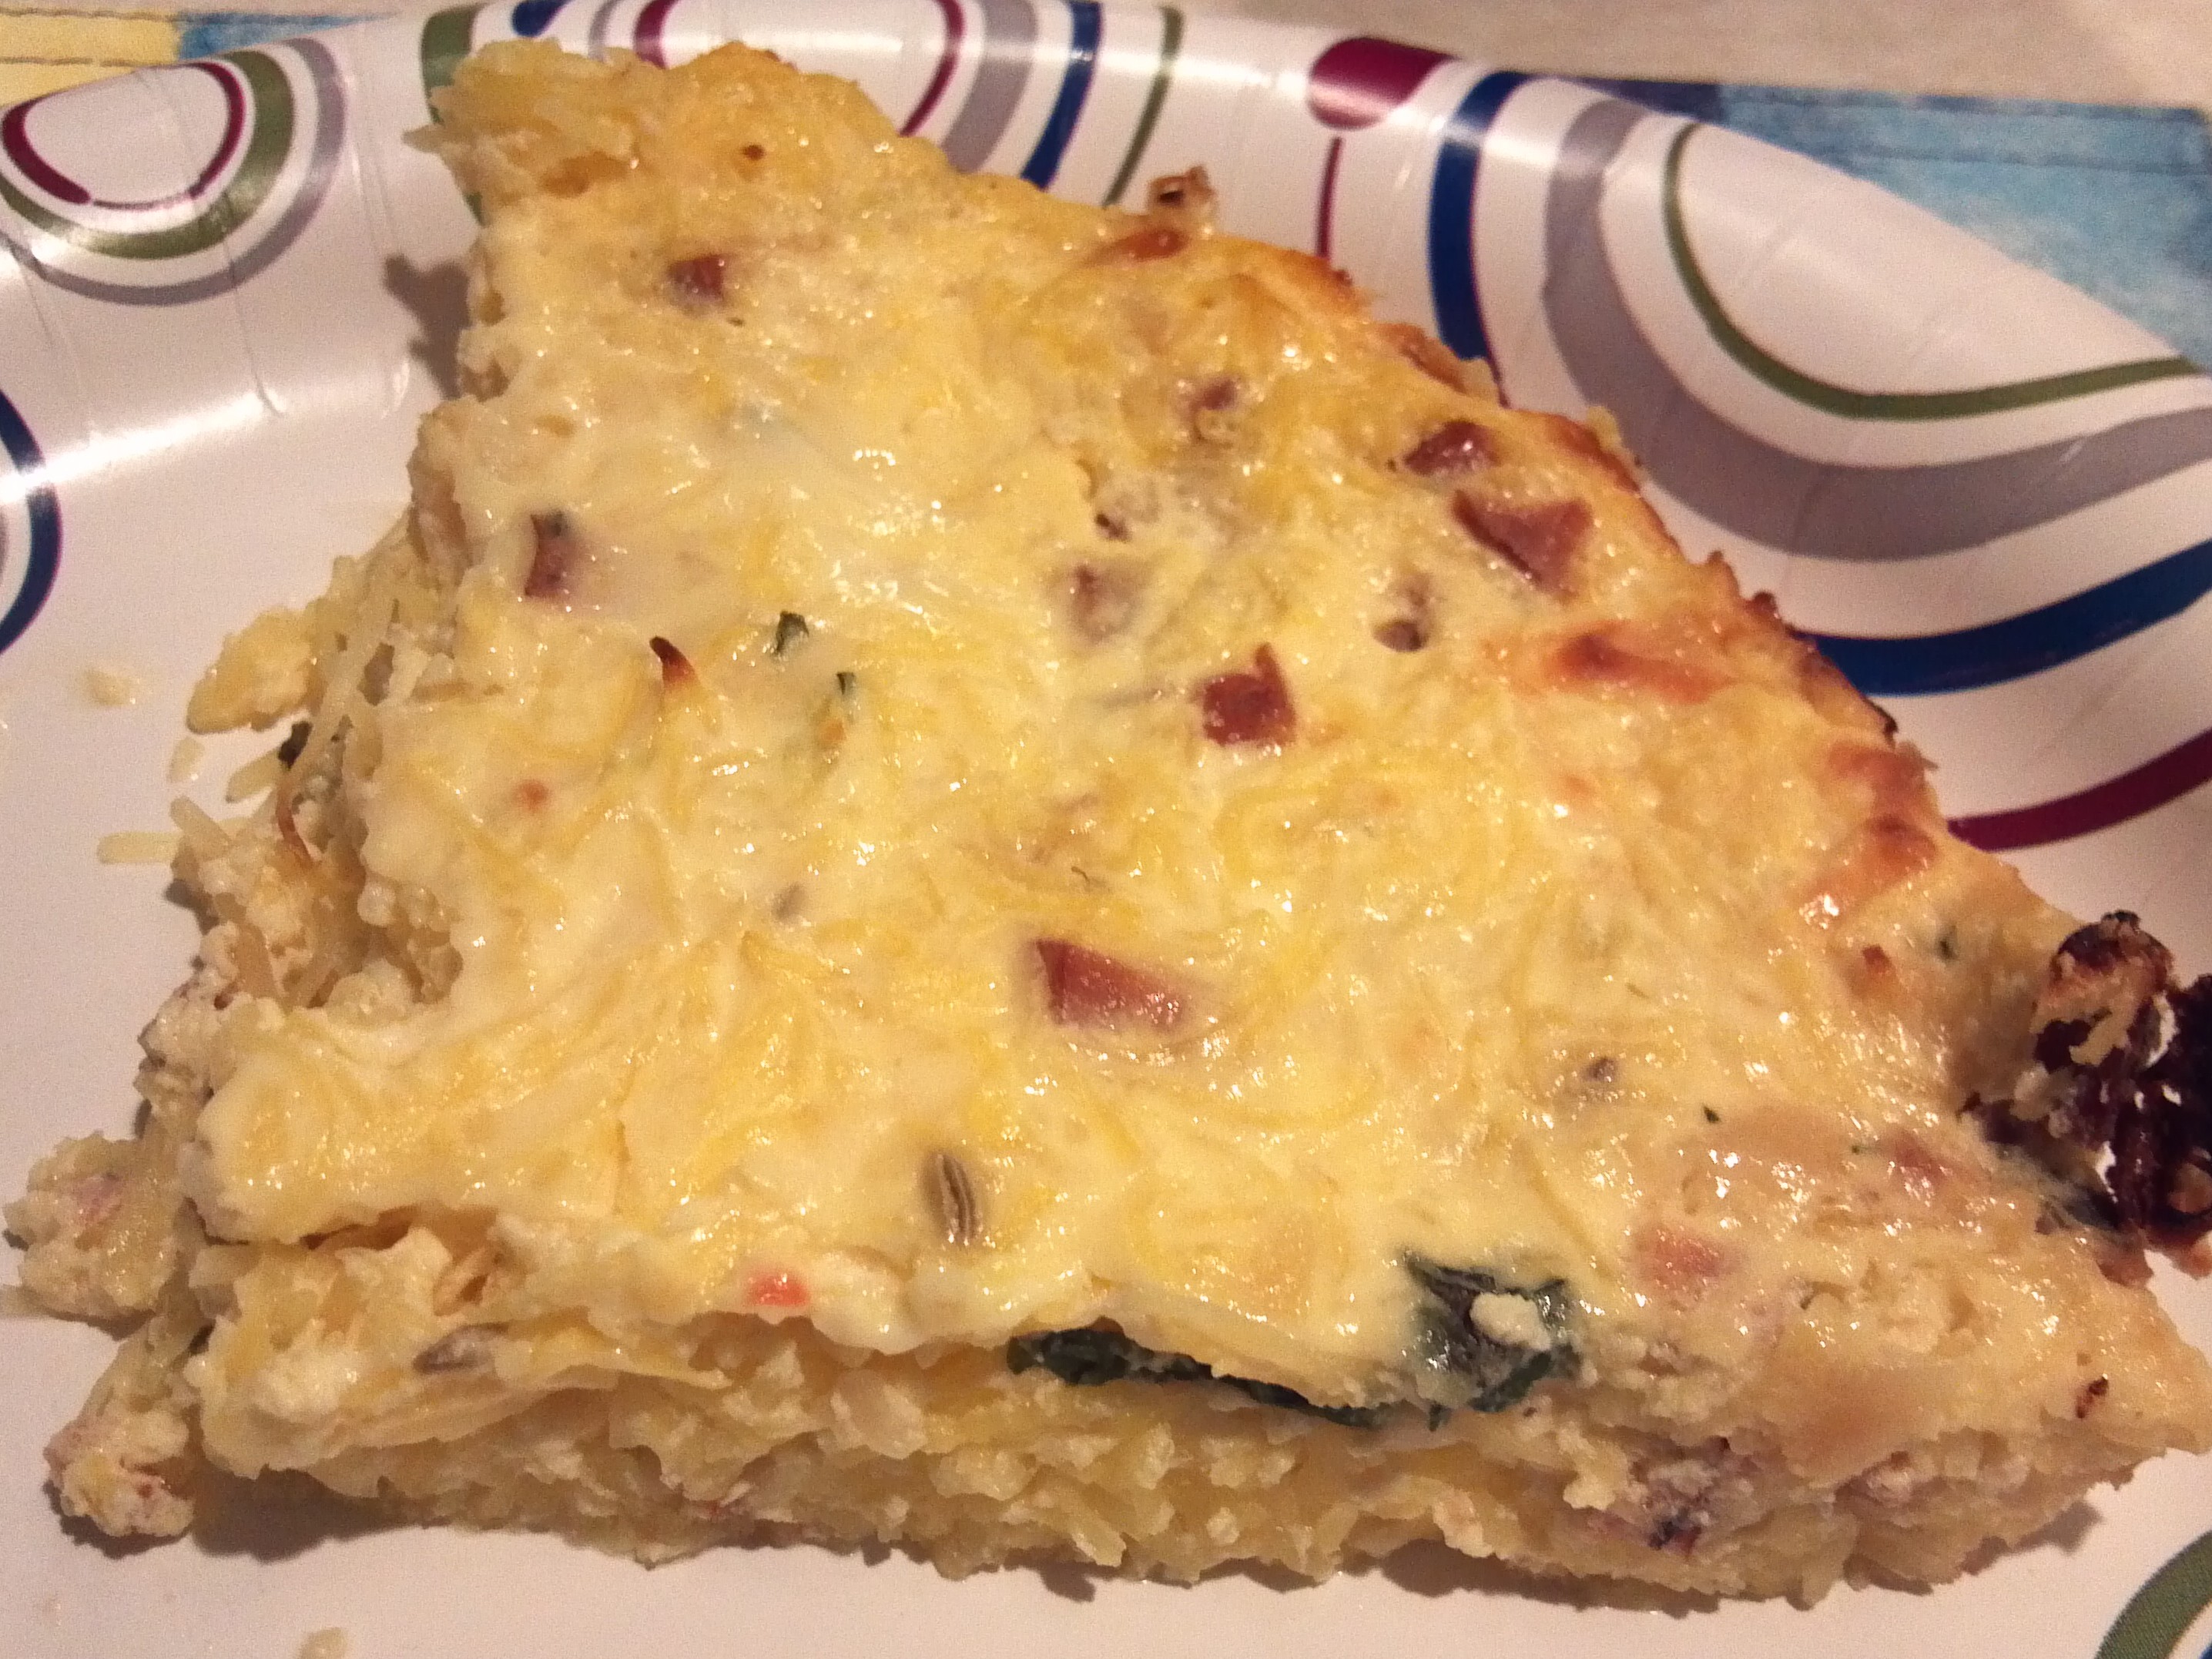
Last night I decided I wanted to make something a little different for dinner. I hadn’t made a Quiche in a while so I thought about doing that. I also had a nice spaghetti squash sitting on my counter and wanted to use it soon. Good thing I decided on the spaghetti squash! When I cut it open a few seeds inside had sprouted! And we’re talking a good 3-4 inches! Crazy! But I also decided to make a Quiche. I combined the two. I just threw stuff together that I had in the refrigerator and voilà! A new delicious taste for dinner! (Or breakfast the next day!)
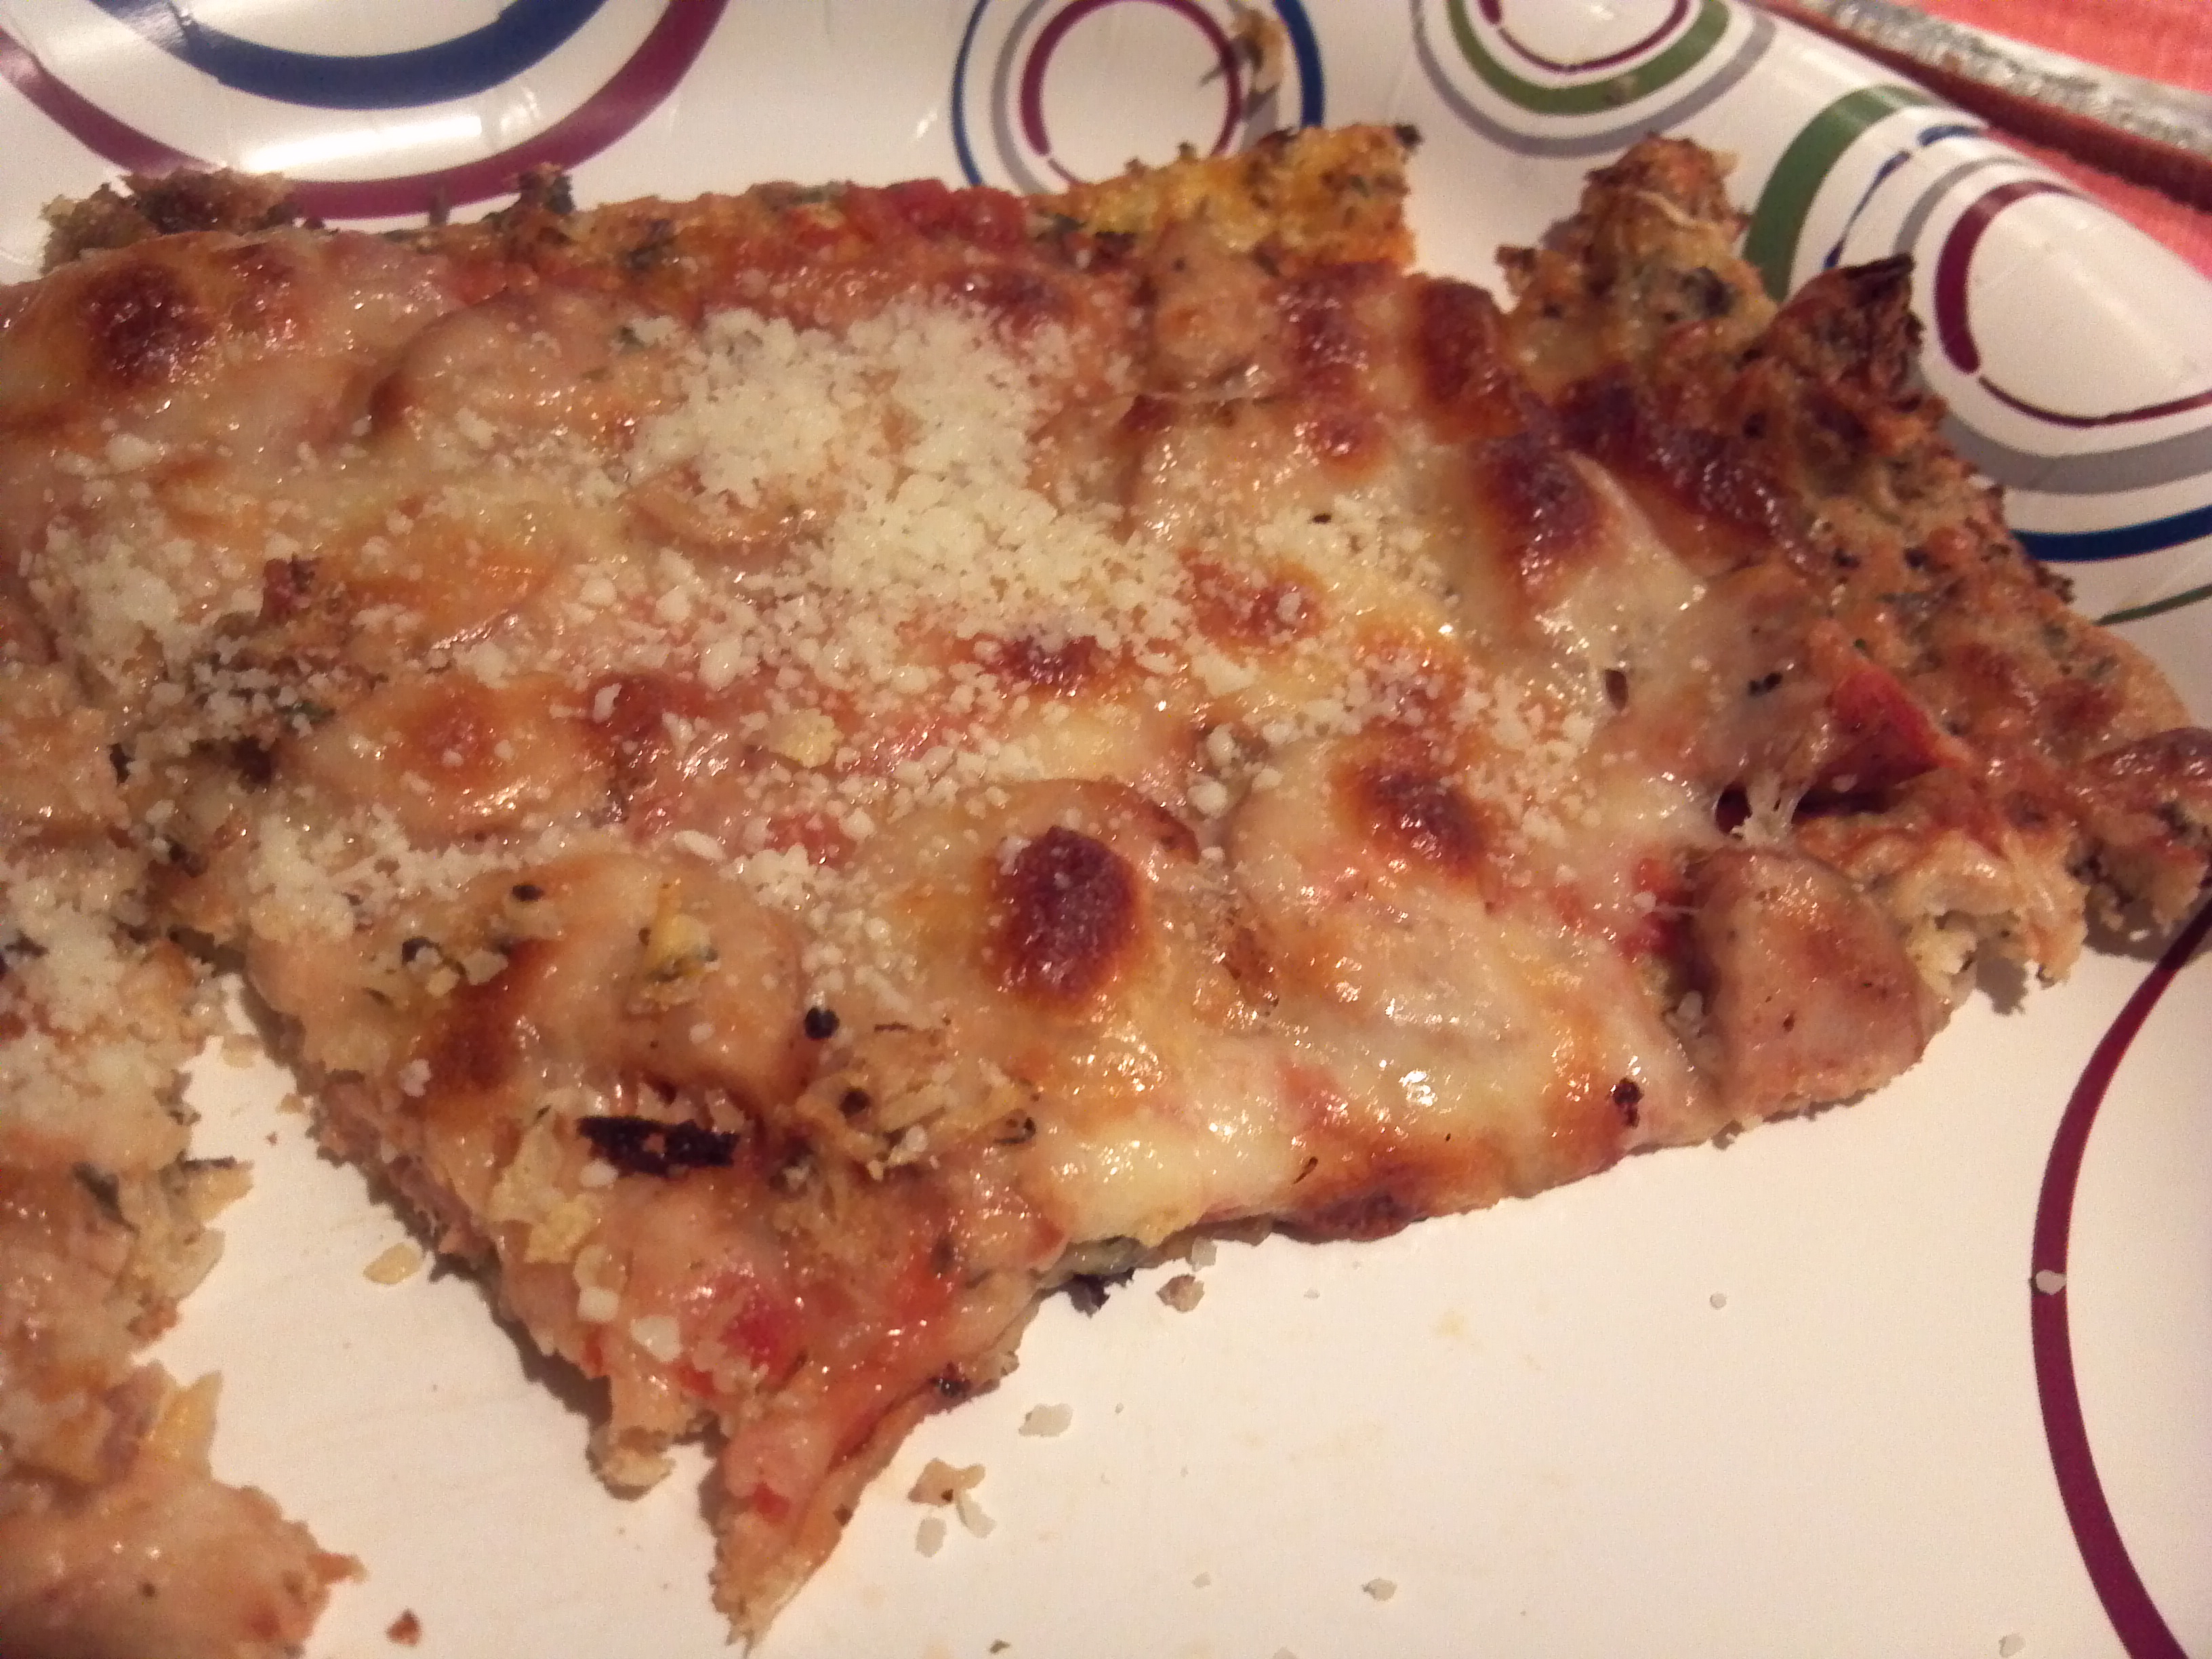
 I only used half of the squash and it was plenty. And to make it all worth while, ¼ of the Quiche is only 272 calories! Bonus!
 This recipe will make about 8 pieces We usually each have ¼ of the Quiche as a serving though. Oh and did I mention, it’s crustless!

2013-03-13 21.26.07
Ingredients:
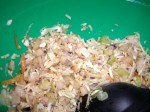
½ of a spaghetti squash cooked and scraped out into a bowl. (Cook any way you are used to. I microwave it, cut side down in a shallow casserole with some water for about 10-15 minutes until soft)
1 cup fat-free half-and-half
3 eggs (You can use egg beaters if you want), beaten
1 cup shredded low-fat part-skim mozzarella cheese
1 chicken sausage (any kind you like is fine. I used a Casual Gourmet tomato and mozzarella one), cut into small pieces
2-3 fresh basil leaves, minced
½ teaspoon fennel seed
1 head roasted garlic, chopped (I had it in the fridge, garlic powder will be good too if you want)
Salt & pepper to taste
Directions:
1. Mix all ingredients in a large bowl
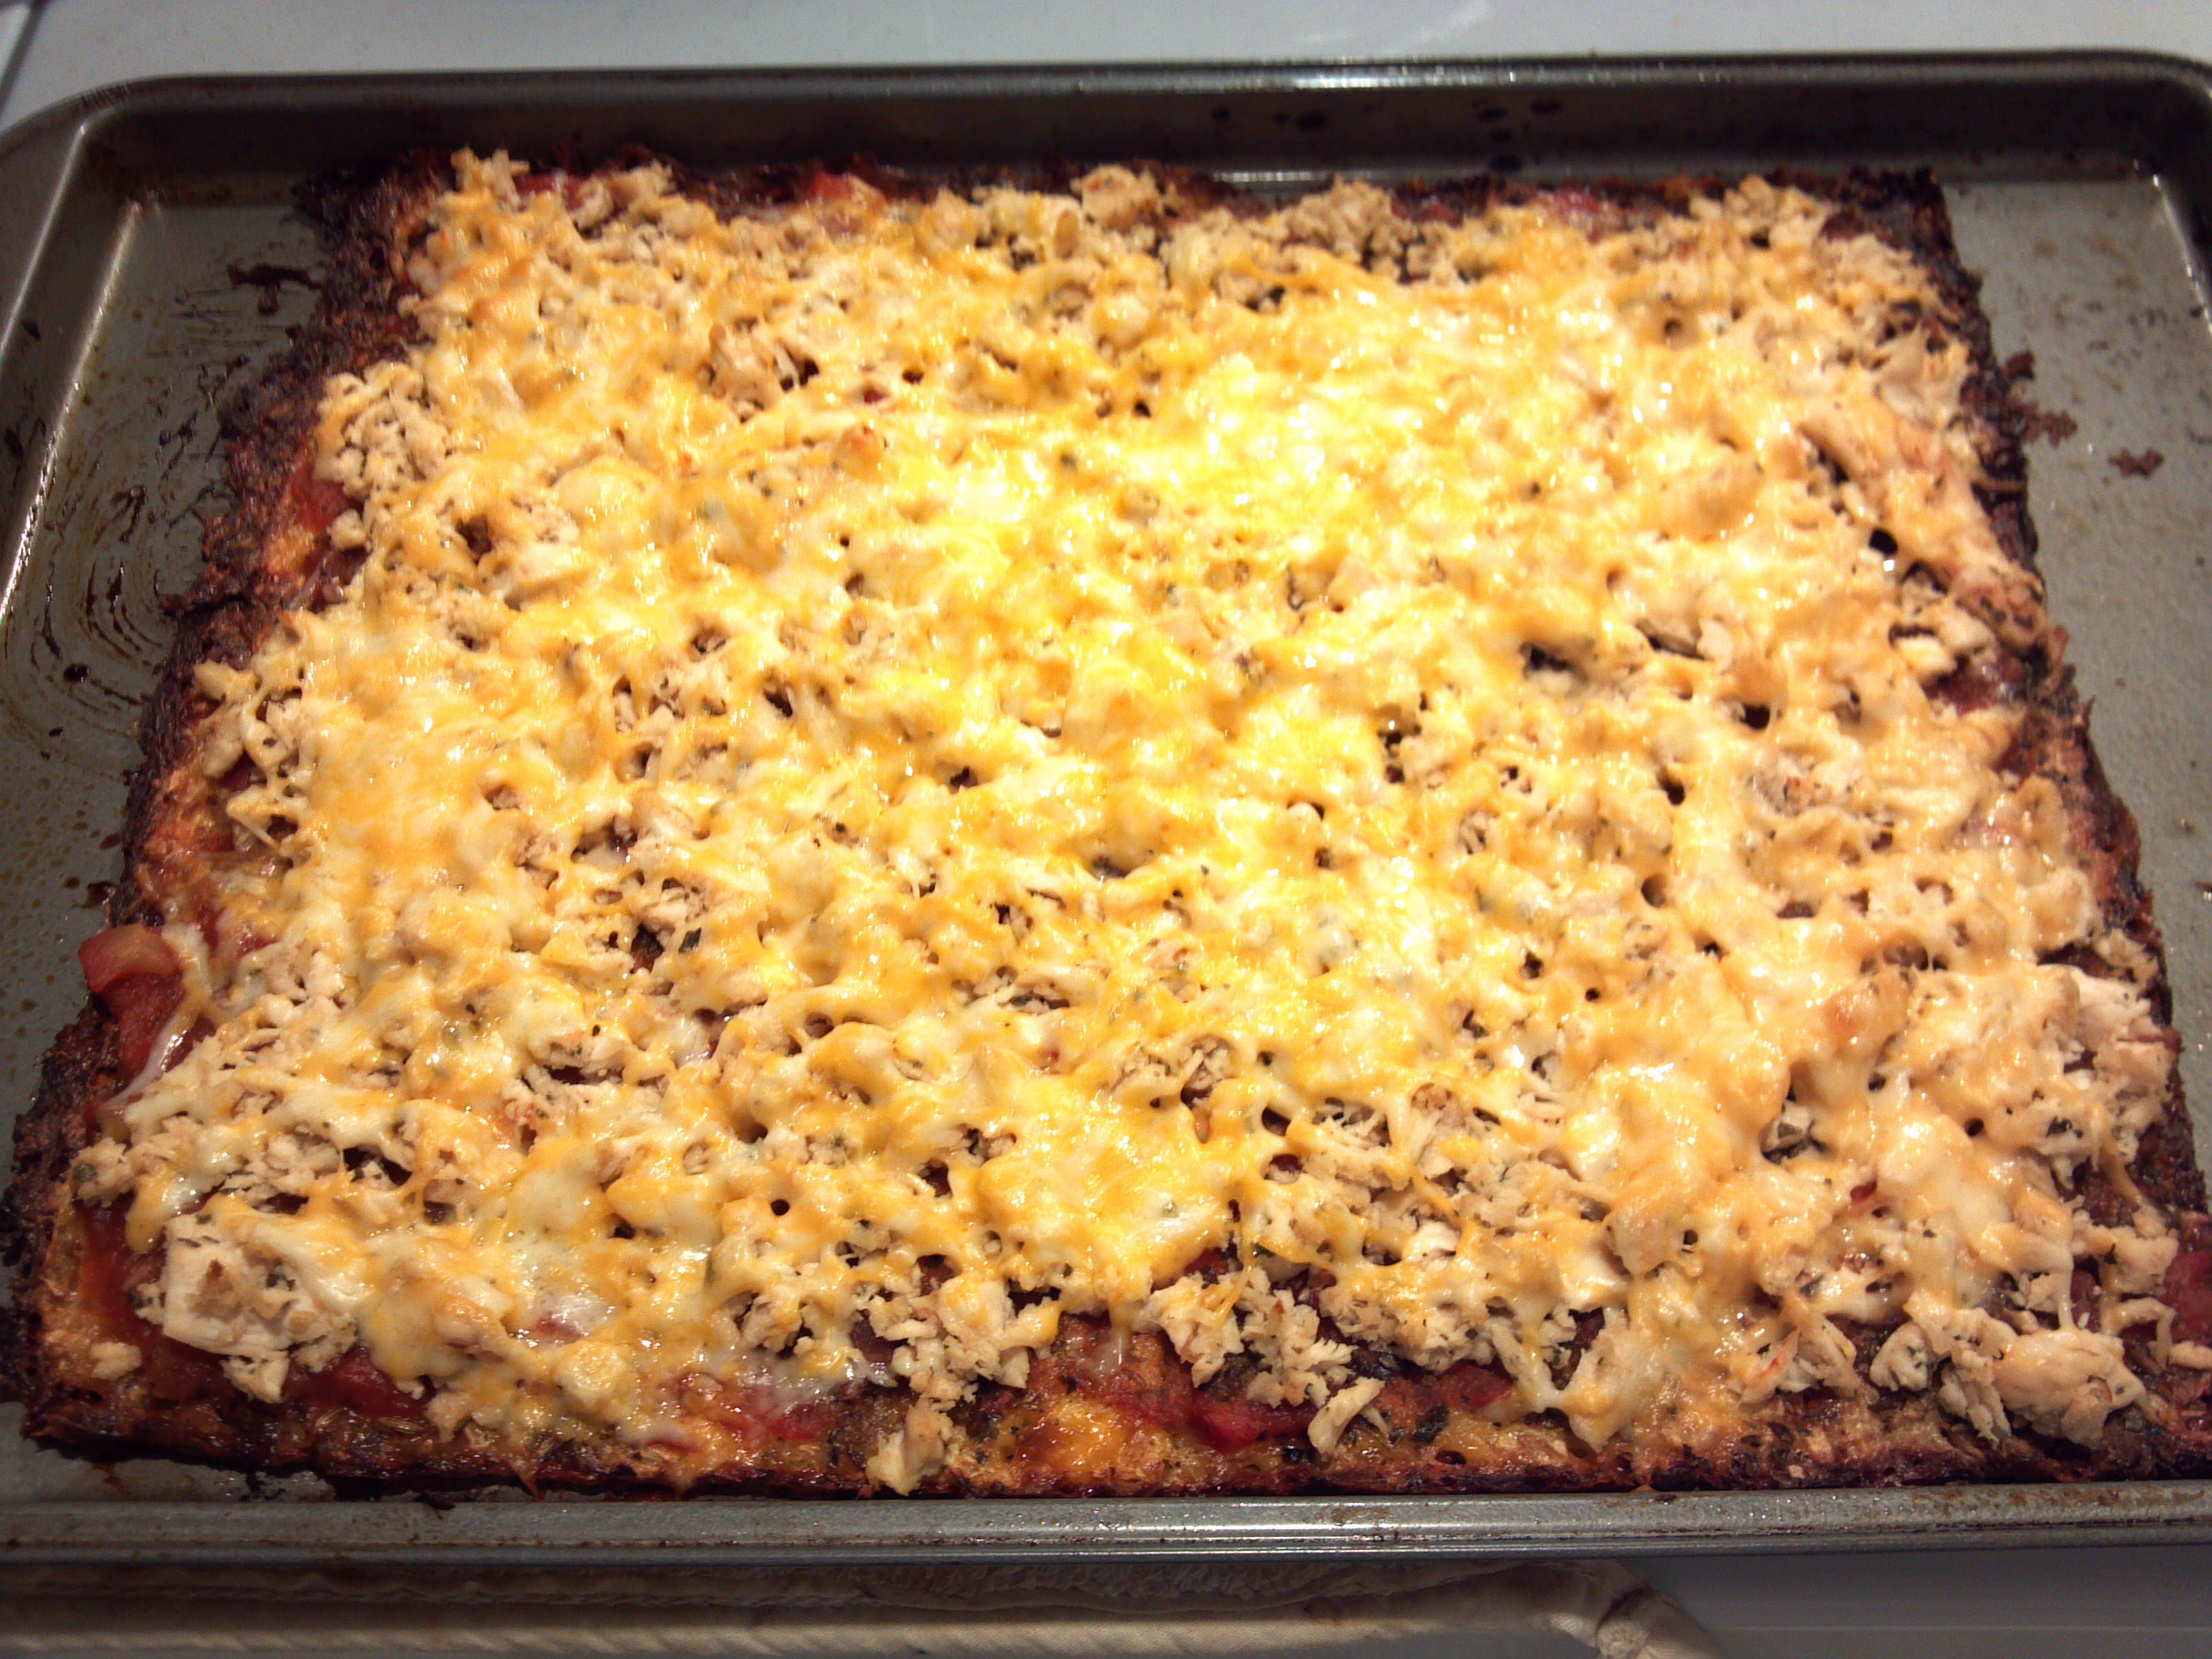
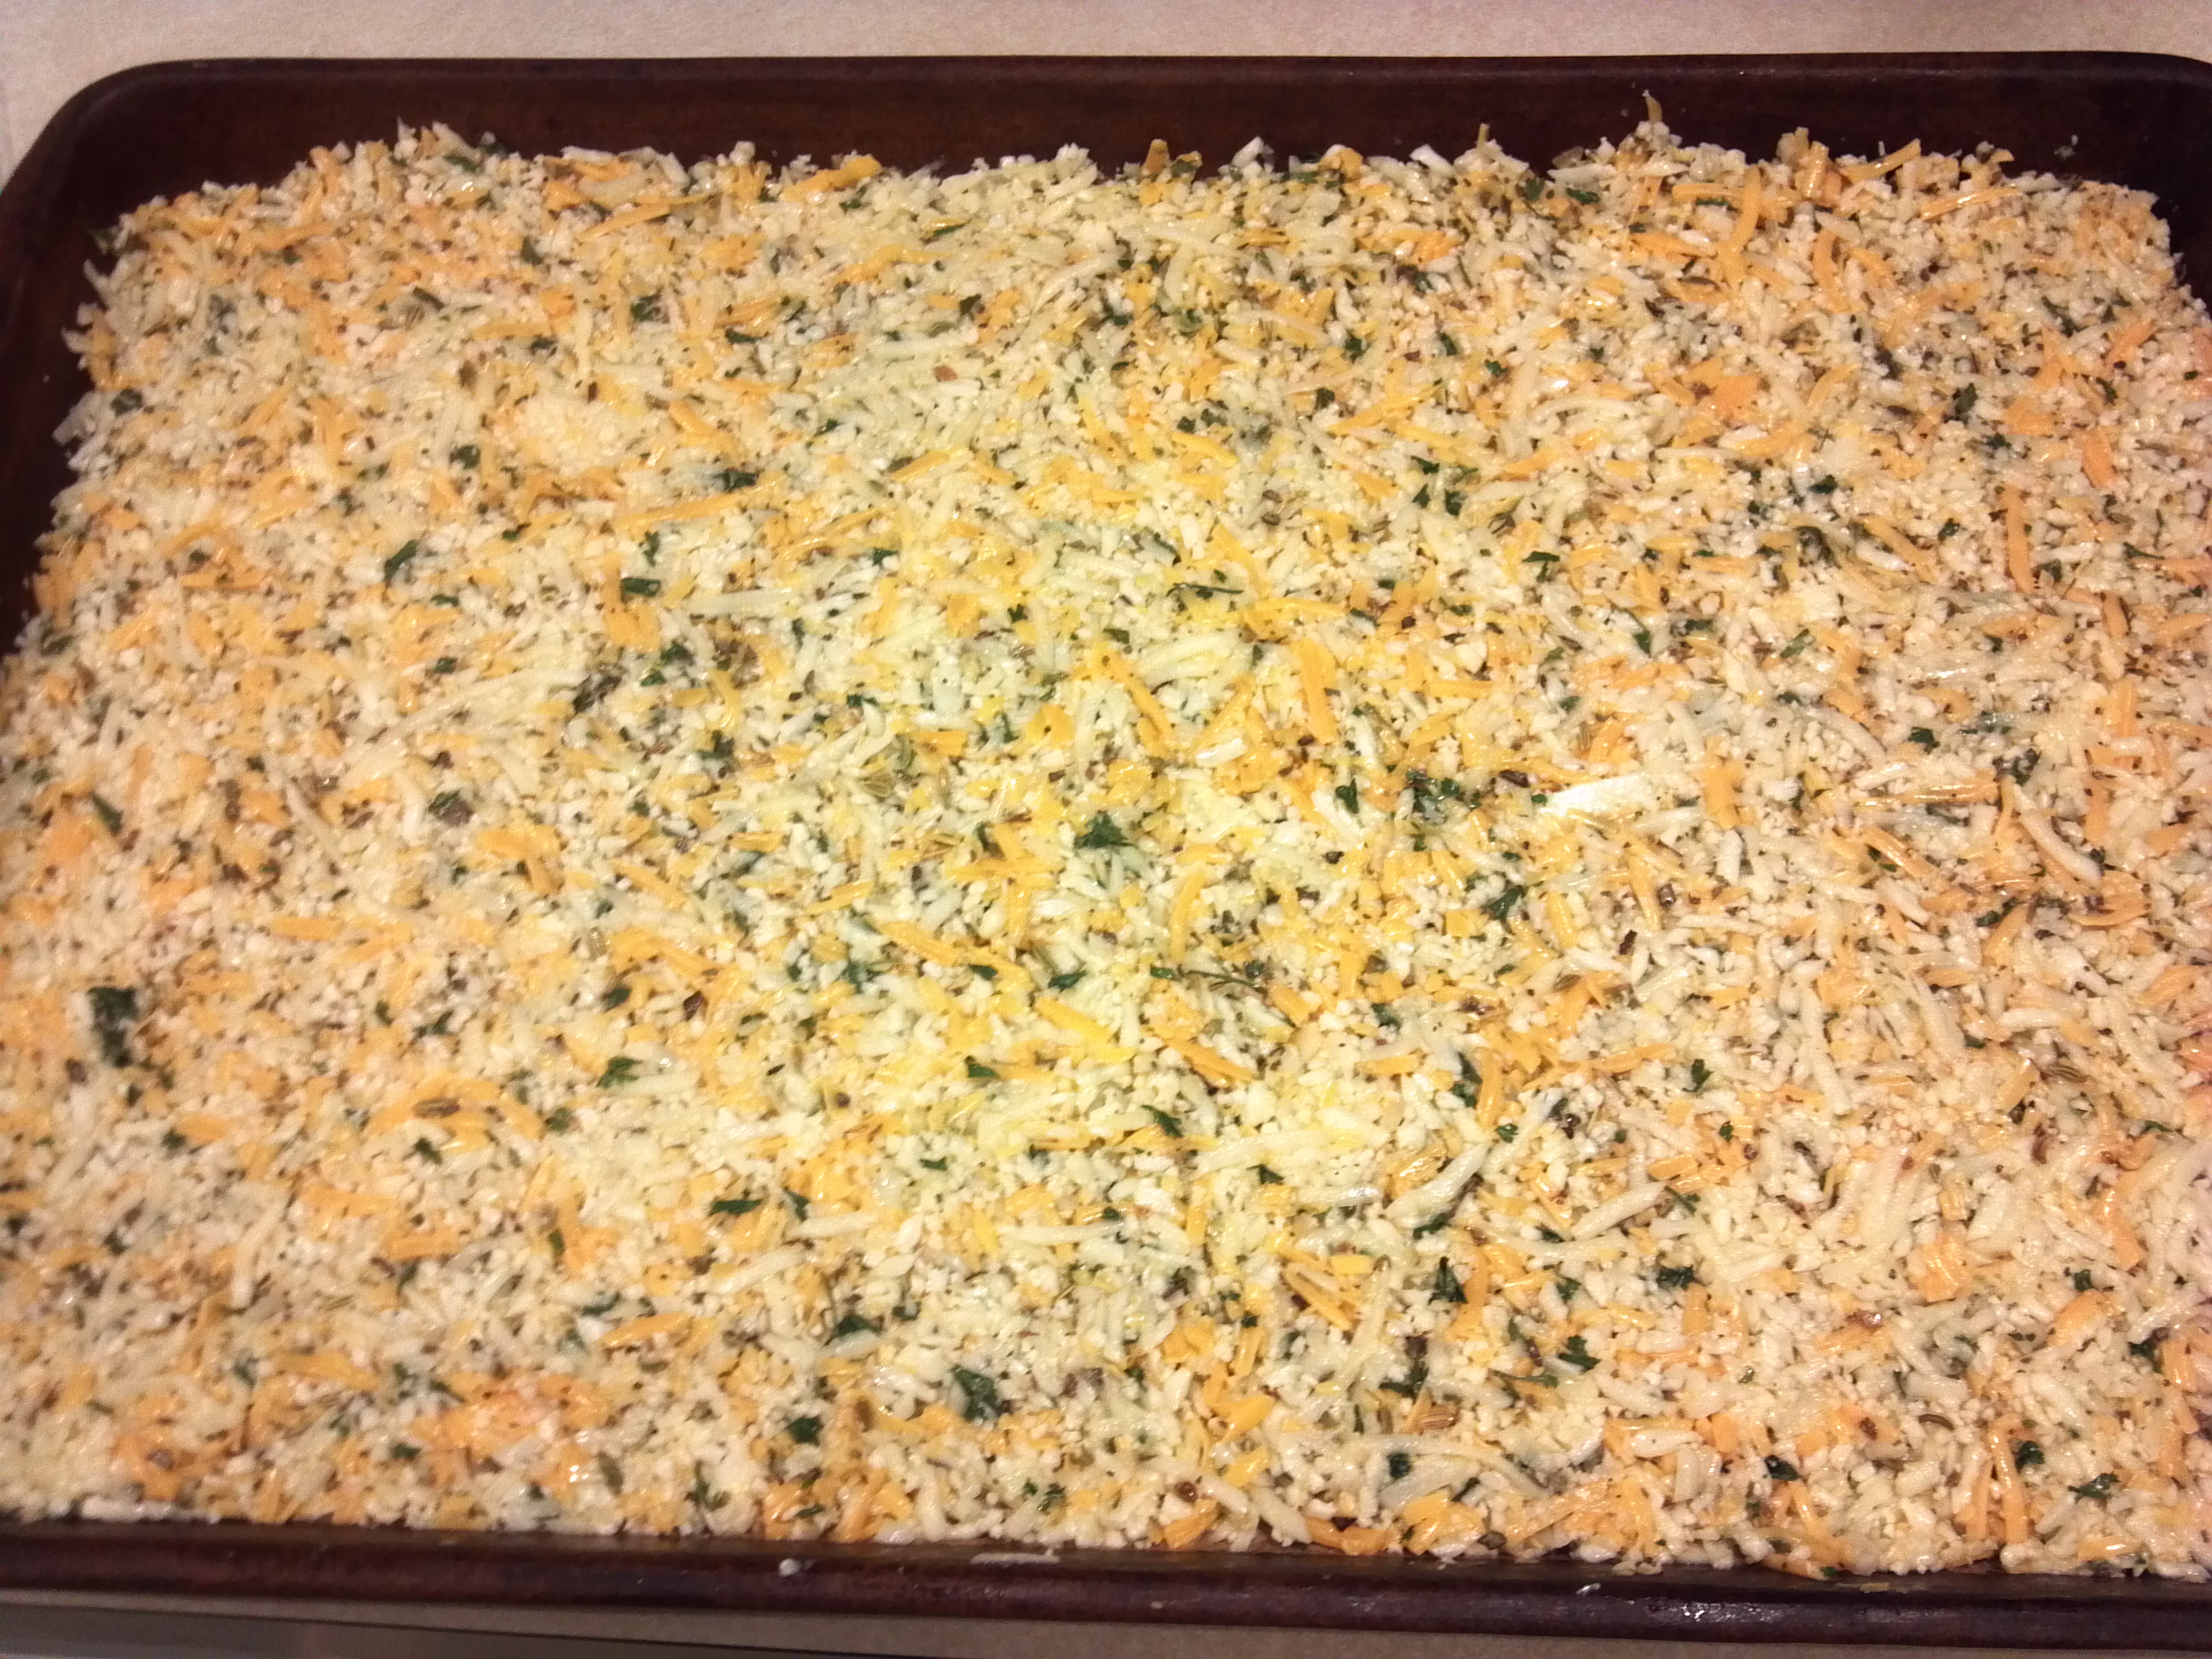
 2. Pour ingredients into a casserole dish or any type of baking dish you have. An actual Quiche pan may be too small. Spray the pan with cooking spray.
3. Bake at 375 for about 45 minutes. Let sit about 10 minutes when done. It will rest this way.

Baked Chicken Salad Egg Rolls!

This recipe I just came up with tonight. Remember I’m obsessed with wonton wrappers and these are the big ones, the egg roll wrappers. Well I decided to make use of the leftover chicken breast I had in the fridge and came up with these gems. So easy to make. Baked not fried.

2013-03-12 21.25.16

The ingredients included: 1 chicken breast that had been roasted on the bone, removed and chopped up. About 2 cups chopped chicken. Julienned carrots, chopped celery (1 stem), 1 tablespoon minced red onion, garlic powder to taste, ¾ cup light sour cream and 2 blue cheese Laughing Cow wedges (softened). Also added about 3 ounces shredded sharp cheddar cheese to the mixture.

Mix all together. The recipe made 10 egg rolls. I buy the egg roll wrappers in the produce department of my supermarket. Walmart also sells them in their produce department. Look in the Asian food section. I laid a few carrots sliver in the center and then put about ½ cup of the chicken salad on top. Wet the edges of the wrapper and fold sides over, then bring bottom over the top and roll. Seal the edges with a bit of water.

I sprayed them with cooking spray and placed on a baking sheet. Baked for about 20-30 minutes at 400º, turning after 10 minutes till golden brown! That’s it!!

2013-03-12 21.21.06 2013-03-12 21.21.13 2013-03-12 21.22.06

The sauce I served with it was just light sour cream and Tabasco Buffalo sauce and a teaspoon of agave for sweetness.  Everything was delicious. I thought there would be leftovers. Nope! All gone!

Cauliflower Crust Pizza

As promised, here is a recipe I made for pizza with a cauliflower crust. I was at a Weight Watchers meeting a couple of weeks ago and I heard someone mention making a pizza crust with cauliflower. I was intrigued! My husband is doing his Atkins thing, again,  so he’s avoiding bread like the plague. I however still want my bread! But to be nice I researched the alternatives using cauliflower. Now I will say, it’s not like normal pizza crust. It’s not bread! But, it is still really good! I was pleasantly surprised at the outcome and my husband loved it. So I guess it was a success. I have made it twice now so it’s a keeper for sure.  And for those of you out there crinkling up your noses, it doesn’t taste like cauliflower! Honest! It is a little soft but hardens a bit when it starts to cool out of the oven. 

Made with crumbled chicken sausage

Made with crumbled chicken sausage & cheddar cheese topping

What I really like about this is you can put anything you want on it to make it a pizza. I used chicken sausage, some tomato sauce and some cheese. Incredibly delicious! So be daring, make some cauliflower crust pizza today! It’s worth it! Honestly the hardest part is shredding/chopping the cauliflower. Don’t be scared. It’s a taste sensation!

Crust before baking

Crust before baking

Ingredients:

2-3 Cups shredded or finely chopped cauliflower (I used my shredder attachment on the food processor)

2-3 large eggs, if they are on the small size of large, use 3, beaten

2 cups shredded cheddar cheese

1½ teaspoon fennel (this really makes a difference, I didn’t use it the 1st time but did the 2nd time, so invest in a jar)

1 tablespoon dried oregano

2 tablespoons dried parsley

1 teaspoon garlic powder (more if you desire!)

Directions:

1: Finely chop, shred or rice cauliflower until you have 2-3 cups of cauliflower. Add the eggs and shredded cheese.

2. Add the spices and mix well.

3. Press the mixture into a greased pizza pan or cookie sheet. (Don’t worry if it doesn’t fill up the entire sheet, mine didn’t the first time I made it) First time I used a cookie sheet. Second time I used a stoneware baking sheet. I think the cookie sheet worked better. It’s up to you though.

(Make sure it’s as flat as you can get it with no holes showing through.)

4. Bake at 450º for about 20 minutes. If it is starting to brown and crisp on the edges it’s good. You can cook a little longer if you want.

5. Remove from oven and add desired toppings. Be careful with sauce, don’t over-sauce as it will make the crust too soggy. I used about ½ cup sauce and spread it thin over the crust. I topped it with chopped chicken sausage and part-skim mozzarella. Use whatever you want!!

6. Bake until brown and cheese is bubbly! (about another 5-10 minutes, just keep an eye on it)

Makes about 8 servings

Made with sliced chicken sausage & mozzarella cheese

Made with sliced chicken sausage & mozzarella cheese

Scrumptious Shrimp & Asparagus Stir-Fry

 After many requests here is the recipe! I modified this recipe from a Rocco DiSpirito recipe. The man knows good food! Before making this recipe the only way I had ever cooked asparagus, and only thin asparagus, was to roast it, whole. This recipe I ventured into unknown territory. I used much thicker asparagus and cut into bite size pieces! I also used a vegetable peeler to get off some of the thicker layers on the stalks. And you know that wonderful thing that happens to our body when you eat asparagus? I won’t say what it is but if you’ve ever eaten asparagus you know what I mean. Well apparently when you cut it up and not cook it whole that little phenomenon doesn’t occur!  It’s a win win! Plus this recipe is figure friendly. I would also recommend reading the entire recipe all the way through before cooking. Make the stir-fry sauce first also. You can even make it a few days before if you want.

INGREDIENTS:

1 tablespoon toasted sesame oil

1 medium Vidalia onion, sliced thin

1 large bunch of asparagus, trimmed and cut on an angle into 1″ pieces

12-16 ounces medium or large shrimp, peeled and deveined. NO TAILS!!!

¾-1 cup cooked brown rice (remember brown is better for you!)

½ cup chopped fresh basil 

sesame seeds for garnish

salt and pepper

2/3 cup of Rocco’s “Rockin’ Asian Stir-Fry Sauce” (see recipe below) or you can use a store-bought sugar-free teriyaki sauce. (Make this BEFORE you start cooking the stir-fry)

DIRECTIONS:

1. Heat a large nonstick sauté pan or skillet over high heat. When the pan is hot, add the sesame oil. Add the onion and asparagus and stir fry until the veggies are almost tender, about 6 minutes or so.

2. Season the shrimp with salt and pepper to taste and add to the pan. Add the rice to the pan. Cook for about 3 minutes, stirring often to get everything heated through.

3. Add the stir fry sauce. When the shrimp are cooked through and the sauce is hot, about 2-4 minutes, stir in the basil. Season with salt and pepper to taste. Add sesame seeds for garnish.

Serves 4

Stir-Fry Sauce

Ingredients:

1 tablespoon sesame oil

¼ cup chopped fresh ginger (this is key!)

6 cloves of garlic, minced

½ bunch of scallions (white and green part) chopped fine

1 tablespoon cornstarch

6 tablespoons low sodium soy sauce

¾ cup low-fat, low-sodium chicken broth

3 tablespoons rice vinegar, plain

½ cup reduced-sugar ketchup (Heinz is the best)

salt and pepper to taste.

DIRECTIONS:

1. Heat a large nonstick sauté pan/skillet over high heat. When the pan is hot, add the sesame oil. Add the ginger, garlic and scallions. Saute, stirring frequently, until very fragrant. About 2-3 minutes.

2. In the meantime, place the cornstarch in a medium bowl and add the soy sauce, chicken broth, vinegar and ketchup. Whisk to blend.

3. Whisk the cornstarch mixture into the sauté pan and bring the sauce to a simmer.

4. Reduce the heat to medium and simmer, whisking constantly for about 2 minutes until the sauce thickens. Season with salt and pepper if you want.

5. Store in a covered container in refrigerator for up to a week.

This sauce is incredible. I used it on ribs also. Tasted just like chinese spare ribs! 

This makes about 1¾ cups.

Thanksgiving Leftovers: Thanksgiving Bundles

Anyone still hungry? Believe it or not, even after eating much more than normally yesterday, I woke up starving! Go figure! I hope everyone had a wonderful and thankful Thanksgiving yesterday! I am sure thankful for the wonderful family and friends we have. This Thanksgiving was spent with our wonderful friends Debbie & Bruce and their handsome bulldog Hudson. This was our 3rd Thanksgiving with them and as always there was lots of laughter, food and booze. Good friends are hard to find these days so when you are lucky enough to find some, hang on to them. We are so thankful we did! This year was a small group, only 5 of us, but you’d think we were feeding 10-15 with the amount of food! I guess we don’t know how to cook for a small group. Oh well, leftovers! Even though we didn’t cook at our own house we got leftovers to go. BUT if you did cook at your house and you have lots and lots of leftovers today’s recipe will give another option of what you can do with them.

I actually always buy a turkey this time of year, you can’t beat the sale price (.59 lb)! I keep it in the freezer till July and then we have a summer Thanksgiving. And this recipe came about from my summer Thanksgiving. I am going to call it Thanksgiving Bundles. It is a cross between a pot pie, a mini calzone or some kind of pierogi. Not sure exactly how to describe it. But those of you who follow my blog know I have become obsessed with the wonton wrappers. Soooo I came up with a stuffed wonton ala Thanksgiving. Though for this recipe I am not using the mini muffin tin. Too small. I used the regular muffin tin but then realized one of the mini wrappers was way too small so I used two wrappers per muffin cup. I just had them half in half out, with enough of the wrapper sticking over the sides so you can fold them over the top when you’re done stuffing! Came out incredible!

There is no real “recipe” for this. You can add whatever you want to your own bundles. But when I made them I had turkey, stuffing, gravy and my Smashed Cauliflower recipe. I didn’t have cranberry sauce but if I did I would have had it on the side. 

Ingredients:

Leftover turkey, stuffing, gravy, potatoes, veggies

Directions:

Chop up the turkey into small pieces or shred.

Chop up any large veggies into small pieces.

Mix the turkey and veggies with the stuffing.

Add some gravy to the mixture to keep it moist. Mix well.

Spray a muffin tin with cooking spray.

In a regular muffin tin, lay two small wonton wrappers so half is in the tin and half hanging over the edge.

Fill the tin with the turkey mixture about 3/4 way full. Press down. Then on top of that place either mashed potatoes or mashed sweet potatoes.

Fold the flaps over (don’t worry if they don’t fold perfectly) and spray a little cooking spray on top.

Bake at 350°F for about 10-15 minutes so everything is heated through.

Serve with cranberry sauce and extra gravy on the side! 

Saucy Garlic Parmesan Chicken Wings

Well it has been much longer than I had anticipated for posting a new recipe. But as we all know, life can get pretty busy sometimes. But it’s no excuse. I have so many recipes I need to post so I’m starting with the one I made just last night. I posted the photo on Facebook and had a few requests for the recipe so here it is.

This recipe started out with me making my Buttery Garlic Parmesan Chicken Wings. Then I thought maybe I should try something slightly different. I had a bit of marinara sauce in the fridge, really it was only about 2 ounces, but I figured it would come in handy and it did. I added it to my recipe and tweaked it a bit and came up with a new flavor. They were delicious. No leftovers here!

Quick note about the chicken wings I use. In the past I have bought Tyson uncooked wings or Perdue. But they can be very pricey. Then I switched to Great Value (Walmart). Not bad. But now I am using only the wings I have purchased at a store we just discovered, Save-a-lot. A 4 lb bag costs about $6.00! And the wings are huge! Most of the other brands were have the size for more money! And they are delicious! 

Ingredients

20-24 chicken wings, frozen or thawed (flats/drumsticks)

4 tablespoons butter or butter substitute (I use I Can’t Believe it’s Not Butter)

8-10 cloves garlic

2 tablespoons olive oil

1 teaspoon red pepper flakes (more or less depending on how spicy you like it)

1 teaspoon dried oregano

1 teaspoon dried basil

2 ounces marinara sauce or whatever red sauce you may have around. Plain tomato sauce is good too.

¼ cup grated parmesan cheese (we use Locatelli Romano)

Directions:

  1. Heat oven to 400ºF. (I have a convection option on my oven and I use convection roast)
  2. On a large cookie sheet or shallow roasting pan lay out the wings. They can touch and crowd each other because they do shrink a little.
  3. Place in oven and bake for 30-45 minutes for frozen. Flip every 10-15 minutes or so. If using thawed, reduce cook time. Bake to desired crispness.
  4. Meanwhile in a food processor place garlic, olive oil, basil and oregano. Pulse until garlic is finely minced.
  5. Add butter to small saucepan and melt on low heat (careful not to burn). When melted add the garlic mixture and red pepper flakes and cook till heated.
  6. When wings are done remove from pan and place in a large mixing bowl. (You can blot up some of the chicken grease with paper towels if you like also)
  7. Add the cheese to the garlic mixture and add to the wings in bowl. Mix thoroughly.
  8. Return wings to pan, sauce and all and bake another 5-10 minutes but keep an eye on it. You don’t want all the sauce to dry up.
  9. Return to bowl you mixed them in and serve. Or if you want a pretty presentation put on a platter.

Serve with bleu cheese and celery/carrot sticks!

Zucchini Quiche

Now before you think this is just another boring Quiche, think again! This recipe is one of the most incredibly moist, creamy and delicious Quiche recipes I’ve ever made. It was originally a Weight Watchers recipe that I changed a bit. My version came out incredible. My husband loved it and I can’t wait to make it again. The wonderful thing about it is that there is no cream, no milk, no half-and-half at all in this recipe! It is pretty low-calorie and yet tastes so decadent that you’d never believe it good for you! Well it is. A great recipe to make ahead and freeze too! The original recipe was for ‘mini Quiche’. It was supposed to make 48 little tiny Quiche type bites. Great for a brunch or breakfast. I chose not to do that and we had it for dinner. And breakfast, and lunch. You will not miss the crust. Who needs all those extra useless calories! Crust just covers up the taste and creaminess of the Quiche! The Quiche was so fluffy I was amazed. Usually when I make something like this it falls and flattens when it cools a bit. Not this recipe! 

A side note, I have also gone back to Weight Watchers for what seems like the 20th time. I had to make a change. Couldn’t go on just eating everything in sight and expecting the weight to stay off. So I am back on track. In three weeks I have already shed 5.2 lbs and I’m not stopping till I get where I want to be. It’s a good thing all around. But don’t worry, my recipes won’t all be Weight Watcher recipes or “diet” recipes. But they will be leaning toward the healthier and leaner type stuff. Don’t get me wrong, I’m not giving up my cocktails either, so when I find another great one, I will share! Now if I could just figure out a way to exercise while blogging…hmmm…

Ok here is the recipe!

INGREDIENTS:

cooking spray

2 medium uncooked zucchini, peeled and shredded

3 shallots finely chopped (or one small onion chopped)

3-4 cloves garlic chopped

1 cup shredded or grated parmesan cheese

6 large eggs

½ cup all-purpose flour

¼ cup basil, fresh, finely chopped

3 tablespoons extra virgin olive oil

2 teaspoons baking powder

1 teaspoon sugar or sugar substitute

1 teaspoon kosher salt

½ teaspoon black pepper

OMG So incredibly creamy and delicious!

DIRECTIONS:

  • Preheat oven to 375ºF. Coat a glass or non-stick Quiche pan or round casserole dish with cooking spray.
  • Combine all ingredients in a large bowl and pour into prepared dish.
  • Bake until bottom is golden brown and Quiche is cooked through. (I cooked it 30-45 minutes. Check after 30 minutes. Make sure it’s not too loose and watery.)
  • Remove from oven and let cool for a few minutes before serving. The Quiche will continue to set up.

Makes 6-8 servings.

Shrimp Egg Rolls

Today is all about me venturing into the realm of the large wonton wrappers! Yes I have now graduated from the small ones to the big ones! I have to admit, I was a little scared of not rolling them right, or having the filling ooze all over the place. But my fears were for naught!

 I had seen this recipe on an episode of Hungry Girl and I figured it looked easy enough so I tried it! They were such a success I made them two nights in a row for dinner! Yes, they are usually an appetizer but who says they have to be? Now this recipe calls for scallions and bean sprouts. I was out of both of them so I left them out in this batch. Still came out awesome! The best part of this recipe is that they are baked, not fried! Saves a ton of calories (each roll is about 100 calories) and they still come out crispy and yummy! 

I ended up using the whole package in two days so I have to restock my supply of large wrappers. Remember you can find them in the produce department in the Asian section. Even Walmart’s produce section has them! They are so easy to make and you can substitute anything you want in them. Not a fan of shrimp? Use chopped cooked chicken or chopped cooked pork. These are great for getting rid of leftovers in the refrigerator! Just make them into an egg roll!

I doubled the original recipe (it was an accident actually so I made it work) therefore, this makes a lot of filling. I got about 20 egg rolls out of it. No leftovers!

INGREDIENTS:

1 bag coleslaw mix (12-16 oz.)

8 oz. cooked and chopped shrimp

1 can sliced water chestnuts, drained and chopped

½ cup bean sprouts, chopped

4 scallions, chopped (green and white parts)

2 stalks celery, thinly sliced widthwise

3-4 tablespoons reduced-sodium or lite soy sauce

2 teaspoons crushed garlic (I used 4 cloves)

½ teaspoon ground ginger

¼ teaspoon salt

Several dashes black pepper

sesame seeds, optional

20 large square egg roll/wonton wrappers

Sauces for dipping

DIRECTIONS:

  1. Preheat oven to 375ºF.
  2. Put slaw mix into a large microwave-safe bowl with 4 tablespoons of water. Cover and microwave on HIGH for 2 minutes. Drain any excess water. Add the rest of the ingredients (except for the wrappers of course). Mix well and set aside. You can set it in the fridge to marinate for about 20 minutes for a better flavor.
  3. Using a large baking sheet spray lightly with nonstick cooking spray. Set aside.
  4. Using a clean, dry surface place a wonton wrapper. Evenly distribute about ½ cup of the mixture onto the wrapper, just below center, in a row.
  5. Moisten all four edges of the wrapper by dabbing your fingers in water and running them around the edges smoothly. This will help the wrappers stick better.
  6. Fold the sides of the wrapper about 3/4 inch towards the center. This keeps the mixture from falling out of the sides. Next, roll the bottom of each wrapper up around the mixture and continue rolling until you reach the top. Seal the outside edge with another dab of water. Go slow at first till you get the hang of it. It’s actually pretty easy.
  7. Carefully transfer to prepared baking sheet. Repeat until you have made enough rolls. Keep the surface you are working on, dry and clean.
  8. Spray the tops of the egg rolls with nonstick cooking spray. Sprinkle with sesame seeds if you wish.
  9. Bake in the oven for 25-30 minutes, until golden brown. I baked for 30 minutes. Allow to cool slightly and serve!

Be very careful as they will be extremely HOT! We cut them in half to let steam out before eating. I also made my own sauce using Mikoto ginger dressing and some soy sauce. Delish! Enjoy!

Hearty Pork Soup

Hello all! I am back! It’s been awhile and I have so many recipes I need to get posted! I have no excuse really. I’m out of work again and should have no problem posting more often. But as we all know the plans we have in our heads don’t always mesh with reality. But here we go with a new recipe. I adapted it from a recipe on the Betty Crocker site. If you want the original check out Southwestern Pork Soup.

This soup came about because about a month or so ago I had bought this really inexpensive Boston Pork Butt Roast. It was a pretty big roast to begin with, I think 5 or 6 pounds. And with only two people in my house we had lots of leftovers. (I will post the recipe for that in the near future also) We ate the pork a couple of times the same week, then I decided to freeze the rest before it was lost forever. I think we got about 5 or 6 uses out of it! Well this week I decided I wanted to use up the rest of what I had in the freezer so I searched for any recipe with leftover pork. I would say 90% of the recipes I found were some kind of pulled pork. Not a fan. So I kept looking till I found the soup recipe. And voilà! I created my own version of a delicious hearty soup! I put kale in this soup also. That is another story! Let’s just say trying to make ‘kale chips’ didn’t work out so well and when you put leftover chips in a container, they don’t stay so crisp. So I just chopped them up and added to the soup. I was originally going to add spinach but the kale was there! It was perfect for the soup!

This recipe originally said it made 5 servings. My husband and I have had it twice this week so far, yes it’s only Tuesday! We had it as a meal for dinner and each had two bowls the first night. Second night we weren’t as hungry so only had one bowl each. There is at least another two bowls left! Yummmm…. It thickens up a little the second time around so if you like a little thinner soup, add more broth or water!

INGREDIENTS:

2 teaspoons olive oil

1 pound or so, of pork leftovers, cubed into bite size pieces

4 medium green onions, sliced

1 small jalapeño chili, seeded and finely chopped (I used the jar jalapeño)

3 cloves garlic, finely chopped

¼ cup chopped red onion

4-6 cups reduced sodium, fat-free chicken broth (you can use vegetable broth too if you wish)

1 can (15-16 oz.) white beans (cannellini or great northern)

1 can (15-16 oz.) black beans

1 cup cooked brown rice

3-4 leaves of basil chopped/sliced

1 cup dried kale (you can use it fresh also)

1 tablespoon fresh thyme

1 tablespoon dried cilantro

DIRECTIONS:

  1. In a 3 quart nonstick saucepan, heat oil over medium heat. Add the pork and cook for 3-5 minutes until it starts getting a little browned, stirring occasionally.
  2. Add the onions, chili and garlic and stir well. Cook for a few minutes until the onion starts to become translucent.
  3. Add about 4 cups of the broth, beans, and kale. (I added another cup or so of the broth after I added other ingredients as it needed more liquid. It’s your choice) Heat to boiling and reduce heat. Cover and simmer about 10 minutes or so.
  4. Add the rice, basil, thyme and cilantro. Stir well and heat through. 

Cheesy Zucchini Soup

Last night I made a wonderful delicious soup for the first time. I want to thank fellow blogger Reeni for the inspiration. She posted the original recipe on her blog Cinnamon Spice & Everything Nice and I just had to make it myself. I did change it a bit because I didn’t have the exact ingredients on hand. It still came out incredibly delicious. I was sweating like crazy making this last night, it is Florida and still 80 degrees or so right now, but I kept at it. The recipe is pretty easy, but it does take time cutting up all the stuff. Oh how I wish I had a sous chef of my own to do all that for me!

The original recipe I had called for vegetable broth. I had chicken broth and beef broth. I used chicken broth. It also called for a carrot. Didn’t have any, so didn’t use it. The recipe also called for ¾ cup grated Parmesan cheese OR 1 cup of shredded cheddar, swiss or pepper jack. I couldn’t decide so I used ½ cup Parmesan cheese and ½ cup shredded cheddar! Same thing with the herbs. It originally called for 1 teaspoon dried thyme or basil. I used ½ teaspoon of each. And the one final change or should I say suggestion that I left out was adding ½ cup of half-and-half or heavy cream. The soup didn’t need it and I didn’t need the extra calories! I’d say the recipe makes about 6 nice servings. I had two bowls and my husband had three! There is even enough for another bowl left over! So it’s a keeper! Please check out the original recipe on Reeni’s blog at  Cinnamon Spice & Everything Nice! Mangia!

INGREDIENTS:

Olive Oil, about 3 tablespoons

1 large Vidalia or yellow onion, diced (I used Vidalia)

1 large carrot, diced

1 stalk celery, diced

4-6 cloves garlic, (I used at least 6

½ teaspoon dried basil

½ teaspoon dried thyme

salt and pepper to taste

2 large zucchini (I used 1 large and 2 small)

3 cups vegetable or chicken broth

½ cup grated Parmesan cheese

½ cup shredded cheddar, swiss, pepper jack or any other cheese of your choice

½ cup half-and-half or heavy cream, optional

DIRECTIONS:

  1. In a large saucepan heat the olive oil over medium-low heat. Add the onion, carrot and celery, sauté until tender, about 5-10 minutes. (I cooked it for 10 minutes) Stir often. Add the garlic and sauté until you smell its wonderful aroma.

  2. Add the thyme and basil. Season well with salt and pepper.

  3. Meanwhile peel and dice 1½ of the zucchini (I used 2½). It should be about 5 coups. Shred the rest of the zucchini on the large holes of a grater and set aside.

  4. Add the diced zucchini to the pan and mix well, cooking for about 3-4 minutes. Add the broth and bring to a simmer for 15 minutes.

  5. Turn off the heat and purée the soup using an immersion blender. Careful of hot splatters with this! If you don’t have one carefully transfer the soup in batches to a blender and purée in batches. Return to pan if you used this method.

  6. Once the soup is pureed add the shredded zucchini and the cheese. (You can add the half-and-half here if you wish) Stir well.

  7. Simmer for 5-10 minutes, stirring occasionally.

Makes 4-6 servings

Cruise Ship Recipes at Home

How do I Make That?

Rachael Ray

It's Not Just Popcorn!

Joanne Eats Well With Others

It's Not Just Popcorn!

Garlic Girl

It's Not Just Popcorn!

BuzzFeed - Tasty

It's Not Just Popcorn!

An Edible Mosaic™

It's Not Just Popcorn!

StephenKing.com - Latest News

It's Not Just Popcorn!

Food52

It's Not Just Popcorn!

Big Bear's Wife

It's Not Just Popcorn!

The Weekend Gourmet

It's Not Just Popcorn!

Skinnytaste

It's Not Just Popcorn!

What's Cooking at the Genua's?

It's Not Just Popcorn!

Chef in Training

A great place to find easy, delicious and family friendly recipes.

Simply Recipes

It's Not Just Popcorn!

It's Not Just Popcorn!

Homemade In The Kitchen

Small Batch Recipes and Recipes For Two

overdeepblueseas

OVER DEEP BLUE SEAS BLOG @ WordPress.com

Sluggo's Escapades

What's Sluggo up to today?

RavieNomNoms

A Girl, Her Blog, and Lots of Food Pictures!